How To Make Kombucha: Tips & Tools For Easy Homemade Kombucha
Today we’re talking how to make kombucha! Why pay $6 for a small bottle of fermented goodness at the store when you can make an entire gallon for way less than that??
I have a very low threshold of ongoing kitchen commitments I can keep. I can’t keep a sourdough starter alive, friendship bread was too much, and kefir required far too frequent activity. But homemade kombucha is perfect in its flexibility, cost, frequency, and “hands on” time.

How is kombucha made?
Kombucha is simply a brewed tea and sugar mixture that has gone through both a yeast fermentation and a bacterial fermentation using a “scoby” (symbiotic colony of bacteria and yeast). It’s basically sweet tea + science!
Over the course of time (from a week to a month, depending on scoby strength), the process eats up the sugar and transforms it into carbon dioxide, producing a tangy (or sometimes vinegar-y), slightly fizzy beverage. The fermentation is supposed to be good for gut health, and vitamin B for energy.
What most people don’t know is that it is SO easy to make yourself at home! It’s honestly hard to mess up. I constantly worry my scoby has gone bad, or that I’ve done something wrong. And basically…I haven’t. I’ve used the same scoby “parent” for 10-15 years with no issues. It’s incredibly forgiving.

You might also like: The Kitchen Tools I’m Obsessed With
Making homemade kombucha is super easy, but does require you to have a few ingredients and tools on hand. And you’ll want to make sure they’re high-quality:
- First, you need a starter scoby (I got mine from a friend, but you can buy them online too)
- Organic non-GMO cane sugar (yes, organic & non-GMO is important)
- Organic black tea (I also add in some organic green tea)
- A gallon jar with a wide mouth (or similar GLASS container)
- Clean tea towels (cheesecloth or muslin type) & a large rubber band (or I use a stretched-out hair tie)
- Jars that seal well (for holding your kombucha once it’s ready to drink)
I make a gallon at a time, so that’s what the amounts below will make, but it’s easily scalable up or down. You don’t want metal to interact with your kombucha at any time, so I get the plastic mason jar lids so I can wash them easier and not worry about rust.
That list may seem like a lot to start with, but you don’t have to replenish it that often.
How to make kombucha at home
Step 1: brew some strong tea. There are a lot of ways to do this, but I usually boil 3-4 cups of filtered water and then add the tea bags.
I usually use 4 black tea bags and 1 green tea bag per batch. It would be smart to stir the sugar in while the water is hot, but I’m never smart.
I then let the tea bags steep for quite a while…partly because I walk away and forget it for a few hours. But definitely let them steep for 15-20 minutes to get really strong (and cool off). You don’t want to add really hot liquid to your scoby.
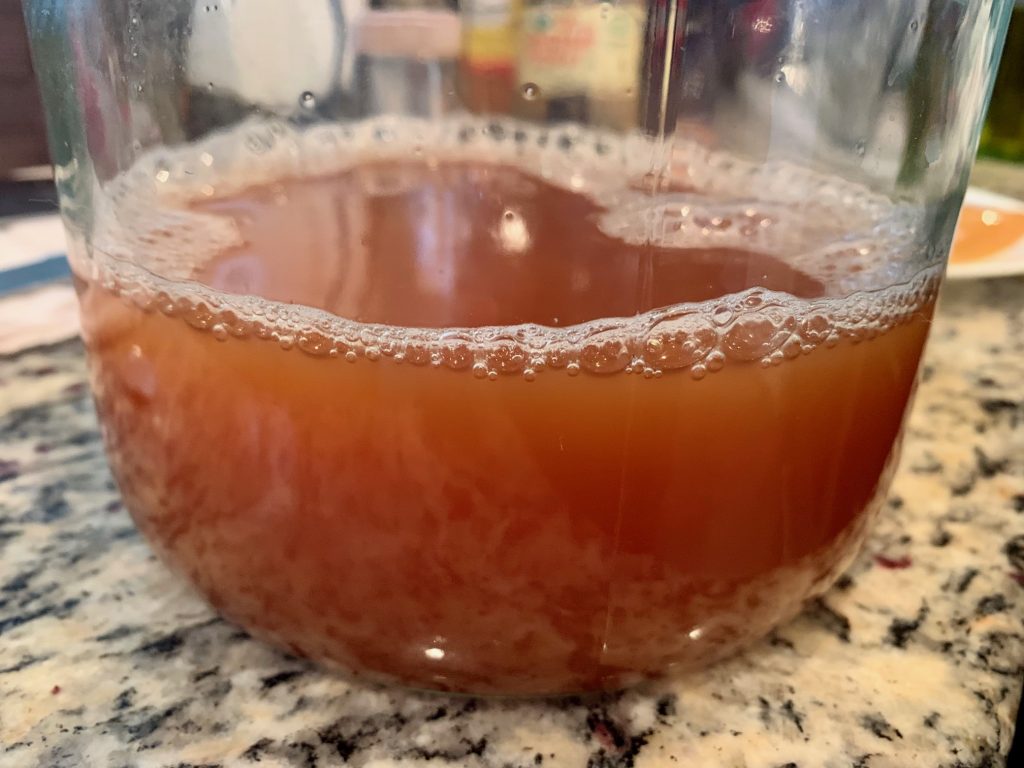
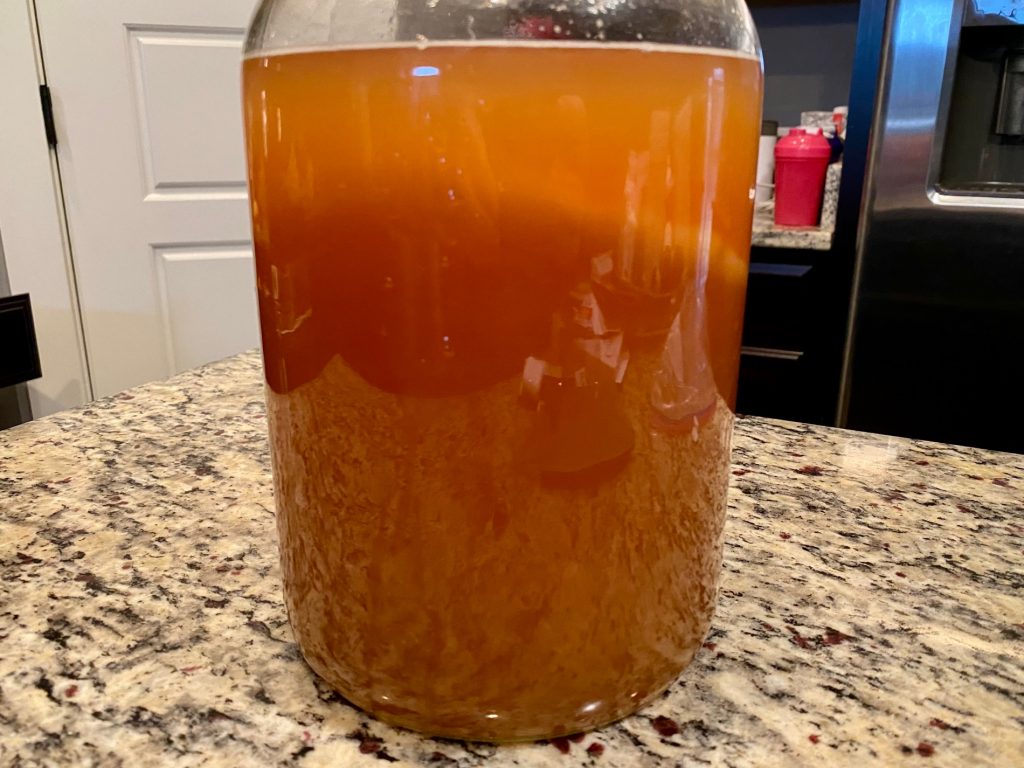
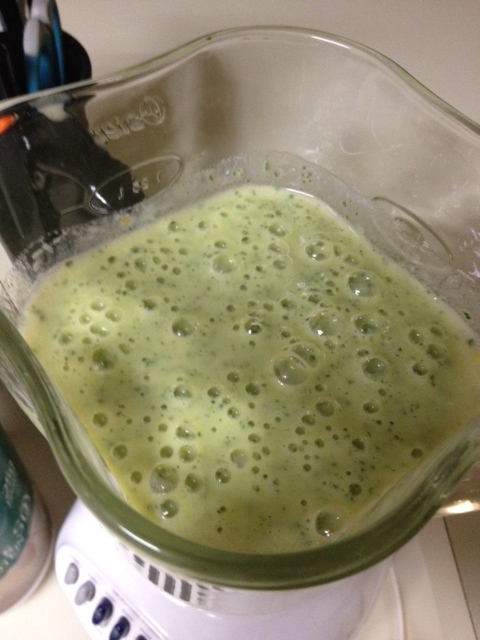
I forgot to take a picture of the tea-making, so here you can see what my brewed tea looks like for making a gallon of kombucha.

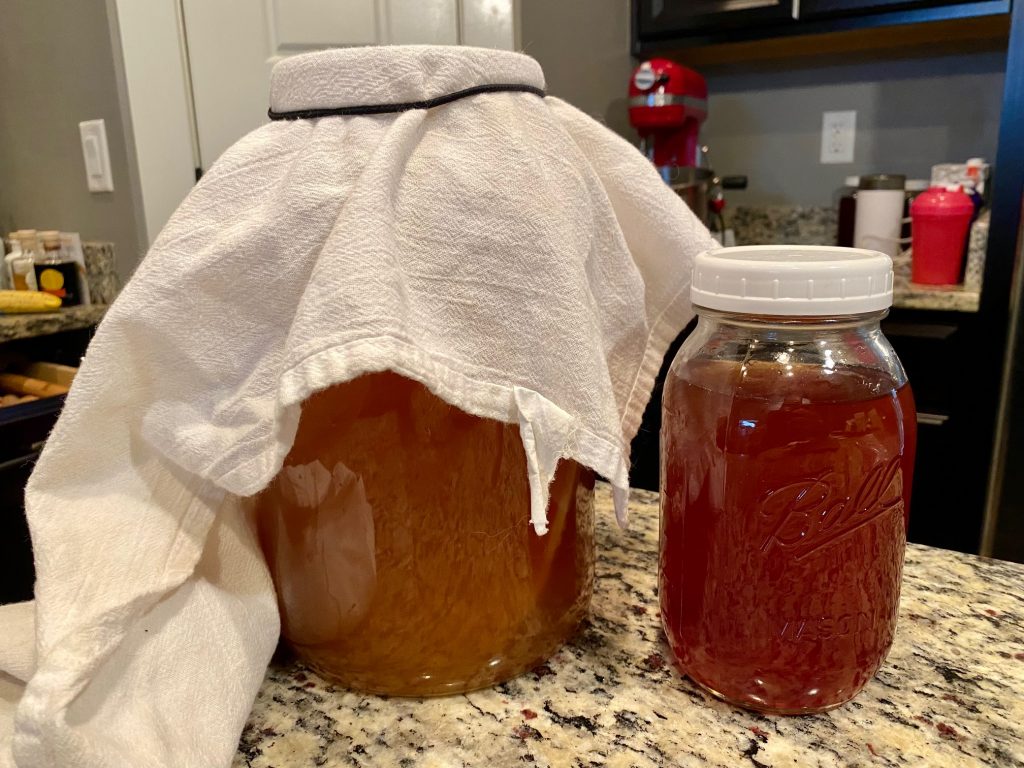
Step 2: Pour up your ready-to-go kombucha (if you’re not starting from scratch). If you’re starting from the very beginning, skip down a couple steps.
Wash your hands and take the tea towel off the top of the jar. Gently remove the scoby and place it on a clean plate. Set aside, you’ll need it at the end. If your scoby has gotten super thick, you can peel some layers off and throw them away or gift them to a friend.


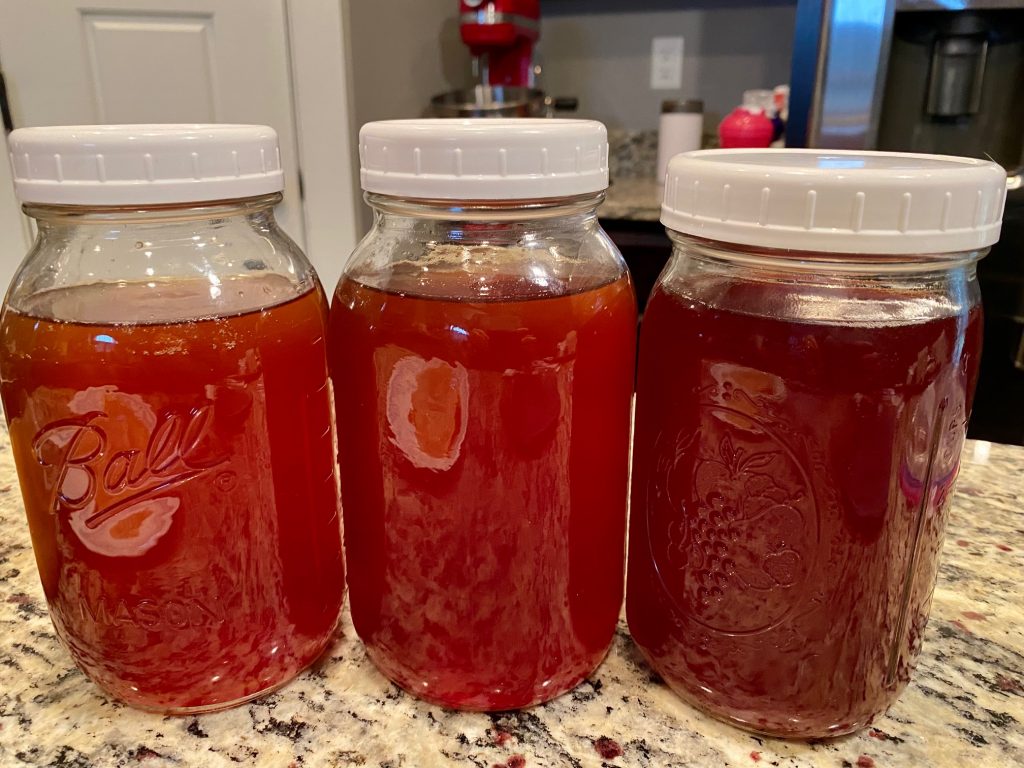
I pour out MOST of the kombucha into my clean jars. A gallon should make three to four jars, and I leave a bit of room at the top to add juice for a second fermentation.
You want to leave about two cups of kombucha in the gallon jar, as the starter for your next batch. I just eyeball it, the exact amount isn’t important.


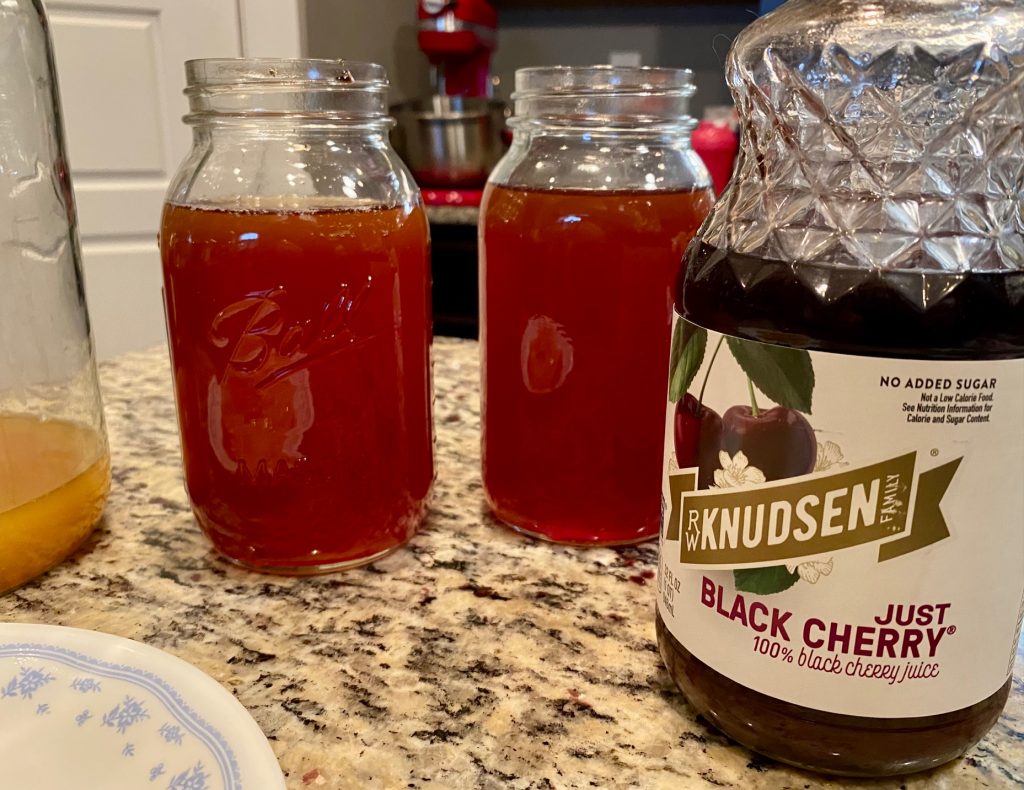
I usually add a splash of organic, 100% juice to each small jar of kombucha, then put the lids on tight and leave them for a few more days (known as a “second ferment”). I love dark cherry currently, but you can play around with flavors.
I will say that my kombucha doesn’t really get fizzy anymore (probably due to the plastic lids not sealing quite as tight as metal). That doesn’t bother me though.
Okay, set aside your ready-to-go kombucha and just drink it whenever you feel like it.
Step 3: Now it’s time to make the new batch! If you’re starting from scratch, pour the liquid that came with your scoby into the gallon jar, but DON’T put the scoby in yet. Just set it aside on a clean plate.
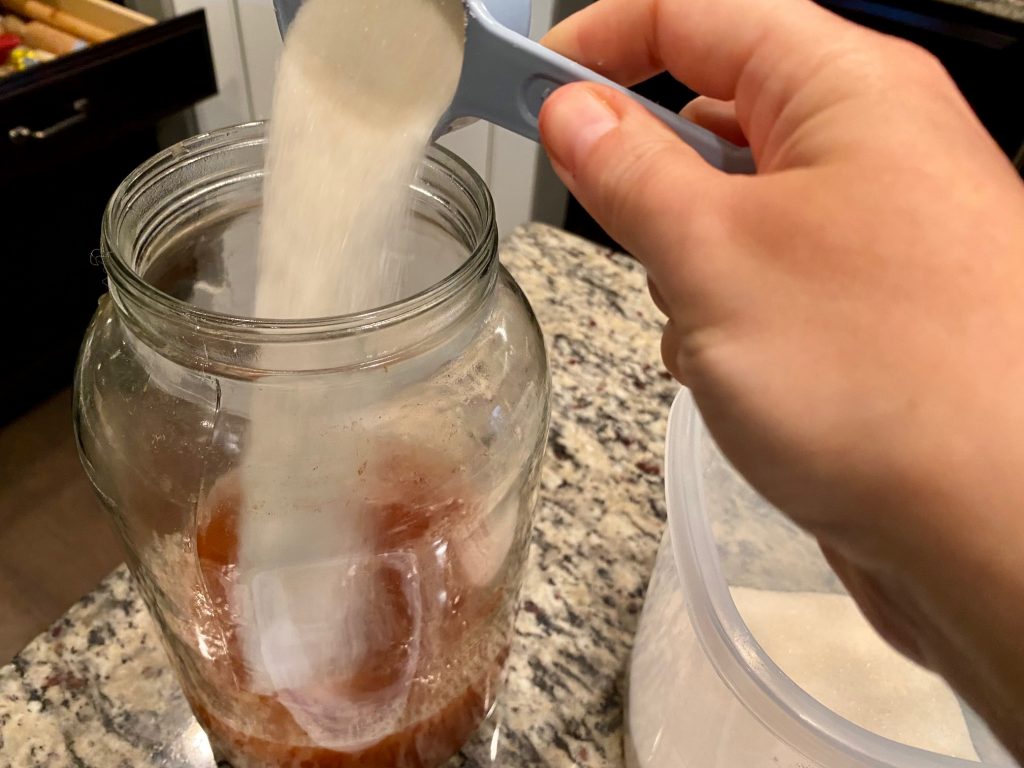
With the liquid left over from our old batch OR your liquid that came with the new scoby, pour your tea mixture in with it, and add 1 cup of organic, non-GMO sugar. Then fill the rest of the jar up (to the “shoulders”, not to the very top) with filtered water.
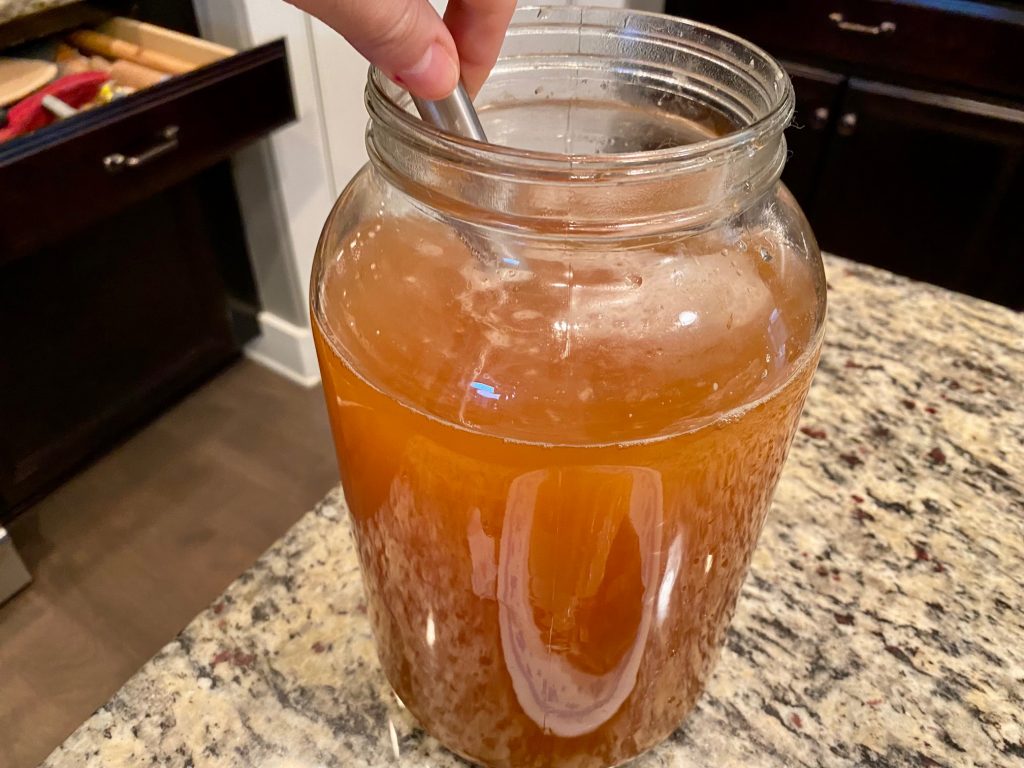
Then stir in the sugar until it’s completely dissolved.
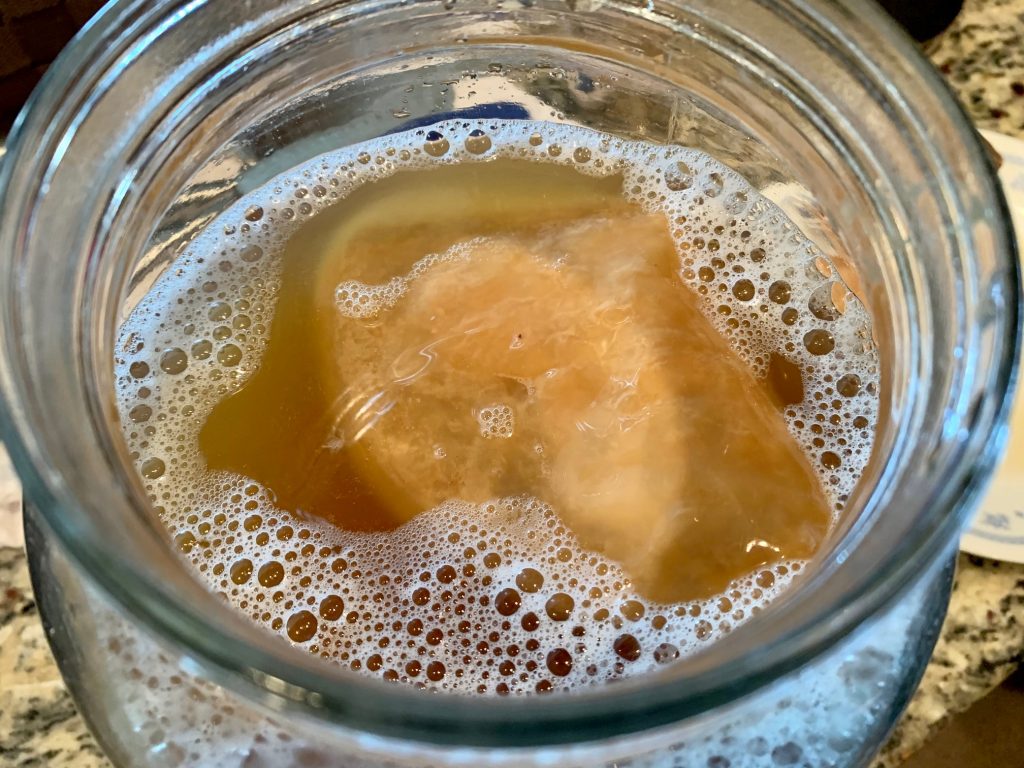
Then all you have to do is gently lay your scoby in the jar. Usually it will float right away, but sometimes it sinks to the bottom and makes its way to the top over time.
You can see how my scoby has continued to grow and thicken, so I peeled off some layers and threw them away. You will have to do this from time to time, and it’s a sign of a healthy, active scoby.

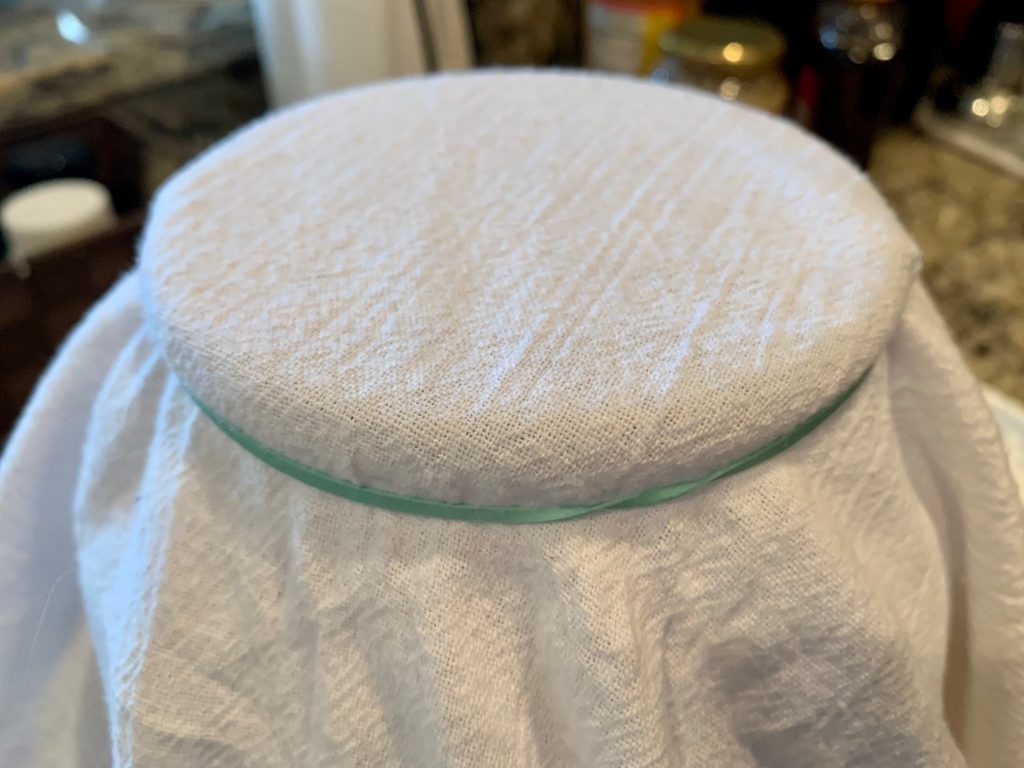
Now all you have to do is put one of your clean tea flour sack tea towels over the top and fasten it with a rubber band…or in my case, a stretched-out hair tie 🙂

Set your new batch of homemade kombucha somewhere out of the way (ideally at least room temp or a tiny bit warmer, not chilly), and let it ferment for at least a week. However, often it will take more time with newer scobys.
It will require a bit of trial and error for you to “get to know” your scoby. You can taste the brewing kombucha to see if it’s done and ready to “turn over”…if it still tastes sweet at all, like sweet tea, it’s not done. All the sugar should be eaten and converted before you turn over a new batch.
Hopefully this helps show you the steps for how to make kombucha—as I said at the beginning, it’s a super easy process and a great way to have natural fermented foods handy at all times (and for very little cost)!
Other kitchen how-to’s you may find helpful:
- The Easiest, Juiciest Poached Chicken Breasts (& How to Shred Chicken in 10 Seconds)
- How to Survive a Functional Medicine Detox and/or Gut Health (Candida, SIBO, etc) Protocol
- Grilling Tips For First-Timers & How To Use A Gas Grill
- How To Brine Chicken Breasts: A Secret To Amazing Chicken
- How to Cut Up & Roast a Butternut Squash
Pin for later!


How To Make Homemade Kombucha
How to make kombucha at home...this easy homemade kombucha recipe only takes a few minutes per batch, giving you healthy fermented drinks all the time!
Materials
- See links below
- A starter scoby (I got mine from a friend, but you can buy them online too)
- Organic non-GMO cane sugar (yes, organic & non-GMO is important)
- Organic black tea (I also add in some organic green tea)
Tools
- A gallon jar with a wide mouth (or similar GLASS container)
- Clean tea towels (cheesecloth or muslin type) & a large rubber band
- Jars that seal well (for holding your kombucha once it's ready to drink)
Instructions
- Brew some strong tea. There are a lot of ways to do this, but I usually boil 3-4 cups of filtered water and then add the tea bags. I usually use 4 black tea bags & 1 green tea bag. It would be smart to stir the sugar in while the water is hot, but I’m never smart.
- Let the tea bags steep for quite a while…at least 15-20 minutes to get really strong (and cool off), but it's okay to leave it for a few hours. You don’t want to add really hot liquid to your scoby.
- If you're turning over an existing kombucha batch, first we'll pour up your ready-to-go kombucha (if you’re starting from the very beginning, skip down to Step 7). Wash your hands and take the tea towel off the top of the jar. Gently remove the scoby and place it on a clean plate. Set aside, you’ll need it at the end.
- If your scoby has gotten super thick, you can peel some layers off and throw them away or gift them to a friend.
- Pour out MOST of the kombucha into smaller clean glass jars, leaving around 2 cups in the large gallon jar (exact isn't important, I eyeball it). A gallon of kombucha should make three to four regular-size Mason jars, leaving a bit of space at the top to add juice for a second fermentation.
- You can add a splash of organic, 100% juice to each small jar of already-brewed kombucha, then put the lids on tight and leave them for a few more days for a second ferment. Or if you prefer, they're ready to drink as-is.
- Now we brew a new batch of kombucha. If you’re starting from scratch, pour the liquid that came with your scoby into the gallon jar, but DON’T put the scoby in yet. Just set it aside on a clean plate.
- You may have to peel off some layers from your scoby and throw them away. You will have to do this from time to time, and it’s a sign of a healthy, active scoby.
- Your gallon jar now should either have the liquid left over from our old batch OR your liquid that came with the new scoby. Pour your strong tea mixture in with it, and add 1 cup of organic, non-GMO sugar.
- Then fill the rest of the gallon jar up (to the “shoulders”, not to the very top) with filtered water. Stir in the sugar until it’s COMPLETELY dissolved.
- Then all you have to do is gently lay your scoby in the jar. Usually it will float right away, but sometimes it sinks to the bottom and makes its way to the top over time.
- Put one of your clean tea flour sack tea towels over the top and fasten it with a rubber band…or in my case, a stretched-out hair tie. You definitely don't want to actually seal it with a lid.
- Set your new batch of homemade kombucha somewhere out of the way (ideally at least room temp or a tiny bit warmer, not chilly), and let it ferment for at least a week. However, often it will take more time with newer scobys.
Notes
- It will require a bit of trial and error for you to “get to know” your scoby. You can taste the brewing kombucha to see if it’s done and ready to “turn over”…if it still tastes sweet at all, like sweet tea, it’s not done. All the sugar should be eaten and converted before you turn over a new batch.
- I make a gallon at a time, so that's what the amounts below will make, but it's easily scalable up or down. You don't want metal to interact with your kombucha at any time, so I get the plastic mason jar lids so I can wash them easier and not worry about rust.
Recommended Products
As an Amazon Associate and member of other affiliate programs, I earn from qualifying purchases.
-
 4 Pcs Regular Mouth 32-Ounces Mason Jar
 -
 10 Pack Flour Sack Dish Towels, Certified Organic Cotton
 -
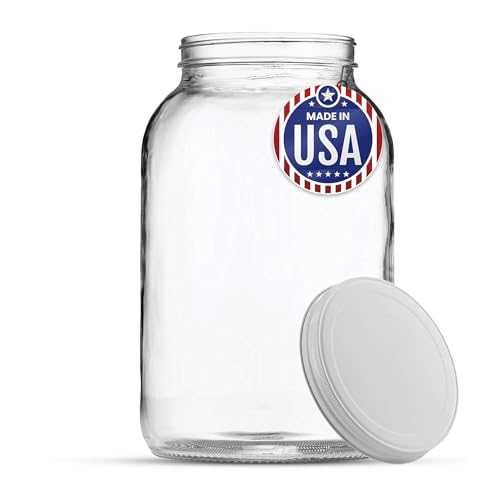 FastRack 1 Gallon Glass Widemouth Jar, Clear
 -
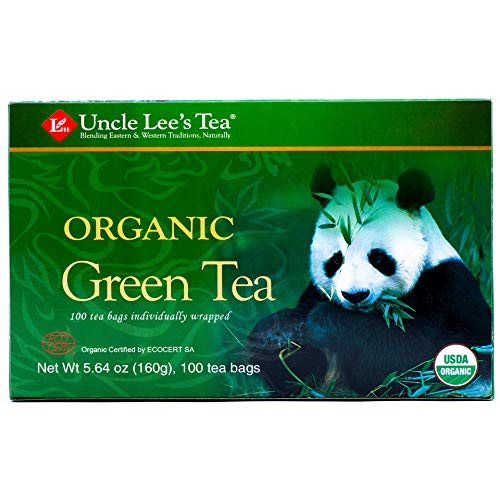 Uncle Lee's Organic Green Tea -- 100 Tea Bags
 -
 NEWMANS OWN ORGANICS Organic Royal Black Tea, 100 CT
 -
 Anthony's Organic Cane Sugar, Gluten Free & Non GMO
 -
 Certified Organic Kombucha Scoby (Gaia) + SUPER STRONG starter liquid


I would love to try making some kombucha. So many great benefits, and it doesn’t sound too difficult.