


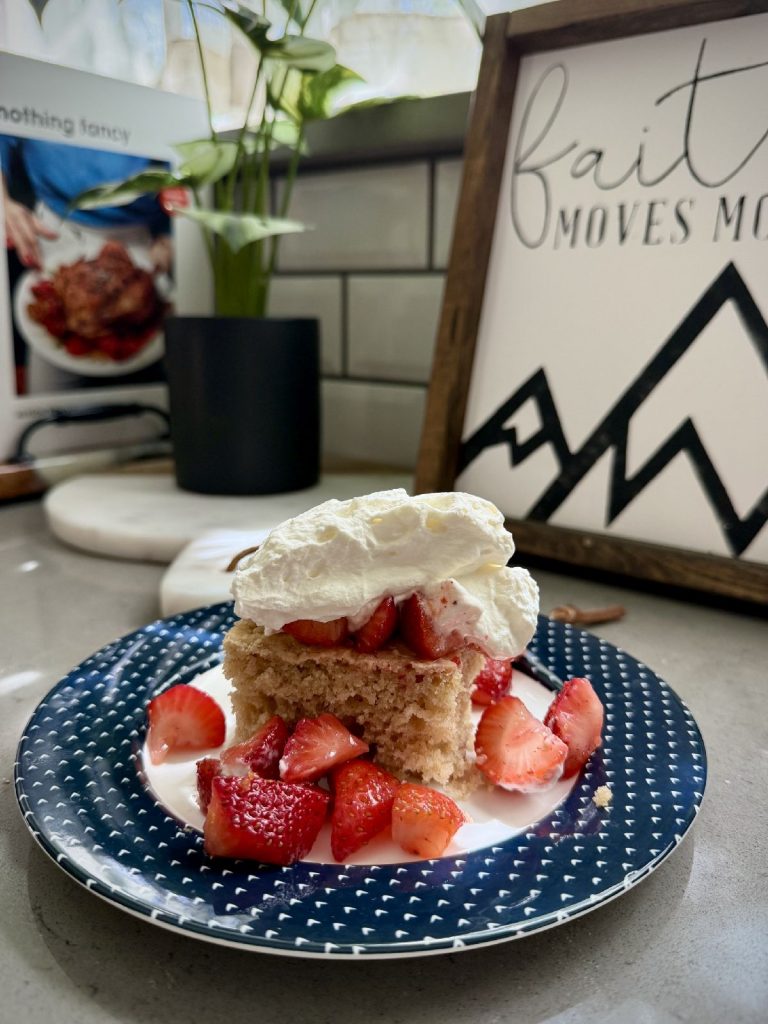
A Healthier Take on Strawberry Shortcake for a Big Group
It’s no secret that there are a few select foods…
When you find a good thing, you ride that horse. These are the recipes that I’m truly obsessed with–and make constantly. You’ll fall in love with my favorite, crave-able main dishes, cocktails, desserts, & more!
It’s no secret that there are a few select foods…
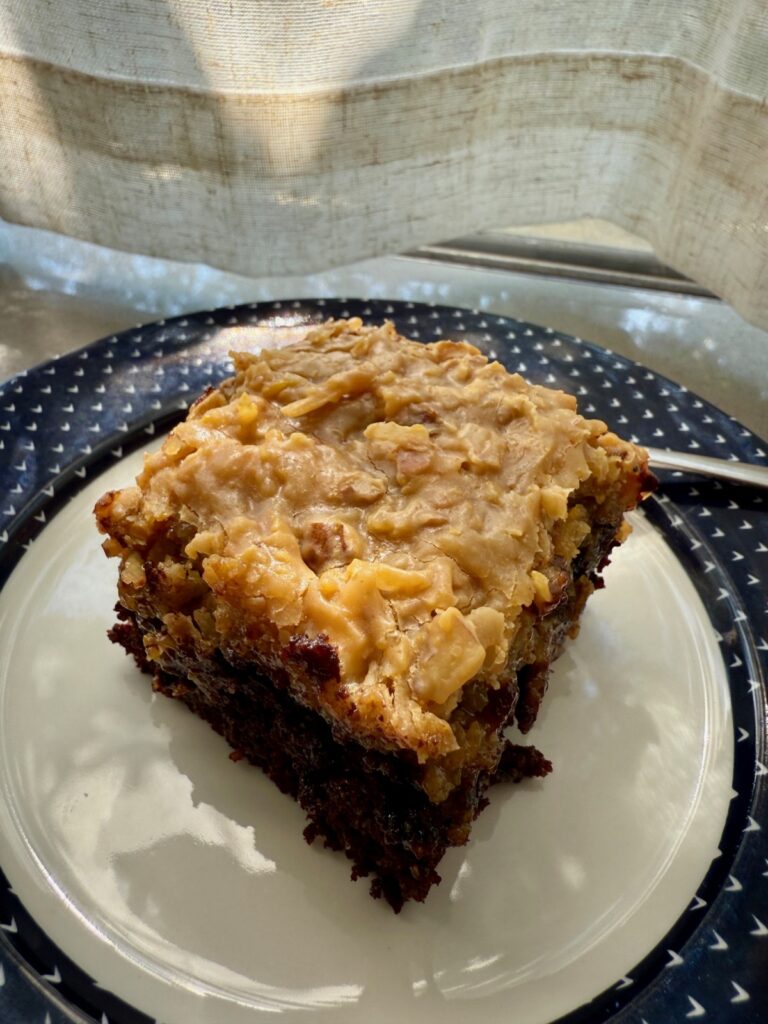
I don’t really like coconut. I’m not a huge fan…

This healthy chocolate zucchini cake is addictive. How addictive? I…
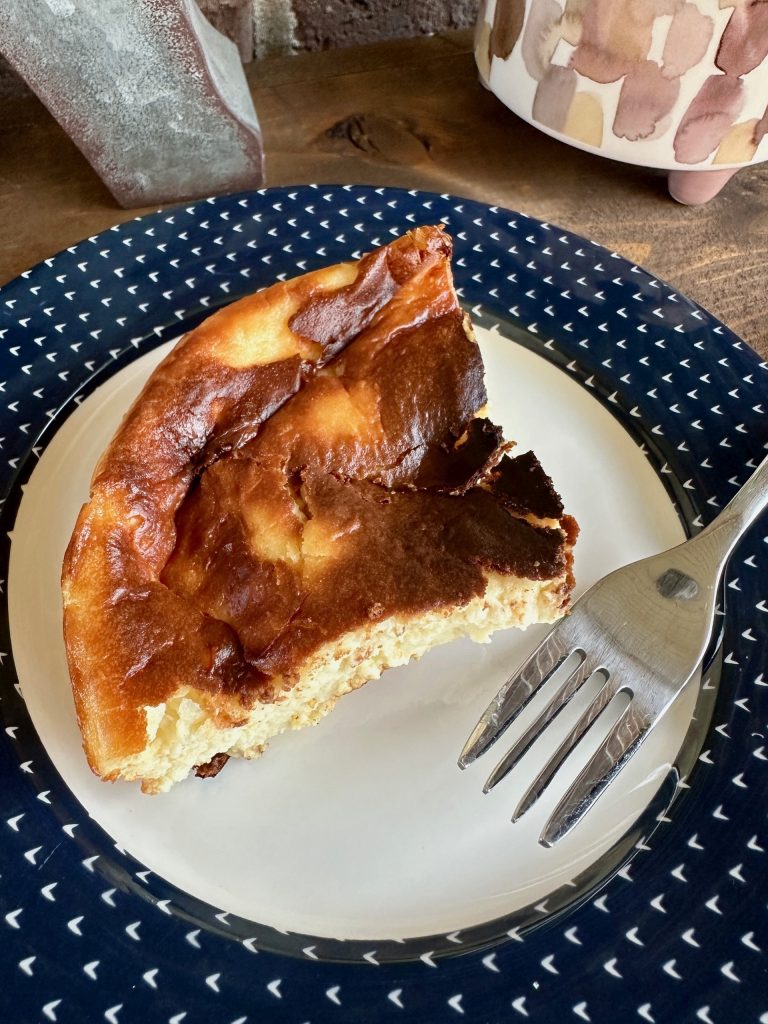
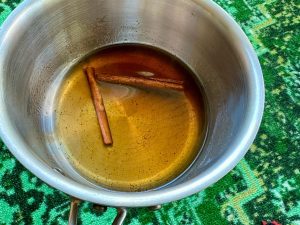
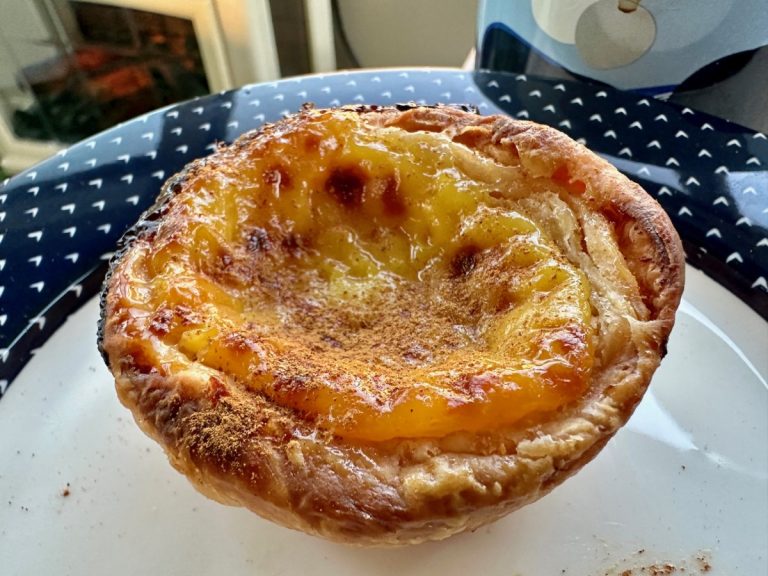
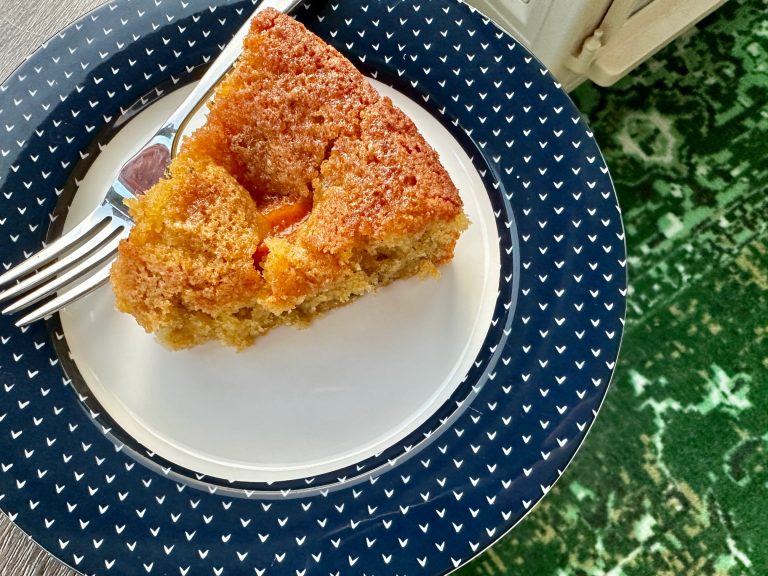
Ohhhhh this is a dangerous. This delicious orange almond basque…
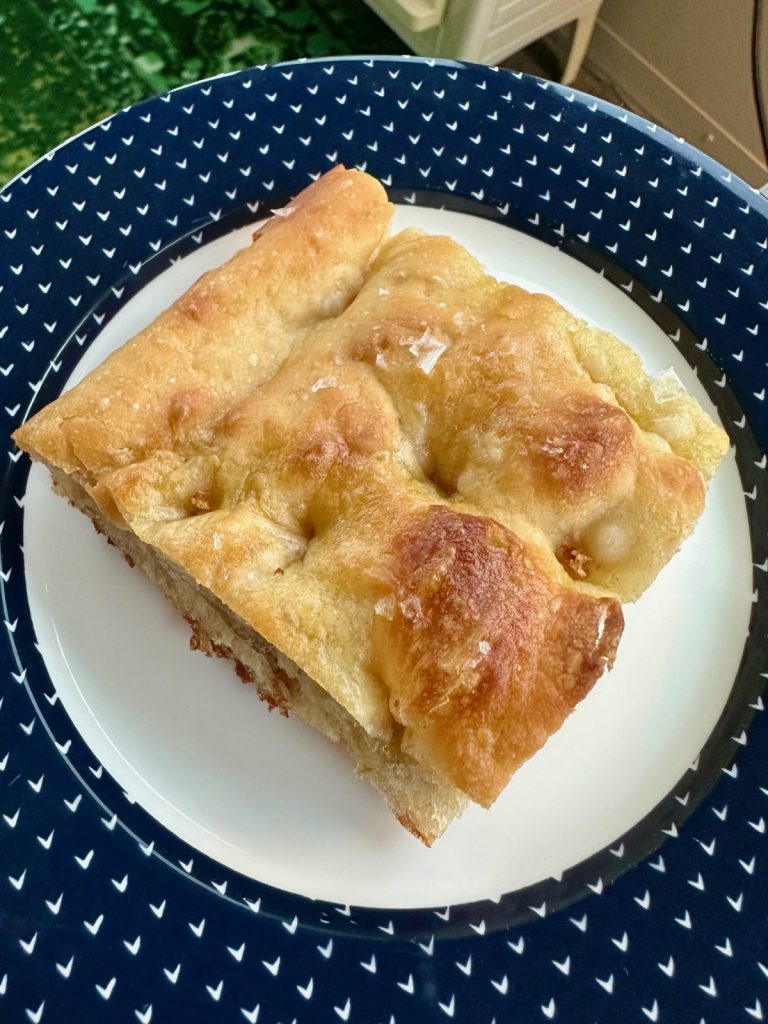
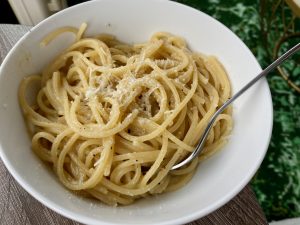
Here’s the thing. A lot of you think bread is…
It’s been a looonng time since I went down an…
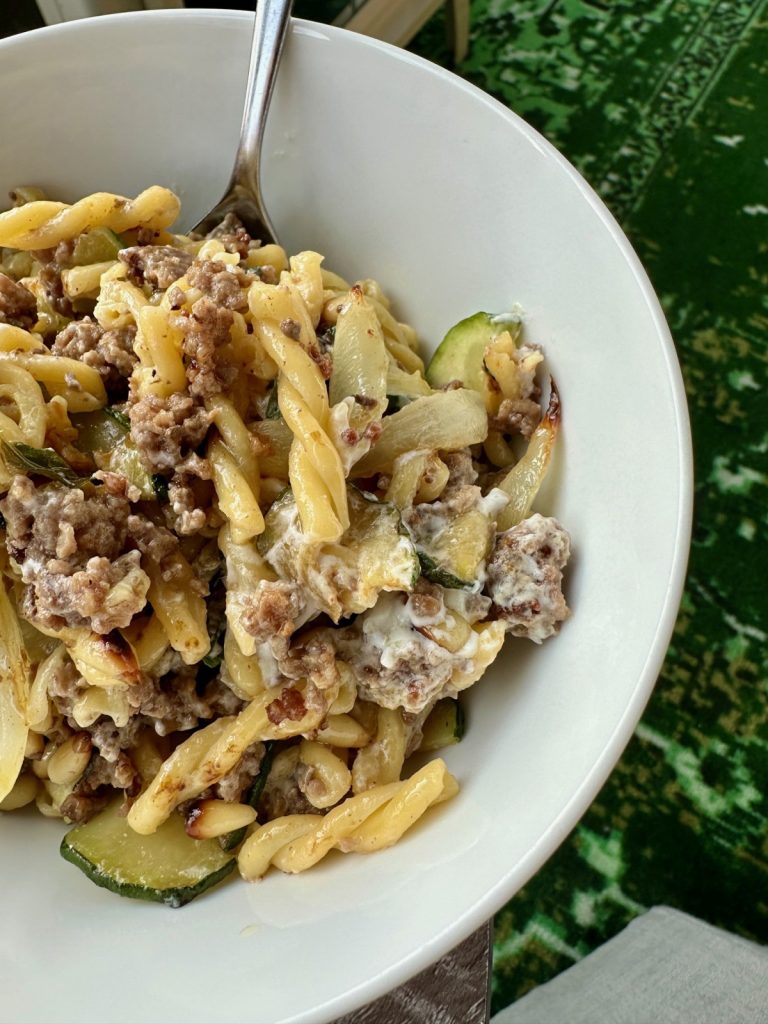
I don’t have a good name for this beef and…
I haven’t flipped from “ehhh I’m not sure” to OBSESSED…

It’s weird…I’ve never made gingerbread before, and we never once…
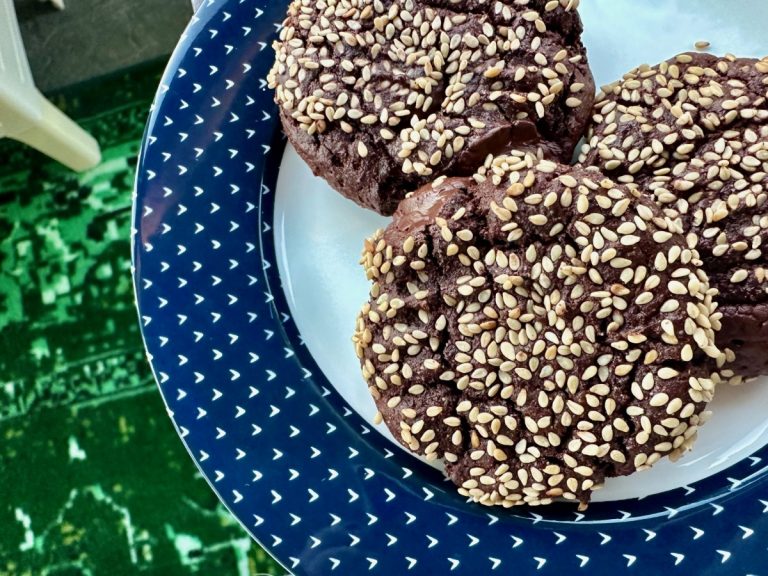
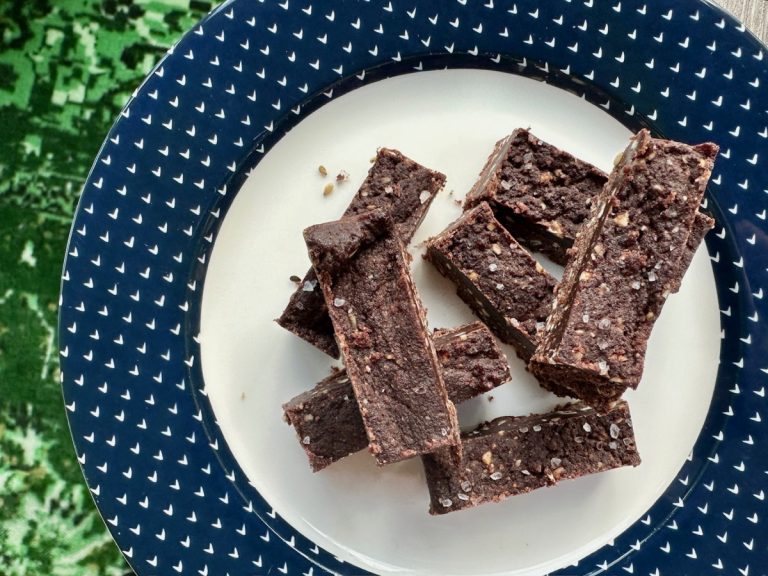
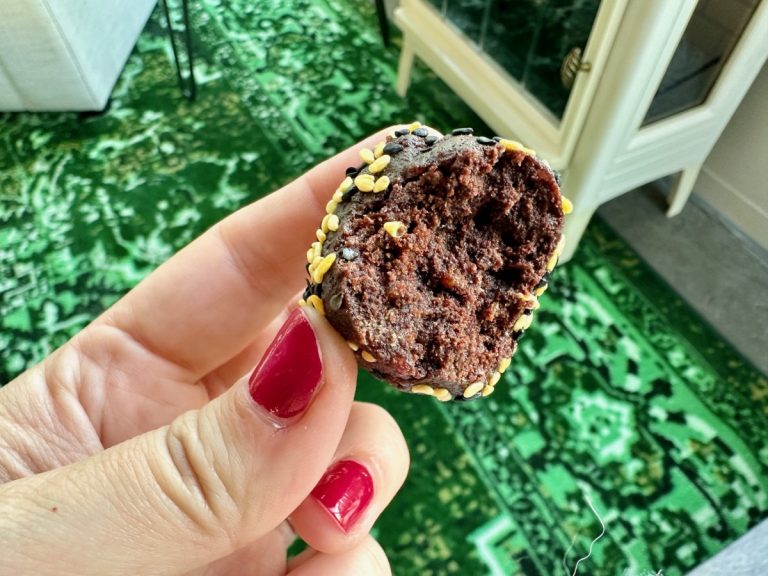
PERFECTION. That’s what these dark chocolate tahini cookies are…delicate, rich,…
I am, as always, terribly late on this. Like…a month…
Sometimes you take a bite of something and just go,…
Earlier this summer I was out running errands and decided…
Perfection. There’s really no other way to describe these amazing,…
So…you ever accidentally eat an entire cake in less than…

Getting to the absolute best shortbread recipe has been a…