


Instant Pot Hard-Boiled Eggs (The Fool-Proof Way I Always Do Them)
This is less of a “recipe” and more of a…
I’m not the world’s biggest snacker, but here are some delicious and easy snack recipes perfect for a Sunday afternoon or Super Bowl, or even for an awesome appetizer!

This is less of a “recipe” and more of a…
It is truly insane that I haven’t shared my favorite…
Just WOW. This is so delicious! When I first heard…
I haven’t flipped from “ehhh I’m not sure” to OBSESSED…
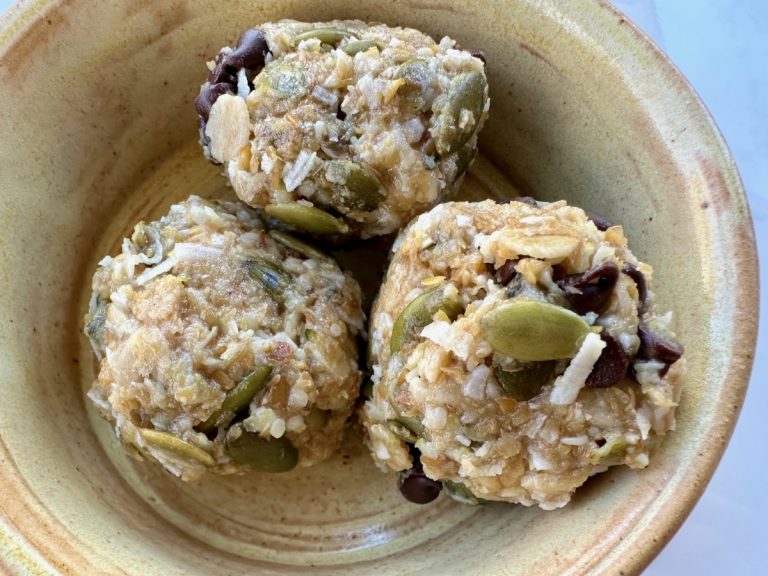
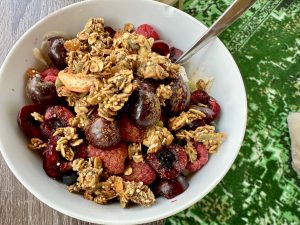
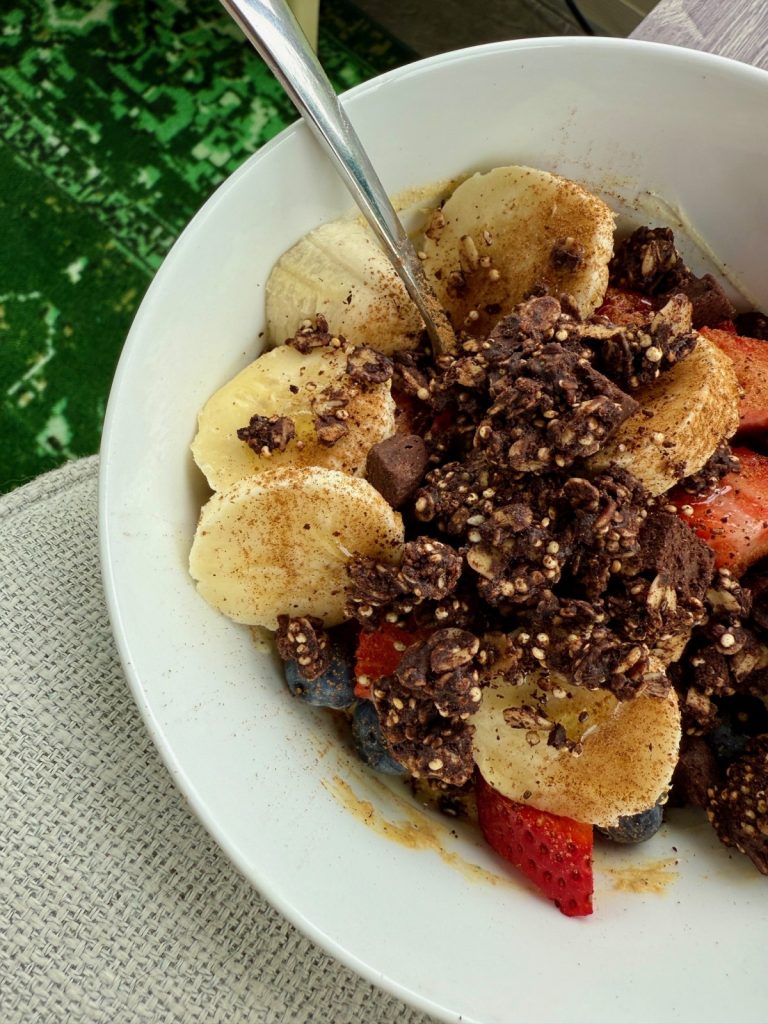
I love a make-ahead morning snack, and these follicular seed-cycling…
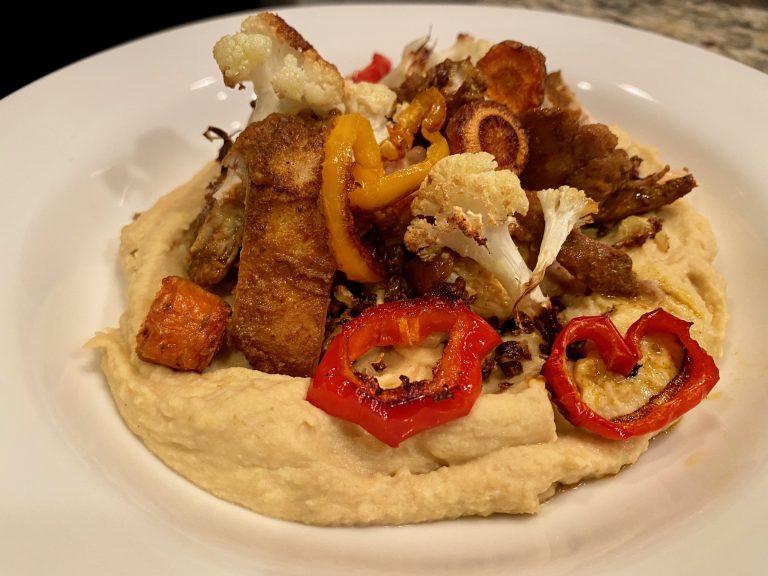
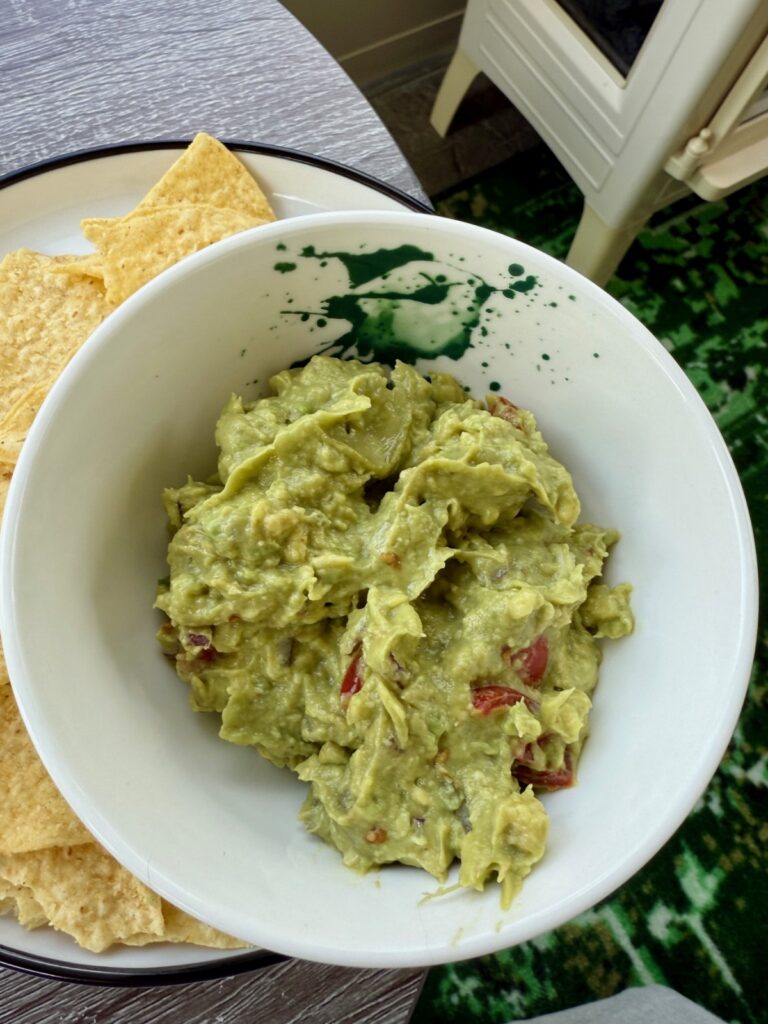
I was never the biggest fan of store-bought hummus. It…
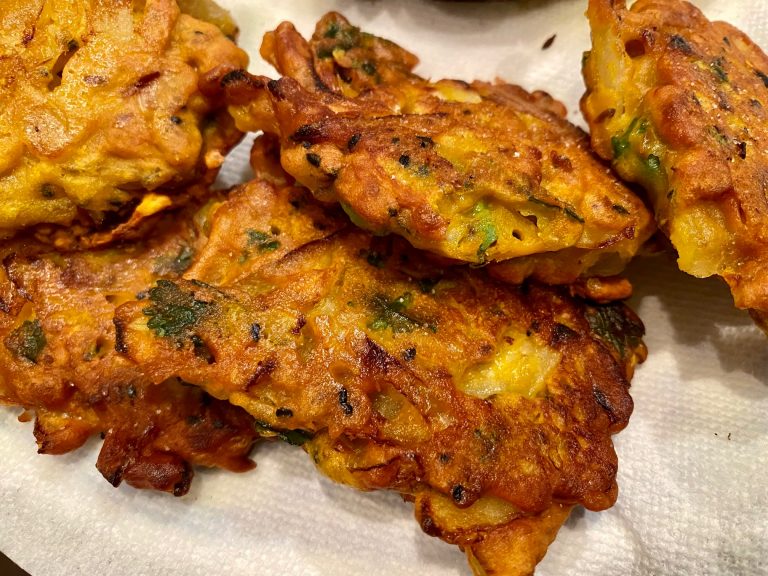
Veggie or onion pakoras are SERIOUS comfort food for me. …
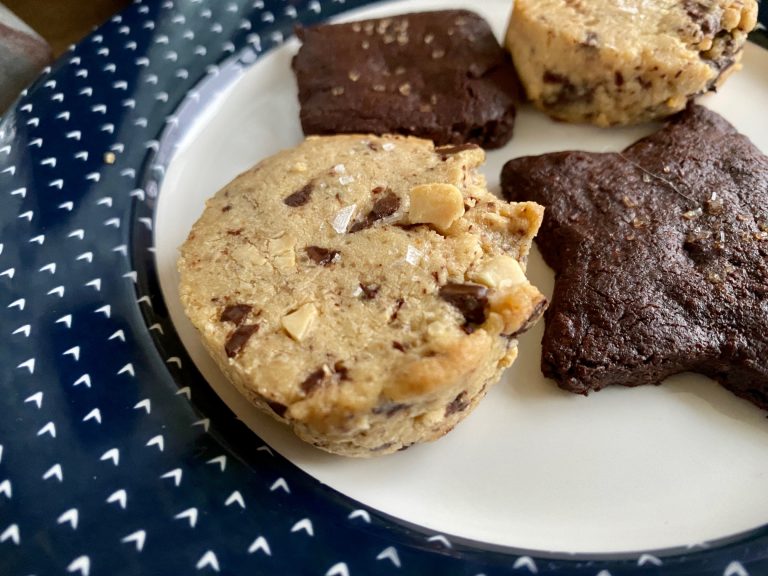
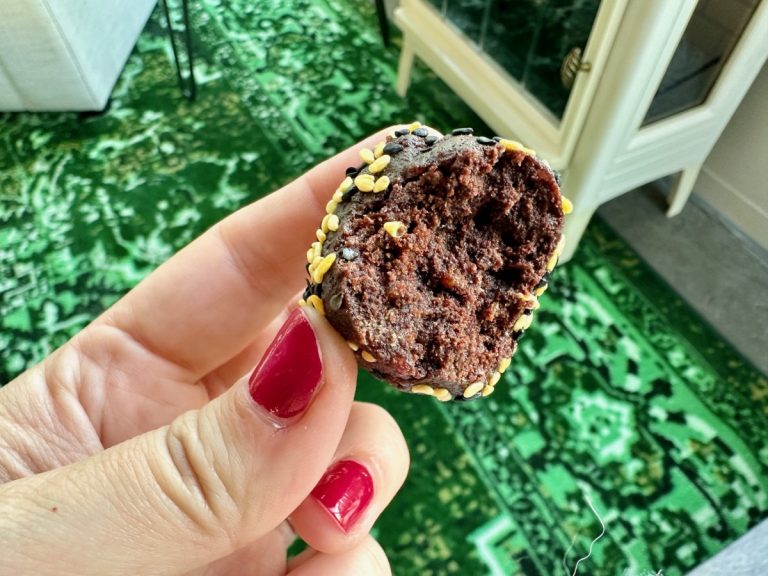
Figuring out this salted peanut butter chocolate shortbread recipe has…
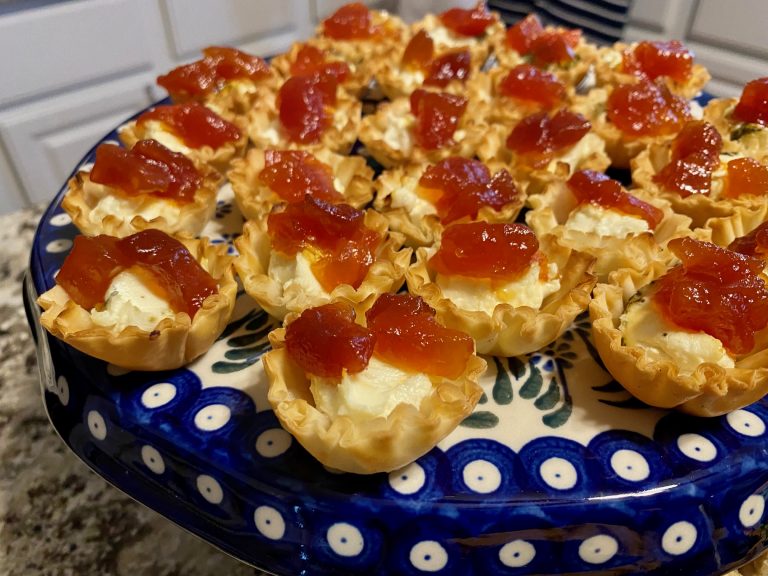
CHEESE AND JAM! Y’all who have been around here long…
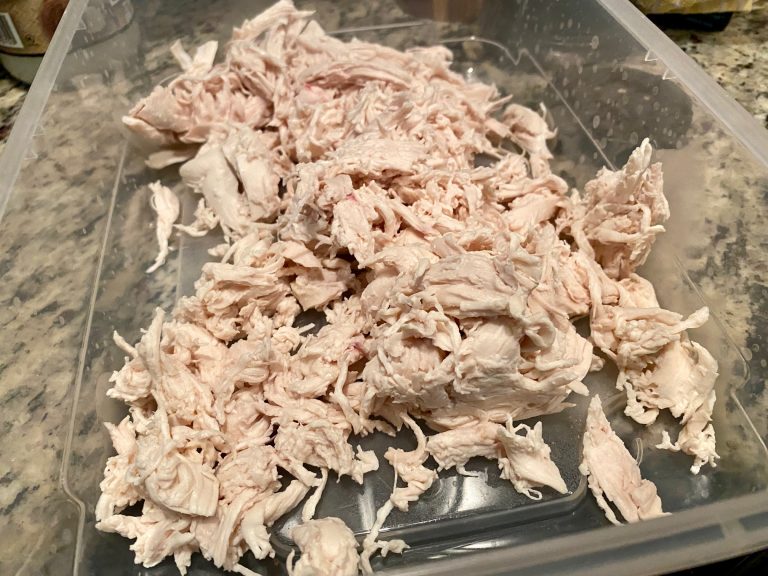
This recipe is a two-in-one kitchen hack, and it actually…
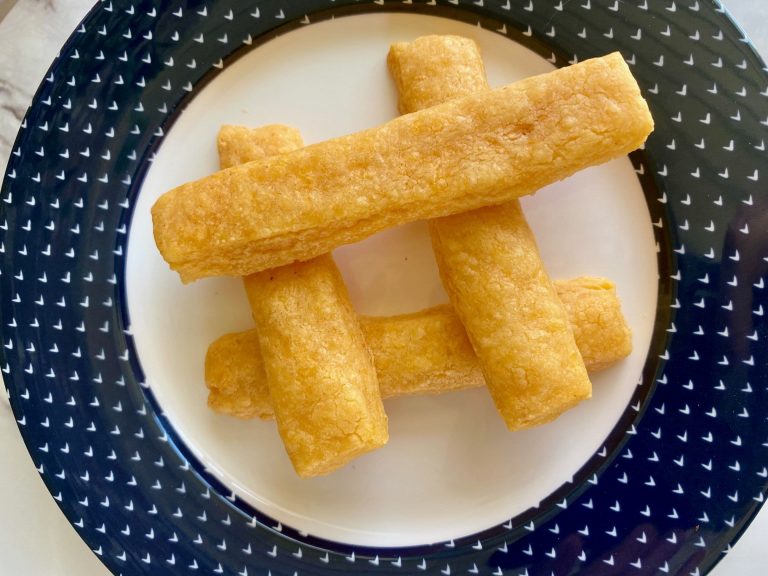
So I don’t totally know what to call these, so…
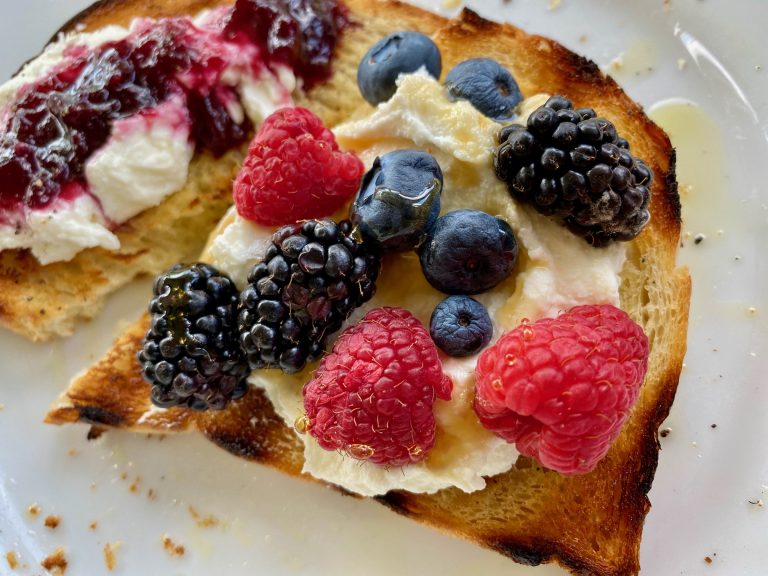
That picture might be true perfection. Golden grilled sourdough bread,…
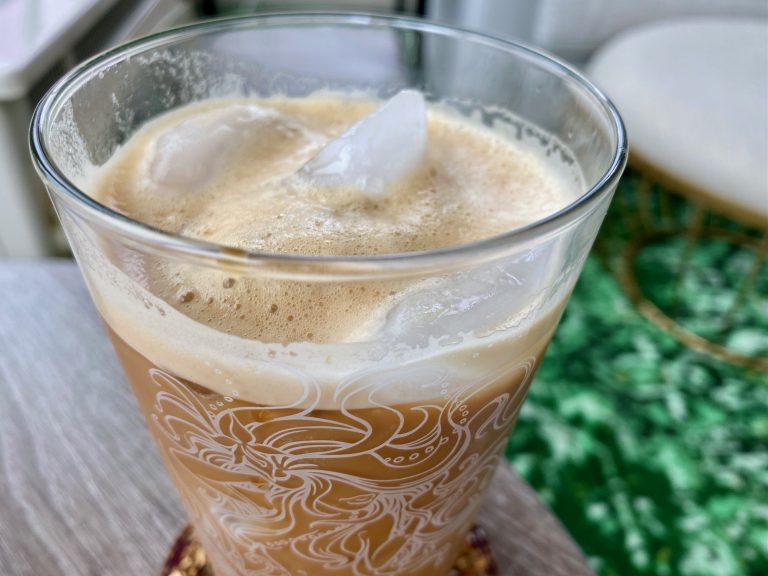
When I first saw a post about a shaken iced…
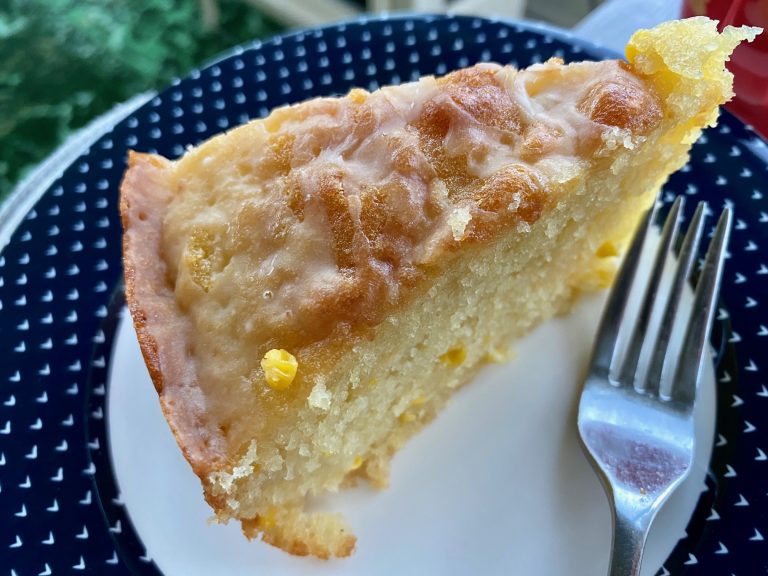
Somehow I’ve gone all summer without making a recipe using…

I want to eat this cake all day, every day….

In general, puppy chow is at the top of the…