


Instant Pot Hard-Boiled Eggs (The Fool-Proof Way I Always Do Them)
This is less of a “recipe” and more of a…
Sometimes technique matters. From discovering the best kitchen gadgets to finding that perfect hack for cutting butternut squash, I’ve got you covered on cooking how-to’s.
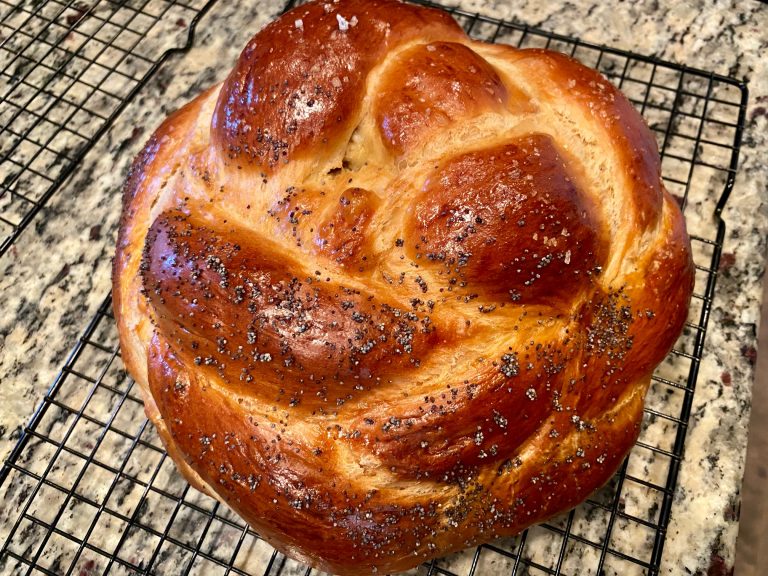
We’ll talk about the best method for making moist chicken breasts every time, how to braid cool 4-strand challah bread, how to make bechamel sauce, and so much more. Work smarter, not harder!

This is less of a “recipe” and more of a…

I usually focus on the things we’re putting *in* our…

I had a total hip replacement at age 40. Yeahhh…

What do you do when your stove and oven give…
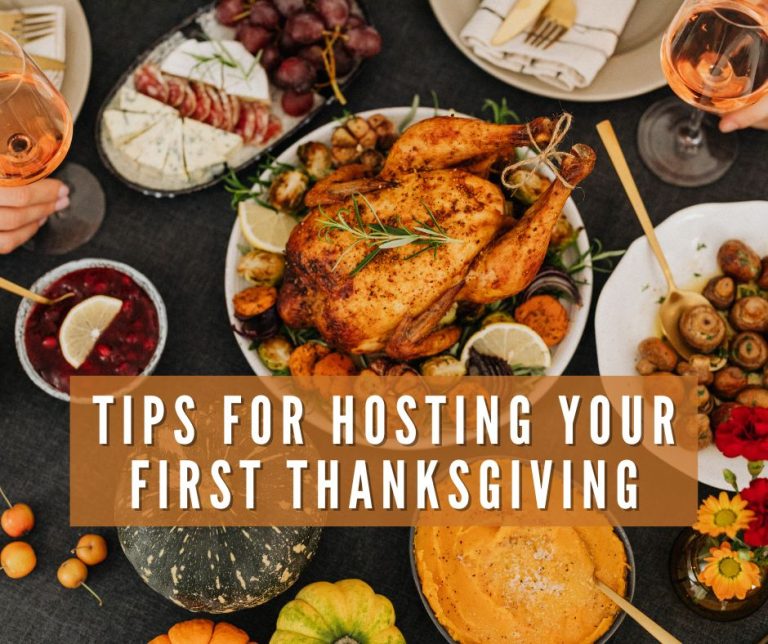
My family is a Thanksgiving family. It’s our major family…
Perfection. There’s really no other way to describe these amazing,…
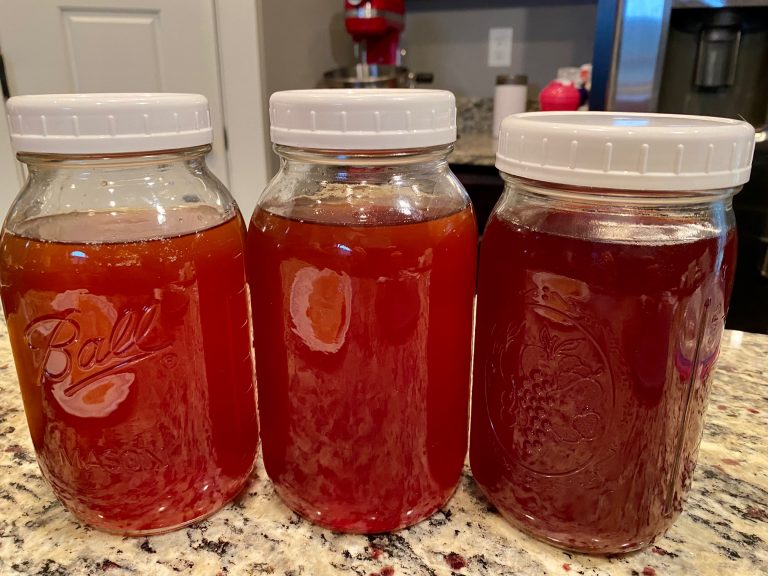
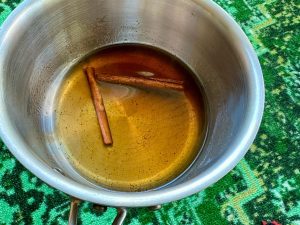
Today we’re talking how to make kombucha! Why pay $6…
So, guys…I’ve been on quite a journey the last six…
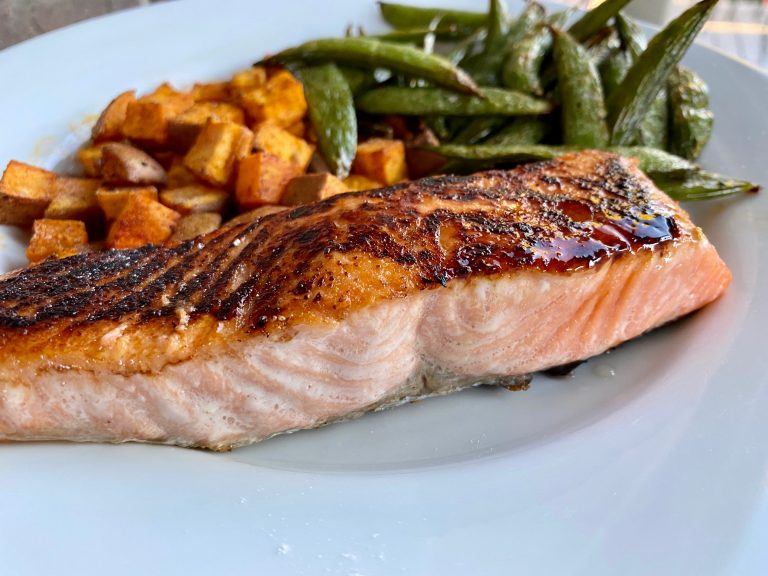
Have you ever wondered how to cook salmon without oil? …
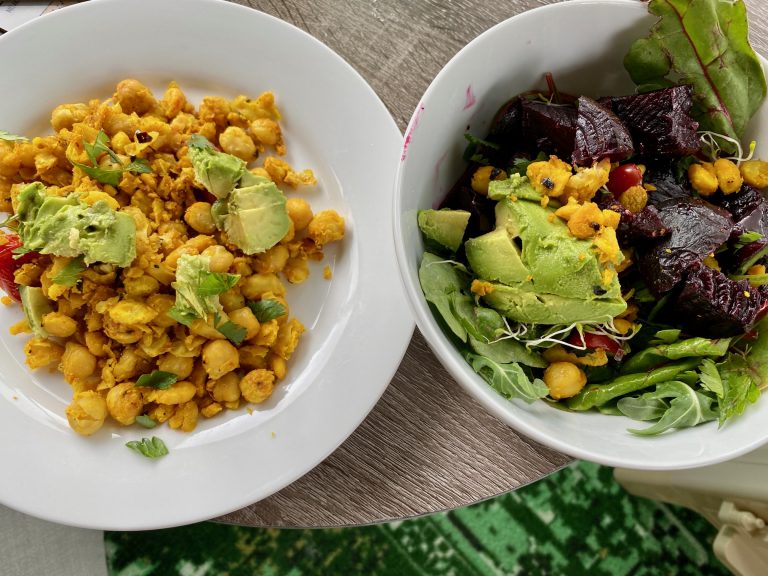
This recipe is a two-in-one kitchen hack, and it actually…

“I only have XX hours before dinner, what kind of…
I look at this photo and am like…MAN, did I…

So this is a departure from my normal cooking and…
I hate white chocolate. HATE. It sits on a throne…
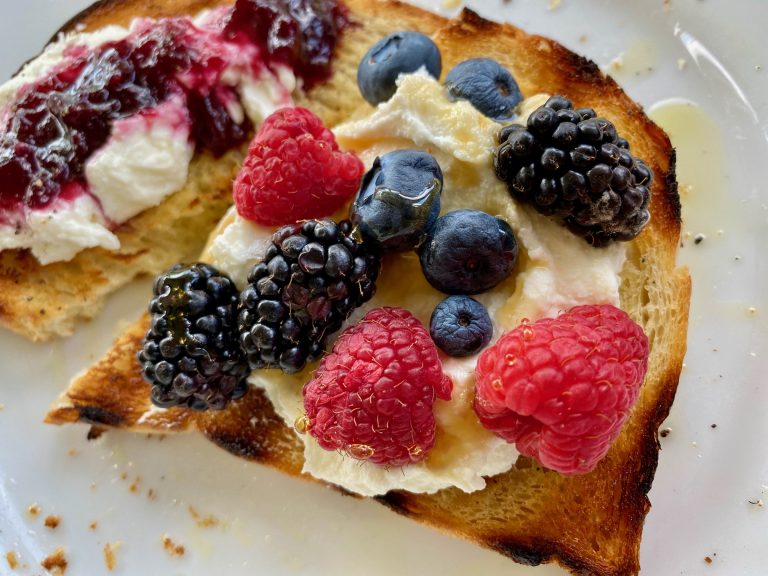
That picture might be true perfection. Golden grilled sourdough bread,…
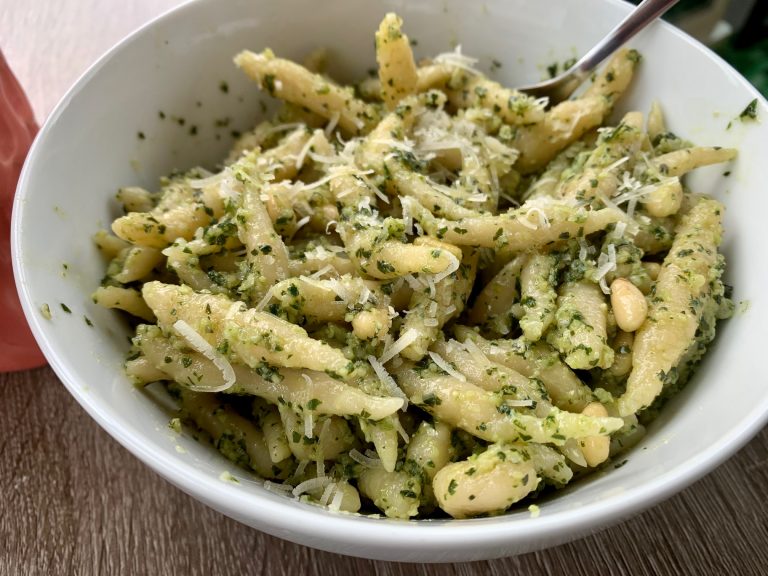
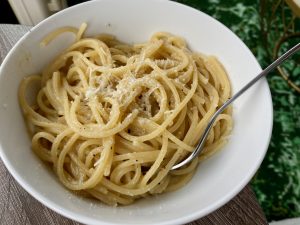
Fresh pasta con pesto has long-been probably my favorite food…