Easy, Awesome Challah Bread
ISN’T IT PRETTY?!?!
When I saw a recipe that claimed to be easy challah, my reaction was…”sure, easy for some people, but for a bread novice like me not so much”. This was before I had ever really gotten into baking bread (several years ago), and this was really one of my earliest bread experiments. It went so well, it boosted my confidence for future yeast-based baking.

Seriously, this bread is just beautiful. And it’s not just beautiful, it’s amazingly soft and flavorful and perfect. And easy.

I’d never had challah bread before this, but basically it’s a yeast-leavened, lightly-sweet braided dough made with eggs, then brushed with an egg wash before baking. It can be soft or dense, made with many different grains, created into other shapes (spirals, circles, birds, etc.), but at its heart it’s just a slightly-sweet, eggy bread.
And I can’t imagine that it gets much better than this recipe! First-try bread recipes can be tricky sometimes, and rarely are they absolutely perfect the first time. But this easy challah recipe lived up to its name…it was super forgiving, the braiding was super easy, and the final product made me want to eat ALL THE BREAD.
And I’m not even a bread person…

Let’s just look at it again, shall we???
(As a side note, challah makes the most AMAZING french toast…here’s my favorite small batch recipe!)

Save for later: A Tool to Decide What Bread to Make Based On How Long You Have…
Okay, moving on…
[Note: I’ve updated the instructions and photos, September 2019]
Add the room temperature water to the bowl of a stand mixer fitted with the paddle or whisk attachment (or if you’re lazy like me, just start with the dough hook). Sprinkle the yeast over the water and let stand for 5 to 10 minutes, until foamy. The original recipe says to warm up the water, but I’ve started using the Paul Hollywood take on bread baking and he says that the longer it rises, the better the flavor. If you’re trying to speed things up, though, warm it up a bit.
Add the 2 eggs, honey, and oil (or butter), and mix on low speed for a minute or two, until well combined.


Remove the paddle and put on the dough hook, then add 1 cup of flour and the salt, giving it a good mix to combine. Then add 2 more cups of the flour…with the mixer on low, allow the hook to fold in the flour gently (it will take a minute or two).
From here, decide whether you need the other 1/4 to 1/2 cup of flour. You want it to be a bit on the sticky side for sure. I usually use some of it but not always all. Don’t actively knead the dough (it will still be very soft and kind of sticky), unless you’re doing all your stirring by hand (in which case turn it onto the counter and knead for 1 minute max).

Put the dough into a lightly greased large mixing bowl and cover tightly with plastic wrap. Allow it to rise in a warm-ish place until doubled in volume, about 2 hours typically. A longer rise gives you more flavor, just don’t over-prove it…give it a little poke, and if the indentation remains it’s probably ready.


Gently punch the dough down and tip onto a lightly floured surface…don’t add too much flour!. Divide the dough in half (this makes 2 loaves).
Note: If you’re wanting to store it in the refrigerator to bake later, you can do so for up to 5 days…just put it in a container or ziploc with jut a tiny bit of air allowed in (lid slightly ajar or small opening in bag). When you’re ready to use, bring it to room temperature, then do the braiding and second rise.


Use floured hands to work with the dough, but don’t *work* lots of extra flour into it. Taking one of your two pieces of dough, divide it into three equal pieces and roll each into a long (about 12-inch) rope. The dough is very springy and will want to shrink back, but just gently and patiently keep stretching it. (Paul Hollywood does a super easy-looking rolling thing to get it into a rope, but I have tried and failed at this many times so I just kind of stretch and shape with my hands.)


After you have 3 long cylinders about 1-inch each in diameter, pinch one end of all three together and braid them, just like braiding hair. When you reach the end, pinch the other ends together, and then tuck both ends of the braided loaf underneath to make it neat (and hold everything together).
Place on a non-stick baking mat or parchment paper-lined baking sheet. Repeat the same process with the other piece of dough, so you have two loaves. Sometimes you get a fat and a skinny, like I have here 🙂


Cover dough with plastic wrap or a large plastic bag, and allow to rise again in a warm place for 40-60 minutes.
Preheat the oven to 350 F. Beat 1 egg into an egg wash, and right before baking *gently* brush it all over the loaf, making sure to get in the cracks.


Bake for 25 to 35 minutes, until the challah is golden and set. It should be roughly 200 F inside when done.


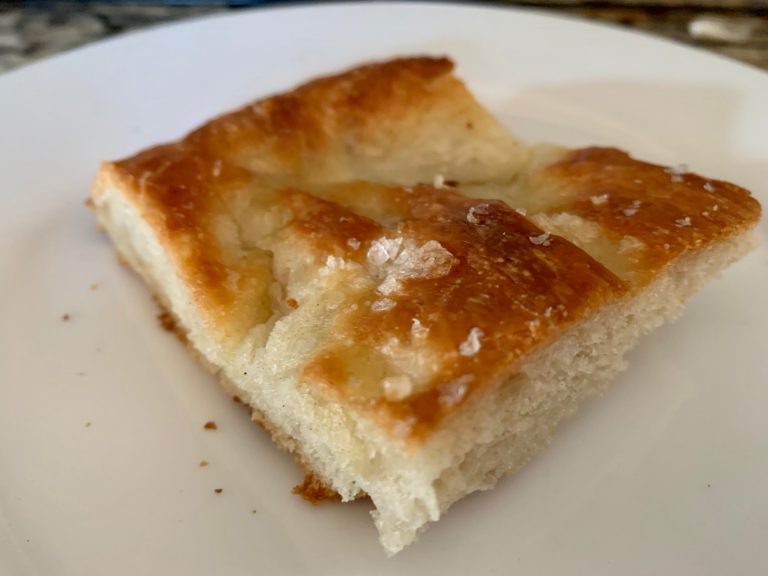
Allow the bread to cool for at least a half hour before slicing or pulling apart and serving. If you cut into bread while it’s still super hot, the gluten hasn’t totally set and it’ll still probably be too wet…it’ll sink into a mess. This easy challah is the softest, deliciousest bread ever! Even more amazing with honey, but I won’t fault you for butter, jam, or whatever else takes your fancy.

It can be kept in plastic wrap or foil, then placed in an airtight container or ziploc bag. I often wrap it in parchment paper and then wrap in tin foil for transport.
Other yummy braided breads you’ll love:
- Cinnamon-Walnut Challah Bread
- Dark Chocolate Orange Babka
- Swedish Vanilla Cardamom Bread
- Orange Cinnamon-Sugar Twist Bread
- A Traditional Challah Bread (& 4-Strand Braided Round)
Awesome Easy Challah Bread
Makes 2 loaves; note, the key to keeping the texture of this perfect is not to overwork it, so don’t do tons of stirring or kneading
- 1 cup of water; can be warmed to about 105 to 115F, but I use room temperature
- 2 1/4 teaspoons of instant yeast (one regular packet)
- 1/4 cup of honey
- 2 large eggs, room temp
- 1/4 cup of olive or avocado oil, or 1/4 cup butter (oil creates a softer loaf, butter creates a crustier crust; I use oil)
- 3 1/4 to 3 1/2 cups of all-purpose flour (you can sub some bread flour if a chewier bread is preferred)
- 3/4 tablespoon of salt (yes, this is right)
- 1 egg, for egg wash
Make the Dough
- Add the water and honey to the bowl of a stand mixer fitted with the paddle or whisk attachment. Sprinkle the yeast over the water and let stand for 5 to 10 minutes, until foamy.
- Add the 2 eggs and oil (or butter), and mix on low speed for about 2 minutes, until well combined.
- Remove the paddle and put on the dough hook, then add 1 cup of flour and the salt, giving it a good mix to combine. Then add 2 more cups of the flour…with the mixer on low, allow the hook to fold in the flour gently (it will take a minute or two).
- From here, decide whether you need the other 1/4 to 1/2 cup of flour. You want it to be a bit on the sticky side for sure. I usually use some of it but not always all. Don’t actively knead the dough (it will still be very soft and kind of sticky), unless you’re doing all your stirring by hand (in which case turn it onto the counter and knead for 1 minute max).
Assemble the Dough
- Put the dough into a lightly greased large mixing bowl and cover tightly with plastic wrap. Allow it to rise in a warm-ish place until doubled in volume, about 2 hours typically.
- Gently punch the dough down. Divide the dough in half (this makes 2 loaves).
- Note: If you’re wanting to store it in the refrigerator, you can do so for up to 5 days before baking it later…just put it in a container or ziploc with jut a tiny bit of air allowed in (lid slightly ajar or small opening in bag). When you’re ready to use, bring it to room temperature, then do the braiding and second rise.
- Use floured hands to work with the dough, but don’t *work* lots of extra flour into it. Taking one of your two pieces of dough, divide it into three equal pieces and roll each into a long (about 12-inch) rope. The dough is very springy and will want to shrink back, but just gently and patiently keep stretching it.
- After you have 3 long cylinders about 1-inch each in diameter, pinch one end of all three together and braid them, just like braiding hair. When you reach the end, pinch the other ends together, and then tuck both ends of the braided loaf underneath to make it neat (and hold everything together).
- Place on a non-stick baking mat or parchment paper-lined baking sheet. Repeat the same process with the other piece of dough, so you have two loaves.
- Cover dough with plastic wrap or a large plastic bag, and allow to rise again in a warm place for 40-60 minutes.
- Preheat the oven to 350 F. Beat 1 egg into an egg wash, and right before baking *gently* brush it all over the loaf, making sure to get in the cracks.
- Bake for 25 to 35 minutes, until the challah is golden and set. It should be roughly 200 F inside when done (a digital thermometer is your friend).
- Allow the bread to cool before slicing or pulling apart and serving. It can be kept in plastic wrap, then placed in an airtight container or ziploc bag.
Note: since this dough has eggs in it, if you’re refrigerating the dough make sure to use it within five days.
Original recipe here