
The Best, Softest Gluten-Free Sandwich Bread
For all the time that I’ve spent gluten-free over the past 15 years (thankfully not all the time, but there have been looooong stretches), I never cared enough to find an amazing regular sandwich bread recipe that was gluten-free. I’m not really a sandwich person, nor am I one of those people who need a slice of bread at every meal (hi, Mom!). So it wasn’t high on my list.
But today we’re fixing that. Because this bread is so legit, even gluten-lovers will be on board. It’s seriously the best, softest, most delicious GF sandwich bread ever, and it’s also super easy to make.
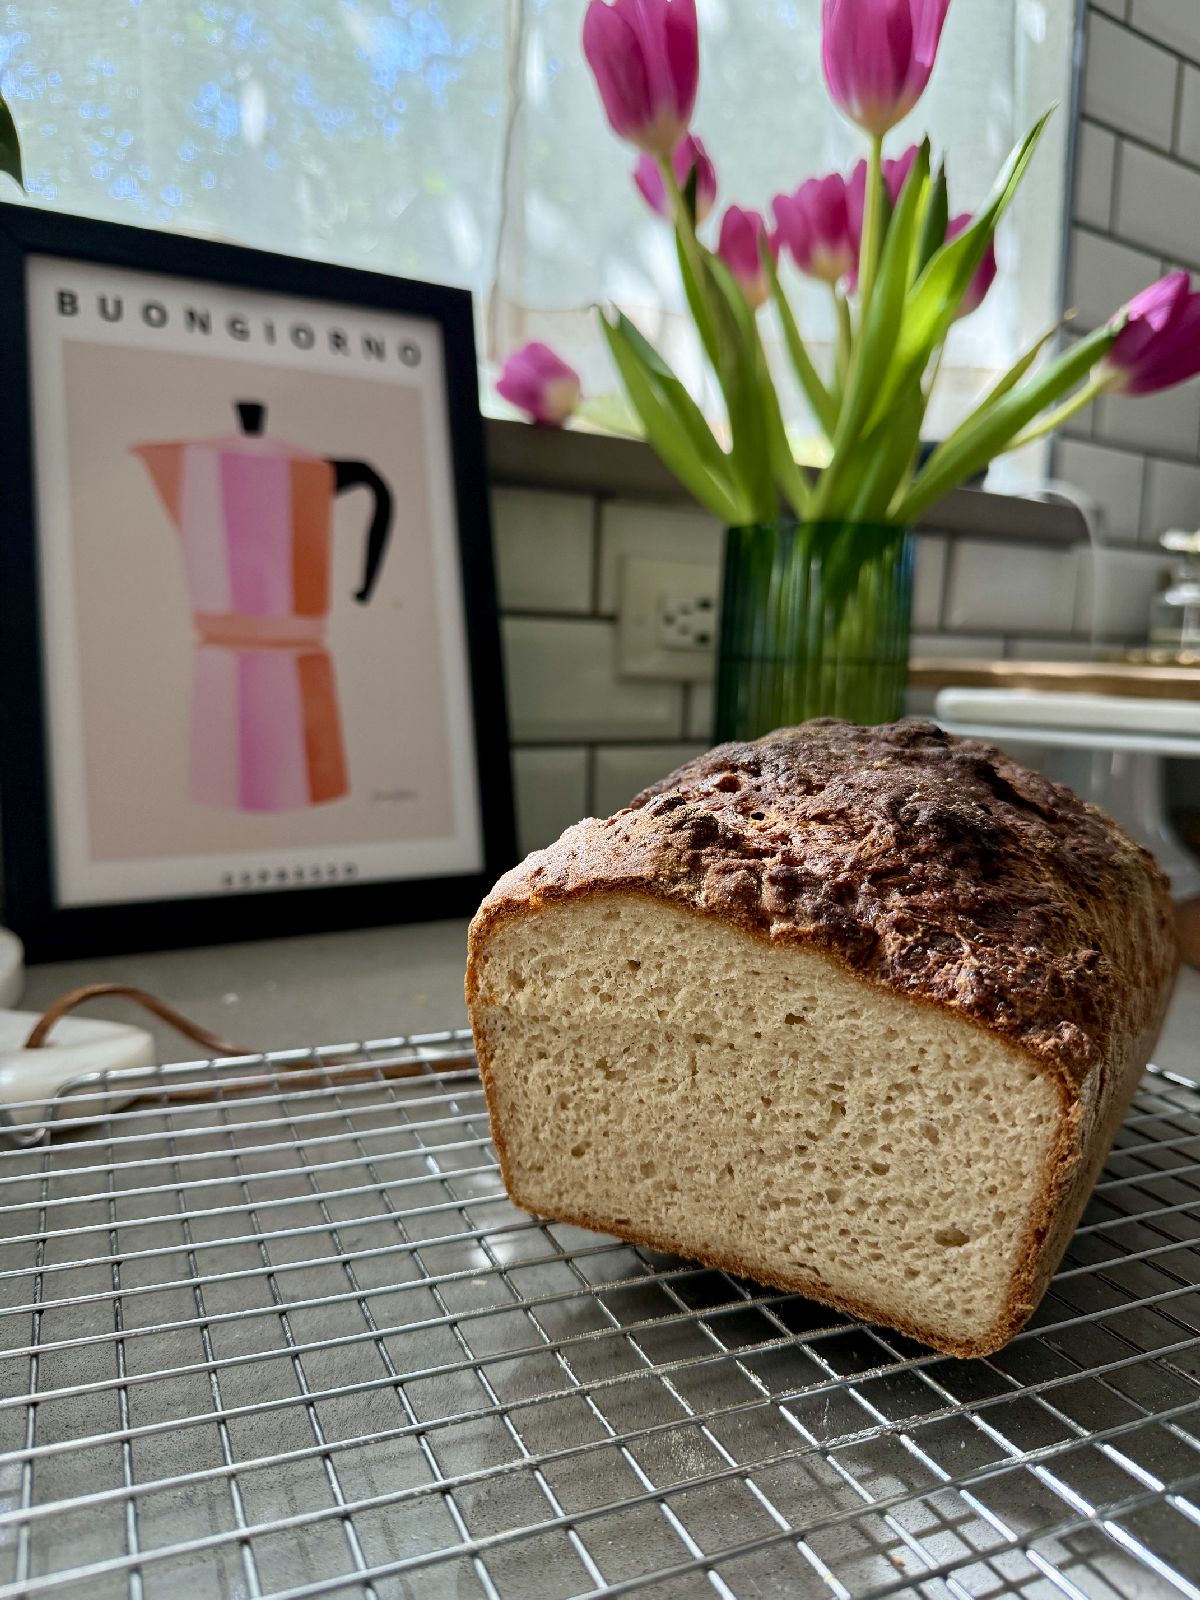
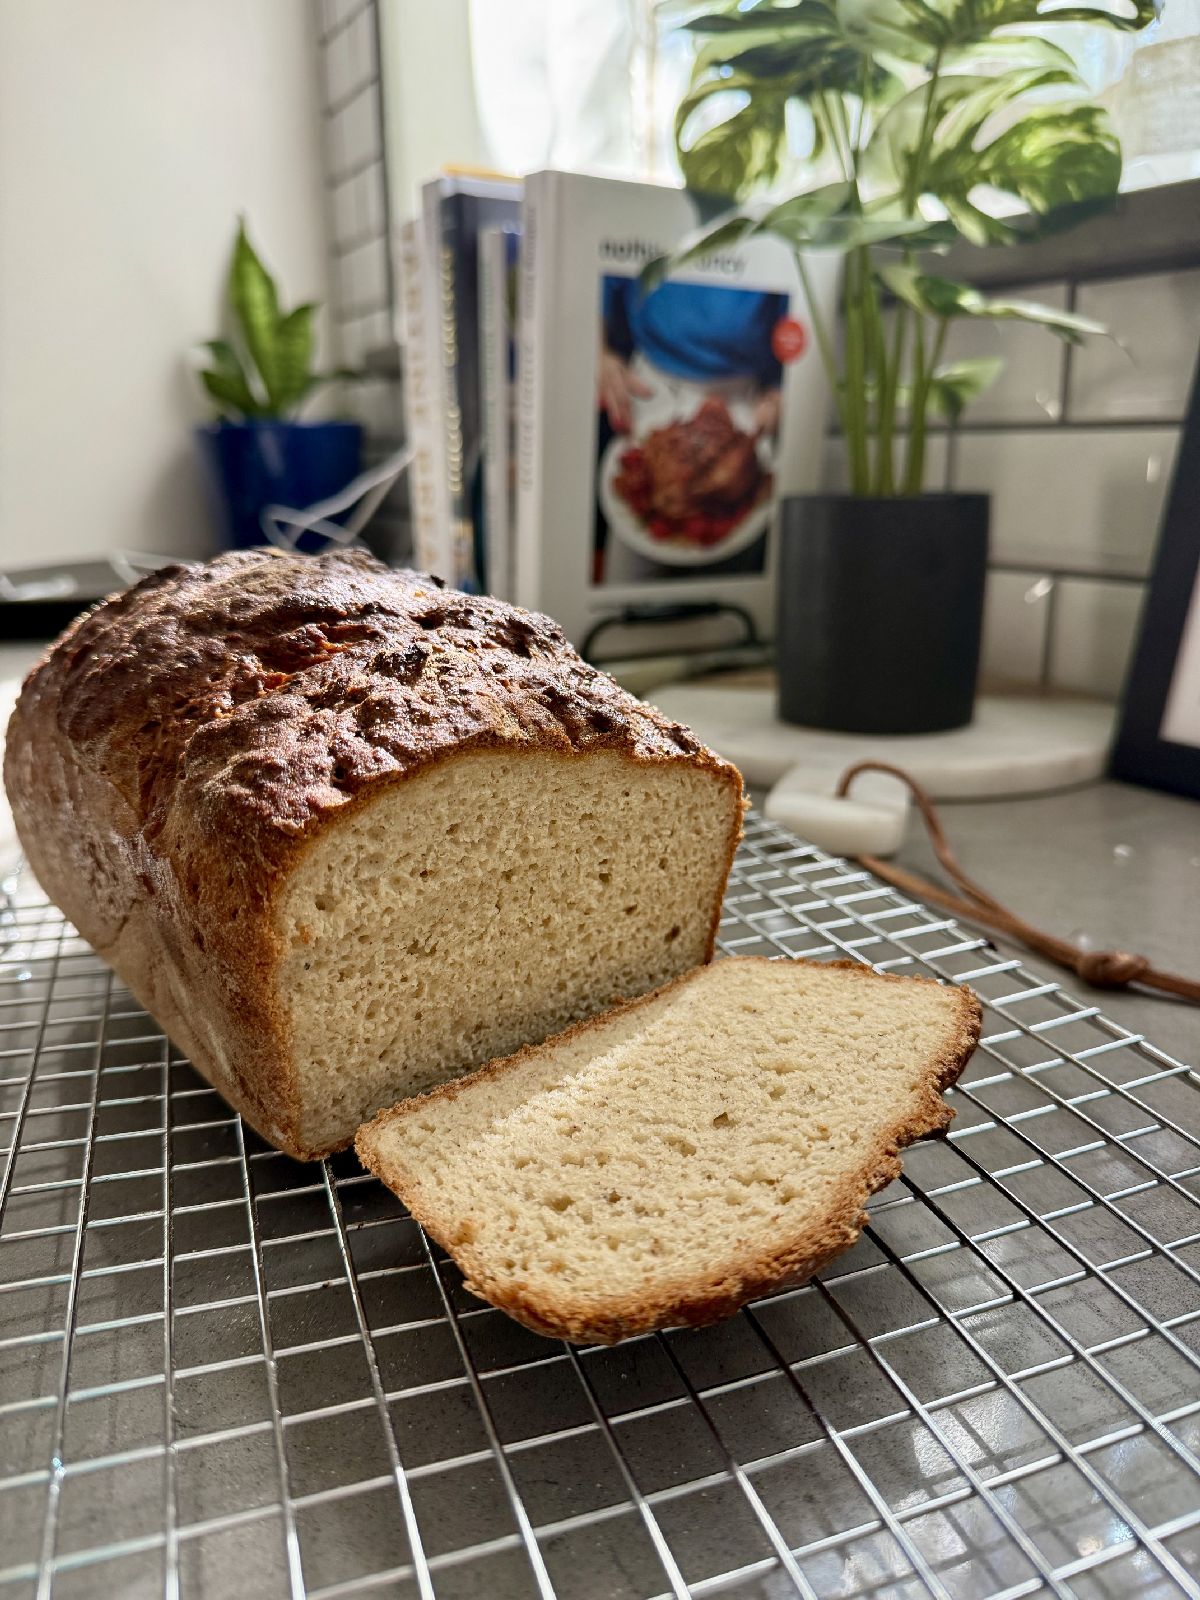
What makes this particular gluten-free bread recipe special? Honestly, you wouldn’t know it’s gluten-free. Most GF sandwich breads (even store-bought) are dry and dense and sad. Or they fall apart super easily. This sandwich bread is soft and squishy (in a good way, like you can squeeze a loaf of bread) and holds together just like a regular gluten-y one.
I have tried a few recipes, and none of them hold a candle to this one. I’ve used The Loopy Whisk’s amazing recipe, with a few small adjustments. The technique is easy and only requires a few minutes of hands-on time.
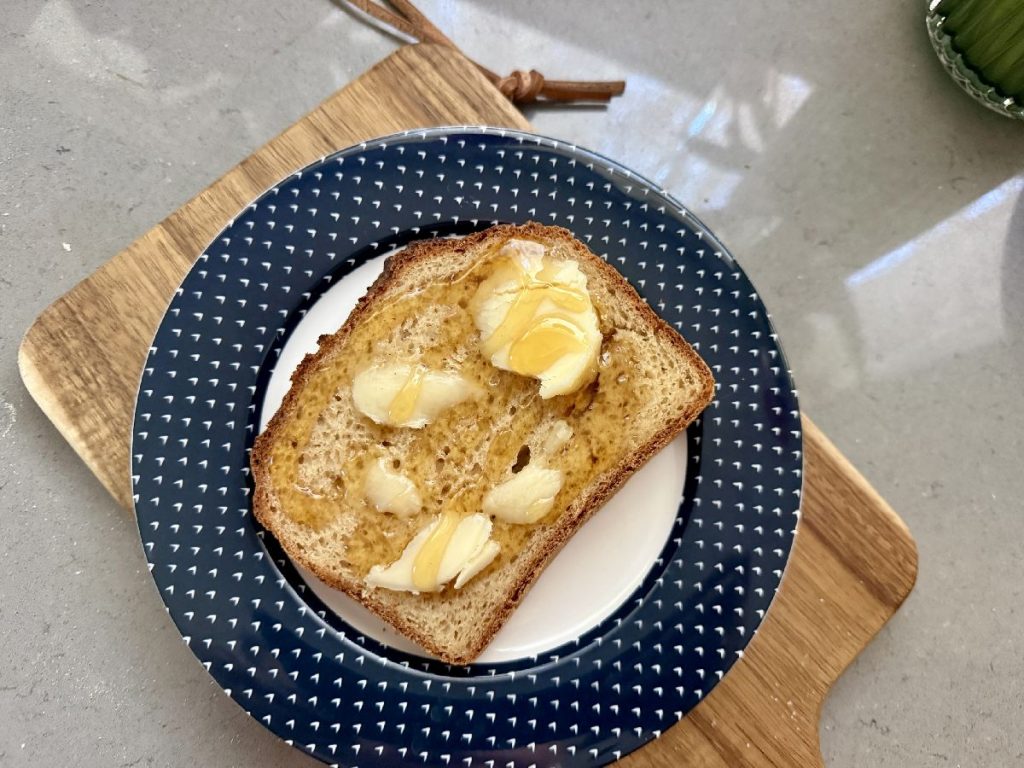
Do you actually need these specialty flours?? YES. Seriously. I’ve tried other gluten-free sandwich bread recipes that use more “normal” flours (e.g. 1:1 bread flour mixes) and they don’t hold a candle to this one. Trust me, it’s worth getting these slightly more specialty ingredients…I initially bought them from Whole Foods in small amounts, but have now purchased in bulk from Amazon (those are the links to the exact ones I buy).
- Whole psyllium husk (though if you only have psyllium powder, there’s a workaround)
- Tapioca starch (or cornstarch, potato starch, or arrowroot)
- Millet flour
- Sorghum flour (you can sub buckwheat or oat)
- Xanthan gum
How to make the best gluten-free sandwich bread
I’ve gone into a lot of detail in the recipe instructions below, so will summarize here but show you photos of each step. Two tips to begin with…I STRONGLY recommend weighing ingredients vs. measuring. And I recommend the dough using a stand mixer fitted with the dough hook attachment, rather than trying to mix band knead by hand. This dough is super soft and sticky.
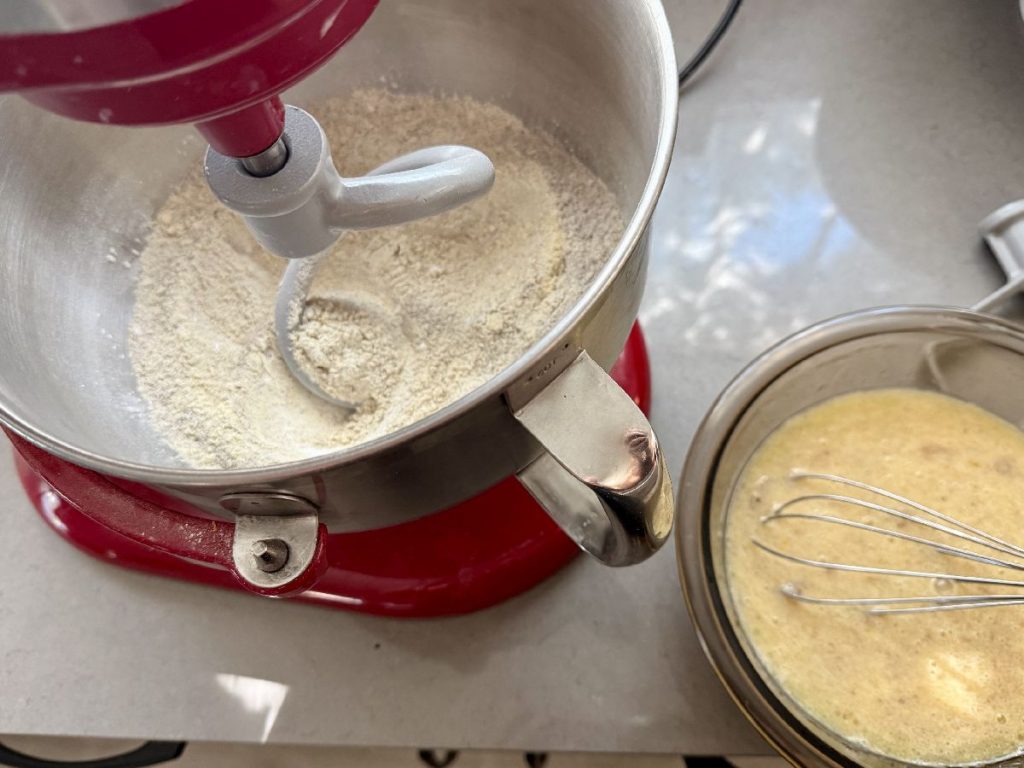
In the bowl of your stand mixer with dough hook attachment, whisk together the tapioca starch, millet flour, sorghum flour, sugar, instant yeast, baking powder, and xanthan gum. I do NOT put the salt in quite yet, as it can retard the yeast.
In a medium bowl, whisk together the psyllium husk and lukewarm water. After about 30-45 seconds, a gel will form, then whisk in the milk, eggs, and oil. Add this to the stand mixer along with the salt, and mix the dough until it’s smooth and all the ingredients are incorporated (use a rubber spatula to scrape down the bowl as needed. Then knead for a further 4-5 minutes in the stand mixer on medium-low to medium, around a 4-5 speed.
Your dough will be VERY soft and sticky—this is what we want!! Don’t add more flour to the dough, trust me.
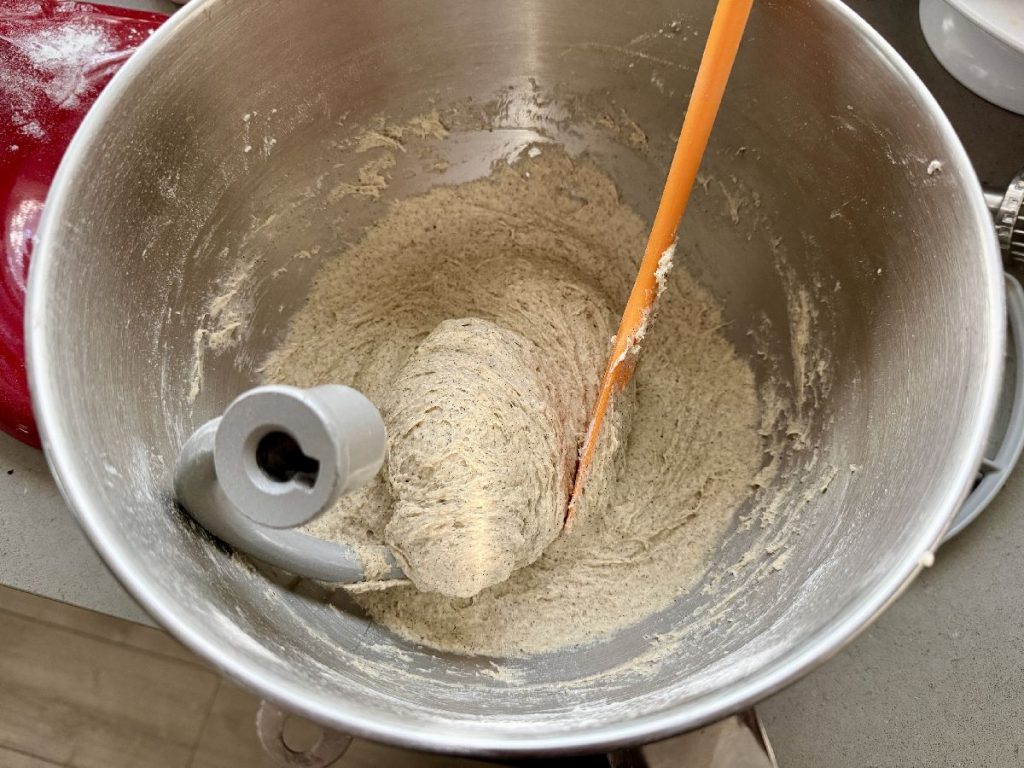
Next we shape and then “proof”, or rise. It’s very important to work on a generously floured surface and with floured hands. Turn out the dough and dust the top of the dough with flour as well. With floured hands, shape it into a smooth ball/oval as best you can. Yes, it’s sticky. Deal with it.
Use the palms of your hands to gently press the dough into a log shape that fits snugly into the loaf pan. Carefully transfer it into your loaf pan. Use a bread lame or a sharp knife to score the bread with 3 diagonal slashes. It’s easier to do this now vs when it’s risen, and you’ll get a smoother top crust.
Lightly cover the loaf pan with a sheet of plastic wrap (I actually use a shower cap) to prevent the bread from drying out and let it rise in a warm (non-drafty) spot until doubled in size, about 1 hour 15 minutes to 1 hour 30 minutes.
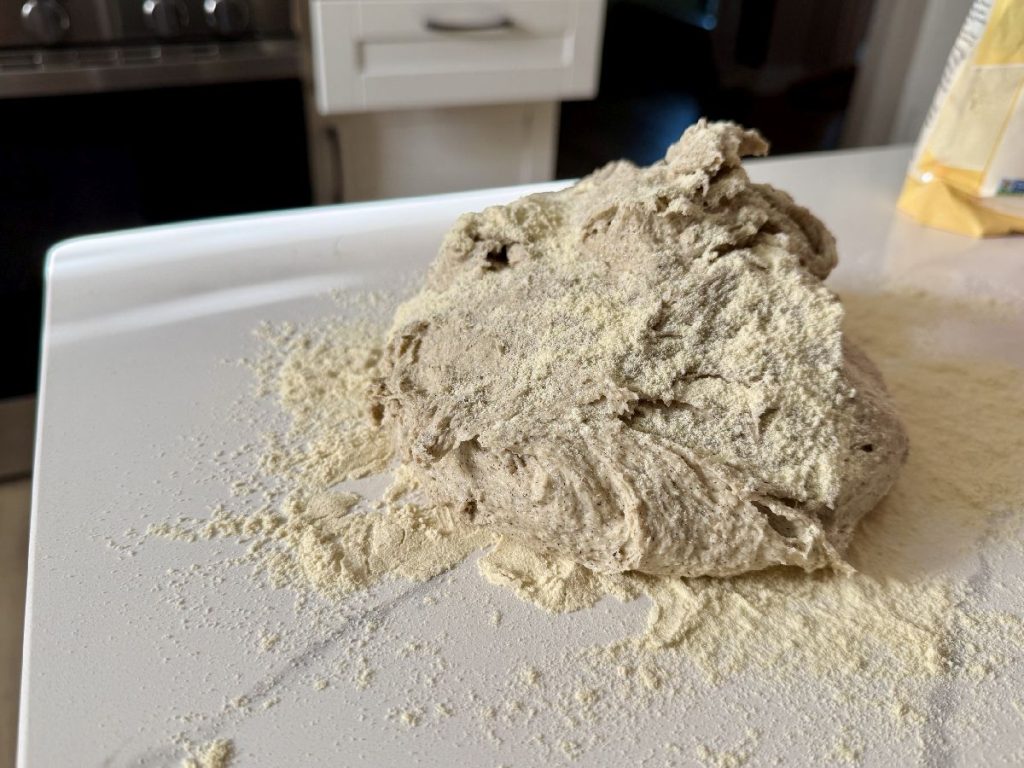
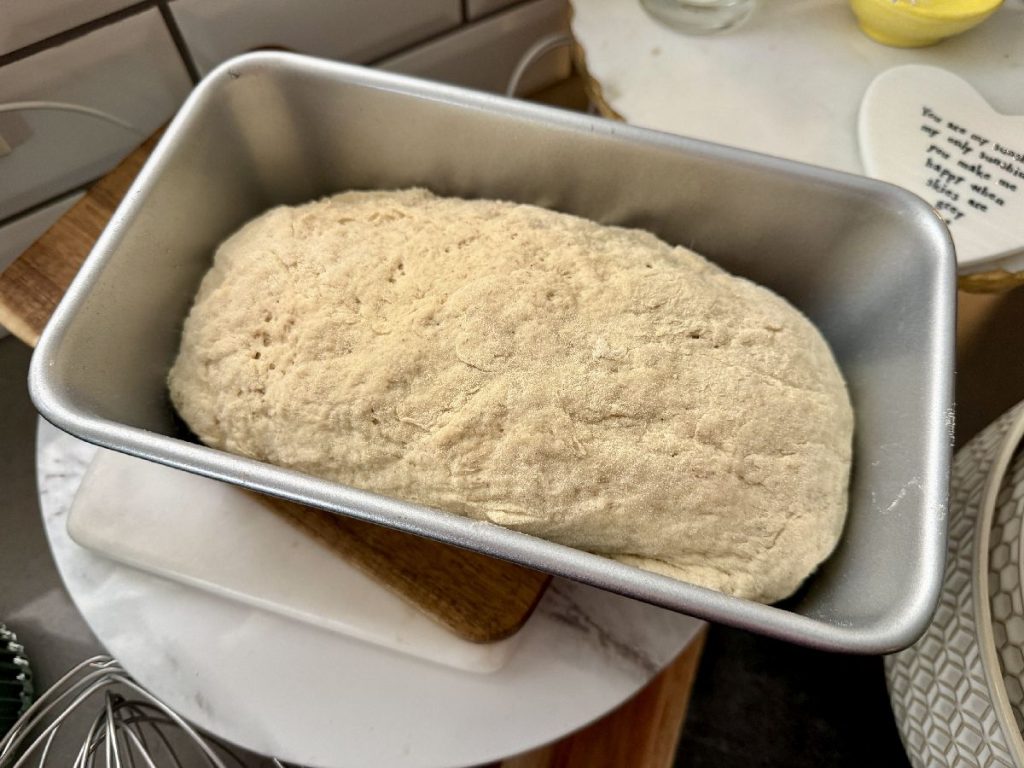
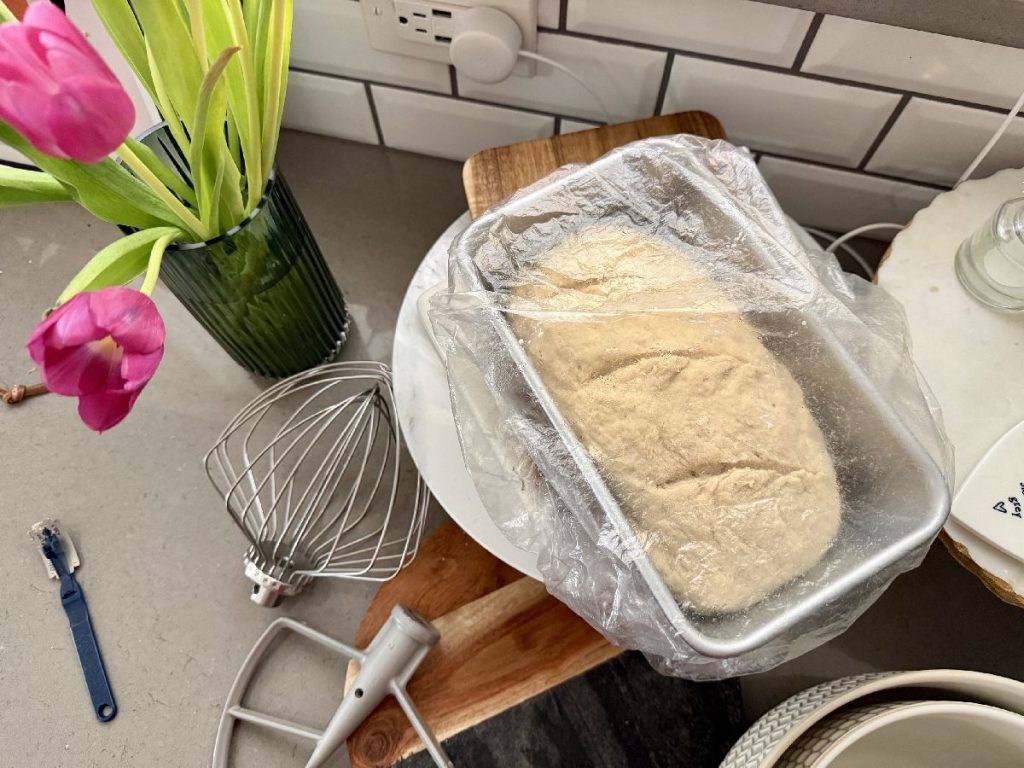
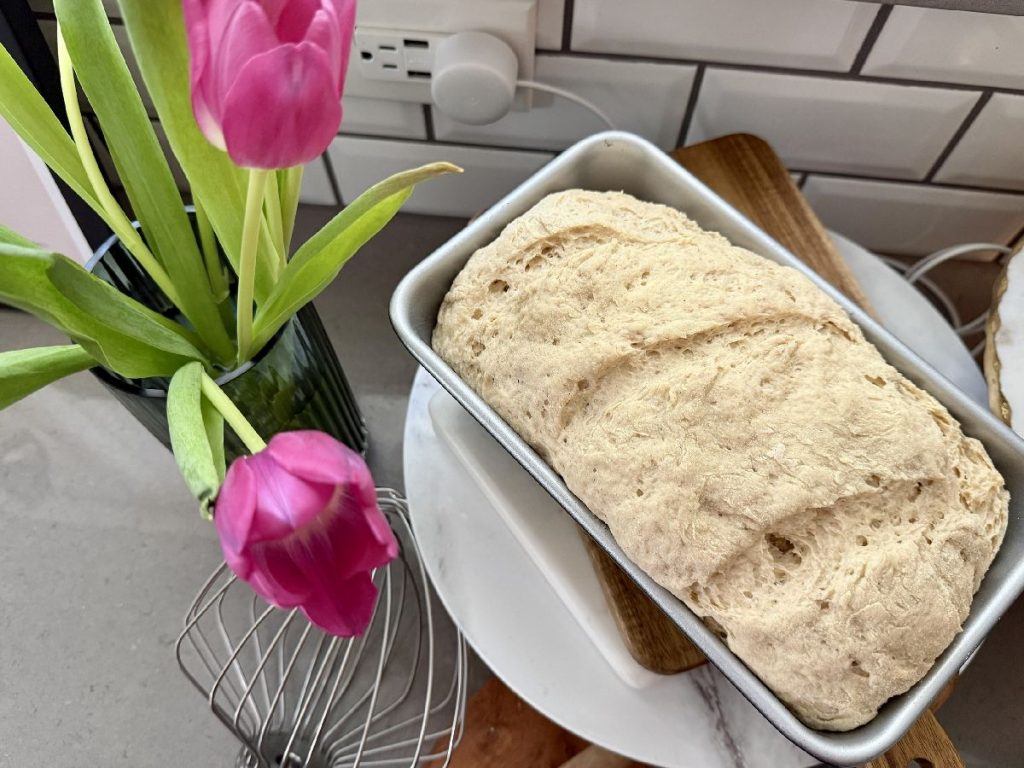
After your bread has been proofing for about 45 minutes, preheat your oven to 400ºF (200ºC). Place a baking steel, baking stone, or heavy-duty baking sheet on the bottom (lowest) oven rack.
Once the dough has doubled in size, brush it gently with the whisked egg white. Place the loaf pan directly onto the preheated baking stone and bake at 400ºF for between 50 minutes and up to 1 hour 10 minutes. For me it’s definitely been on the early side—it is DONE done at 55 minutes, so start checking early.
Your bread should be 210ºF in the middle (if you use a thermometer) and sound hollow when tapped. You can carefully remove the loaf from the pan and weigh it, it should be about 960-970g without the pan (meaning it’s lost enough moisture during baking). Definitely err on an extra 5 minutes of baking to make sure it’s done inside, it will be gross and gluey if not fully baked.
Immediately out of the oven, transfer the sandwich bread onto a wire rack to cool (don’t leave it in the loaf pan). I like to give it a little spritz with olive oil (or even water) to slightly soften the crust. Cool it completely to room temperature (or at least until lukewarm) before you slice into it.
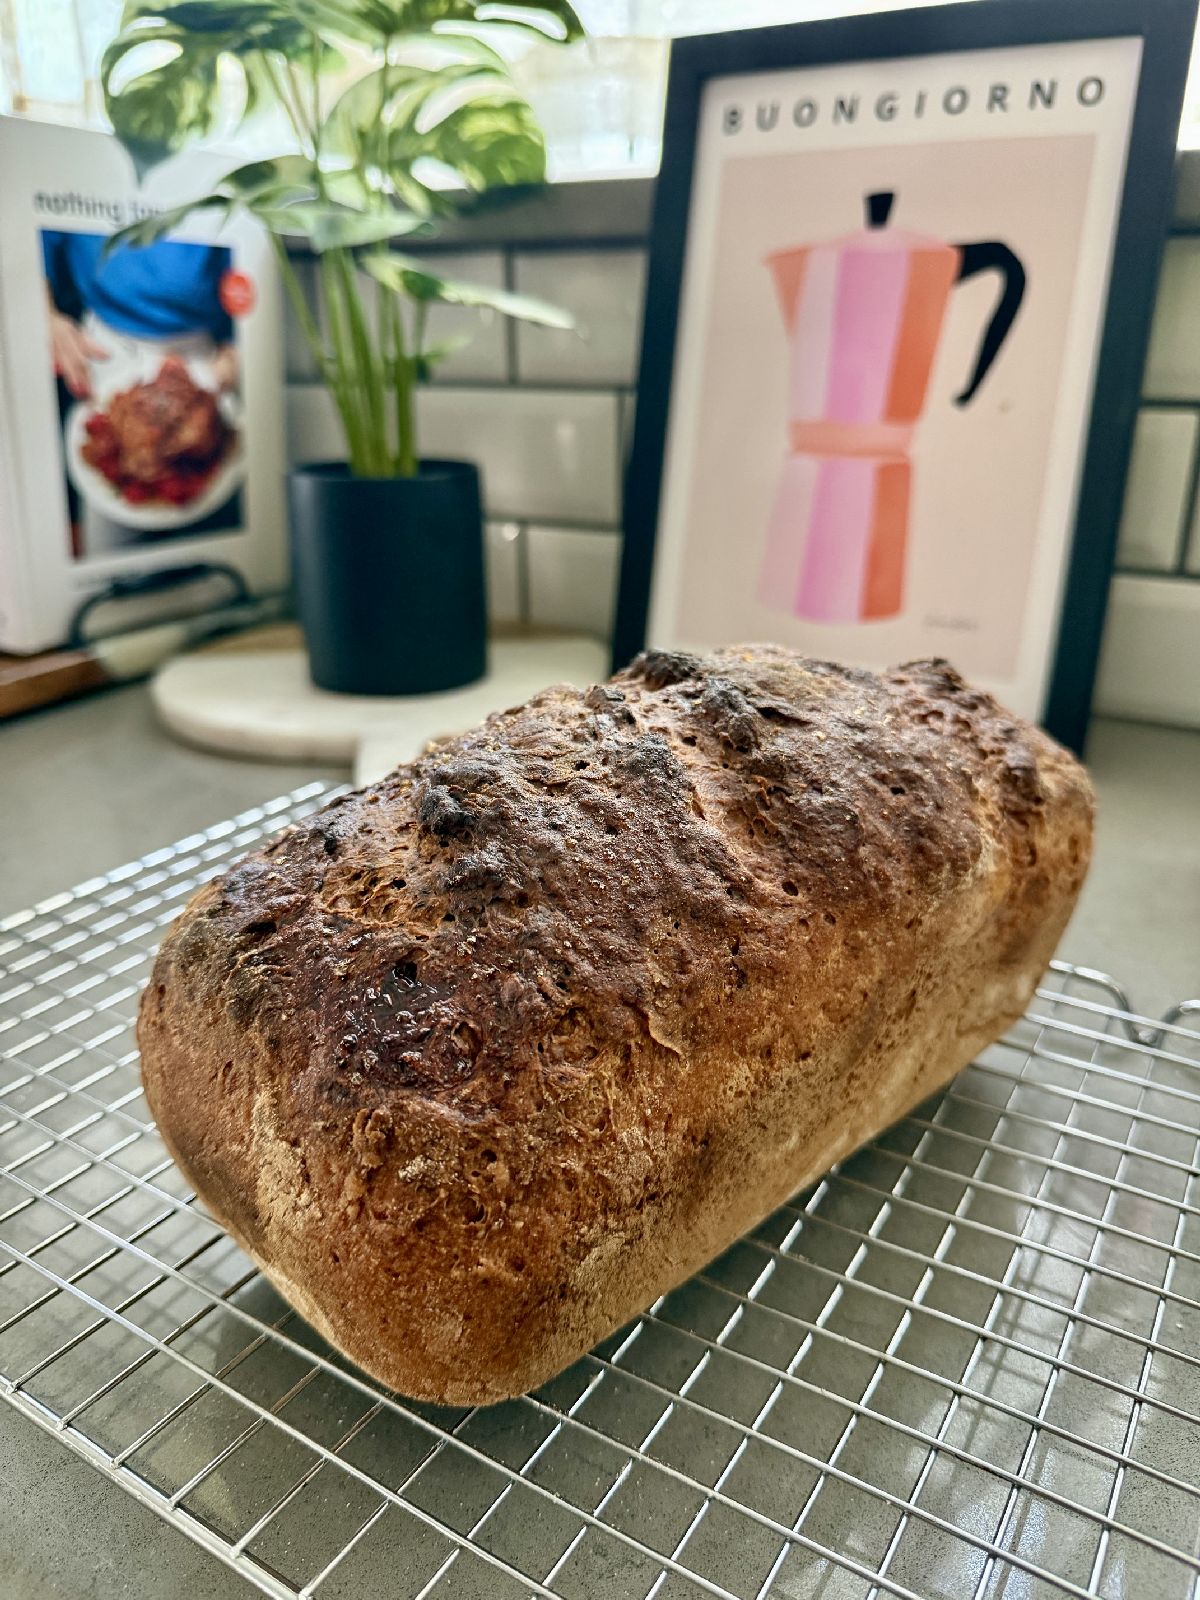
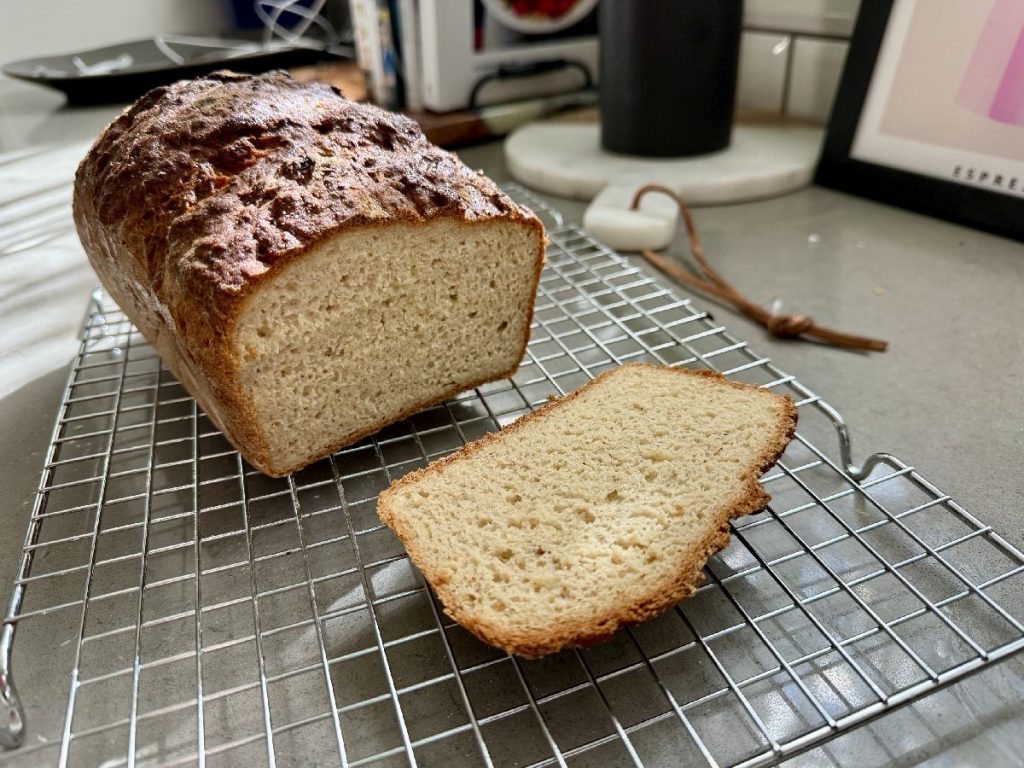
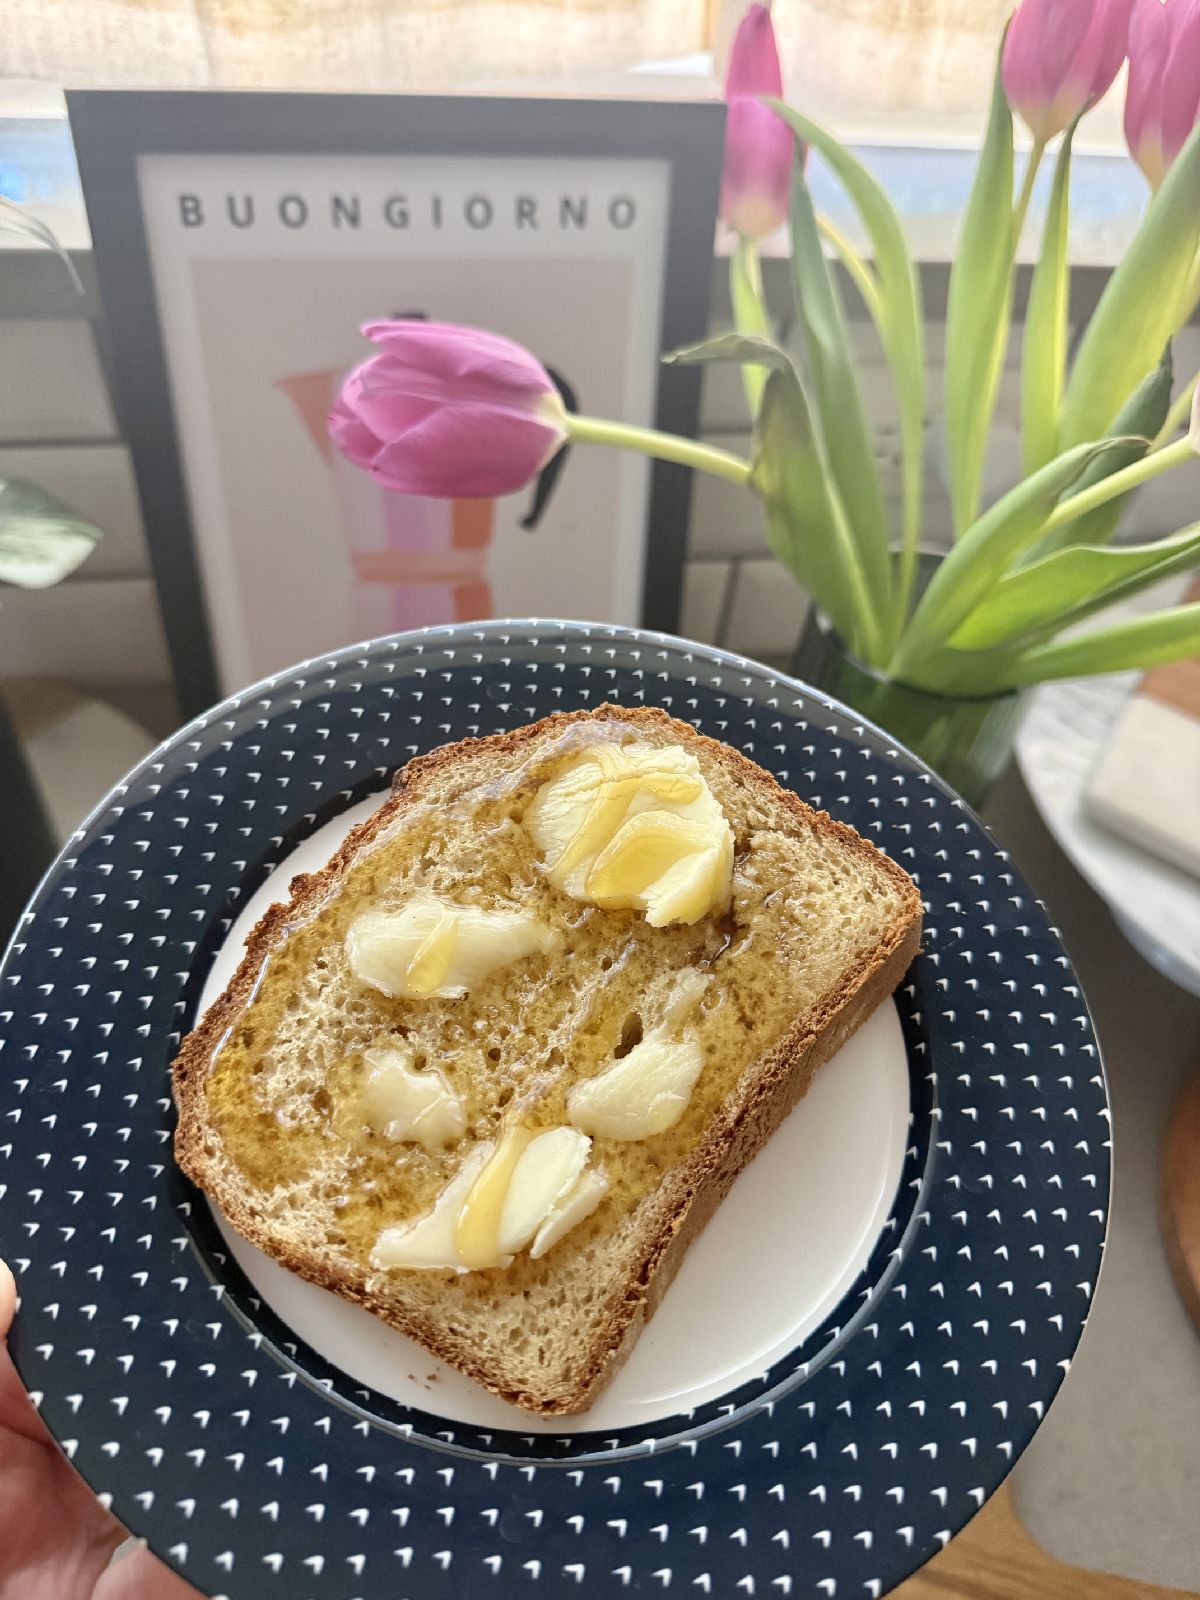
You have a few options for storing, depending on what works best. I left my loaf on the counter for a couple days and lightly covered the cut end with foil, slicing what I needed.
This bread keeps very well in a closed container in a cool, dry place (or at room temperature) for 3-4 days. It’ll stay soft for days. I don’t eat tons of bread on my own, so I slice it and put it in a freezer-safe ziploc with parchment paper and then just pull out a slice or two as needed, refreshing it in the air fryer. It keeps in the freezer for a few months.
Other gluten-free go-to’s that you’ll love:
- Easy, Soft Gluten-Free Flour Tortillas
- Best Gluten-Free Recipes for the Holidays
- The Best Dark Chocolate Tahini Cookies (GF, Vegan, Nut-Free)
- 10-Minute Gluten-Free Dark Chocolate Waffles (GF, Dairy-Free, Egg-Free, Almond-Free)
- Hearty Gluten-Free Buckwheat, Quinoa, & Oat Bread
- Tahini Maple Oat Bars with Dark Chocolate Chunks (GF, Vegan)
- A Flourless Chocolate Cake…That’s NOT Too Sweet Or Rich
If you absolutely can’t use a digital scale to weigh your ingredients, here are measurements:
- 20 g (4 tbsp) of whole psyllium husk (If using psyllium husk powder, use only 17g)
- 280 g (1 cup + 2½ tbsp) of lukewarm water
- 230 g (2 cups) of tapioca starch (you can sub equal weight cornstarch, potato starch or arrowroot starch)
- 135 g (1 cup) of millet flour, plus extra for flouring the surface
- 60 g (1/3 cup + 2 tbsp) if sorghum flour (you can sub equal weight of light buckwheat flour or oat flour)
- 50 g (1/4 cup) of granulated sugar
- 8 g (2½ tsp, or 1 packet) of instant yeast (yes, instant or rapid rise)
- 8 g (2 tsp) baking powder
- 7 g (2 3/4 tsp) of xanthan gum
- 12 g (2 tsp) of salt
- 120 g (1/2 cup) of whole milk, lukewarm
- 2 large eggs, room temperature
- 25 g (2 tbsp) of avocado oil (olive is fine too)
- 1 egg white, whisked, for brushing the bread before baking
Pin for later!
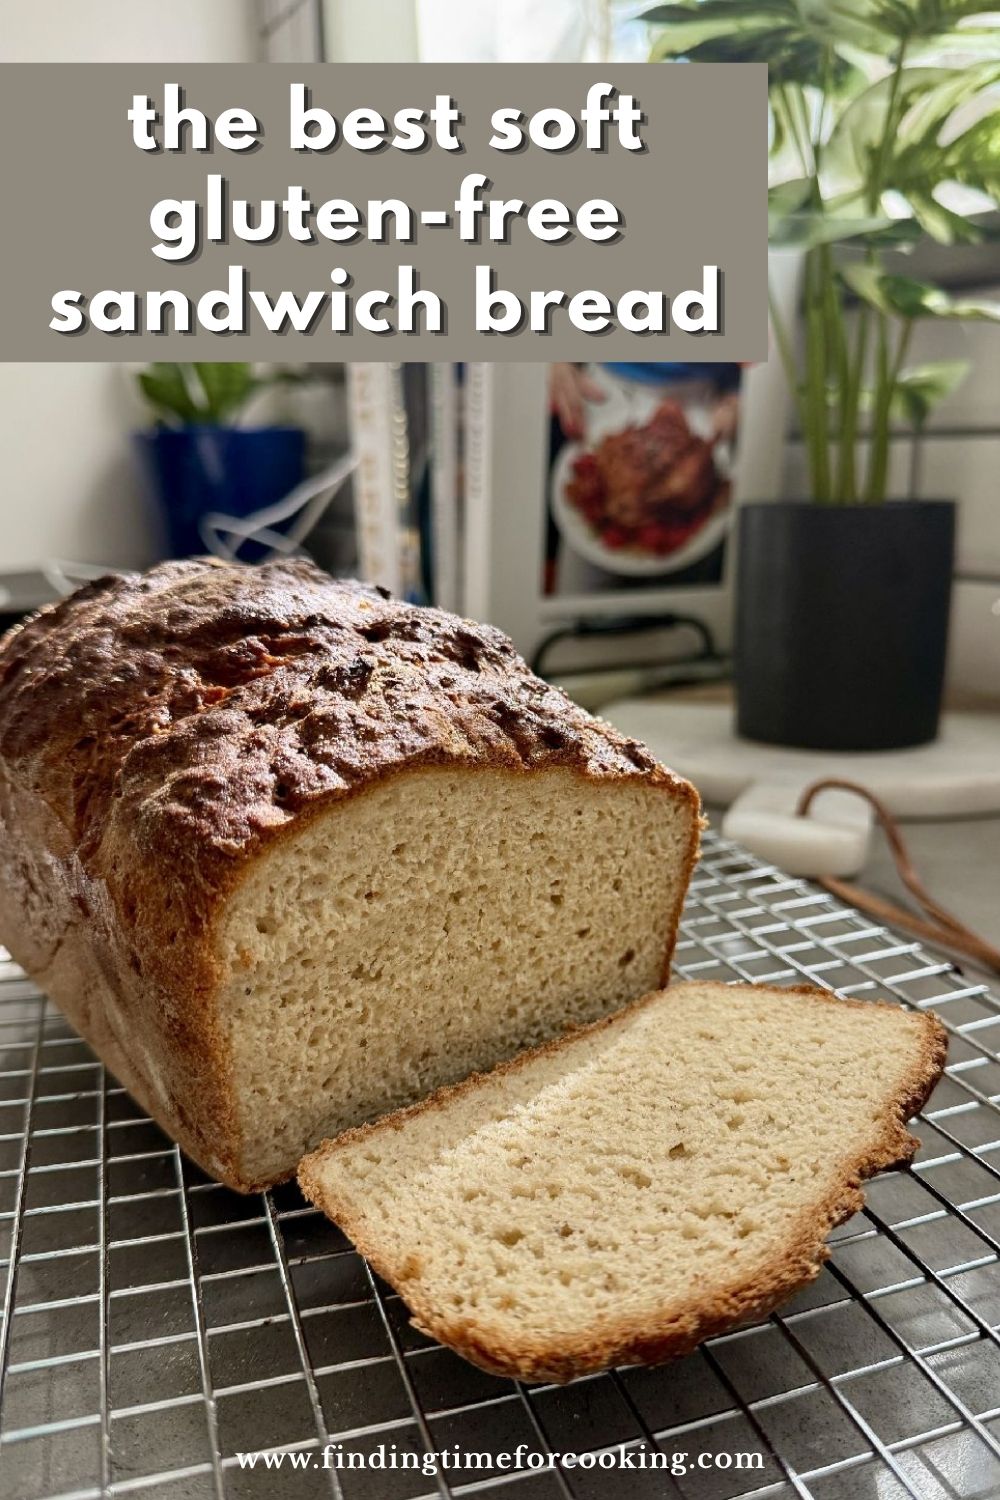
The Best Soft Gluten-Free Sandwich Bread Ever
Equipment
Ingredients
- 20 g whole psyllium husk (see recipe notes for psyllium husk powder)
- 280 g lukewarm water
- 230 g tapioca starch (see recipe notes on substitutions)
- 135 g millet flour, plus extra for flouring the surface
- 60 g sorghum flour (see recipe notes for substitutions)
- 50 g granulated sugar
- 8 g instant yeast (yes, instant or rapid rise)
- 8 g baking powder
- 7 g xanthan gum
- 12 g salt
- 120 g whole milk lukewarm
- 2 large eggs room temperature
- 25 g avocado oil olive oil is fine too
- 1 egg white whisked, for brushing the bread before baking
Instructions
Make the dough:
- I STRONGLY recommend weighing ingredients vs. measuring. And I recommend the dough using a stand mixer fitted with the dough hook attachment, as it’ll be very soft and sticky.
- Mix the dry ingredients: In the bowl of a stand mixer with dough hook attachment, whisk together the tapioca starch, millet flour, sorghum flour, sugar, instant yeast, baking powder, and xanthan gum. I do NOT put the salt in quite yet, as it can retard the yeast.
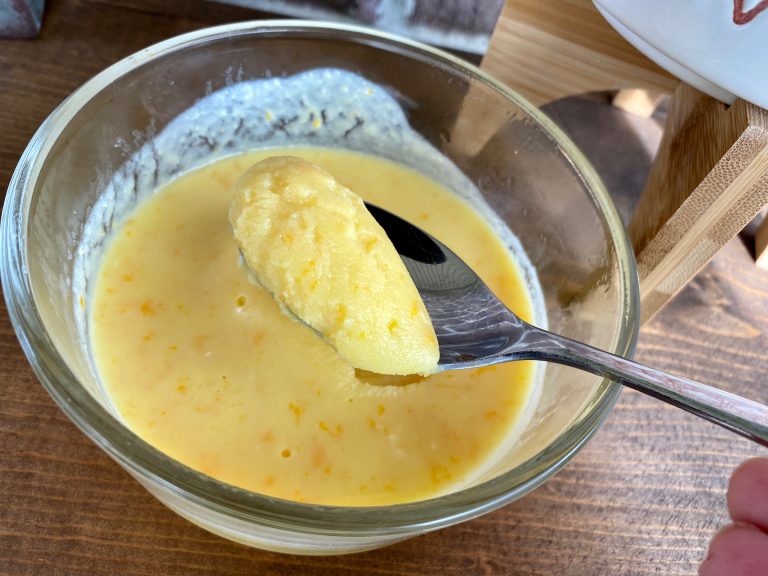
- Make the psyllium gel: In a medium bowl, whisk together the psyllium husk and lukewarm water. After about 30-45 seconds, a gel will form.
- Add the milk, eggs and oil to the psyllium gel, and whisk well to combine.
- Make the dough: Make a well in the middle of the dry ingredients and add the psyllium gel-egg mixture, THEN add the salt.
- Mix the dough until smooth and all the ingredients are evenly incorporated, scraping down the bowl as needed to incorporate all the dry ingredients.
- Then knead for a further 4-5 minutes in the stand mixer (I do it on medium-low to medium, around a 4-5 speed). Use a rubber spatula to occasionally scrape along the sides make sure everything gets in there. This extra kneading time will make the dough EXTRA smooth, which is the key to beautiful gluten free sandwich bread.
- The final dough will be VERY soft and sticky—this is on purpose! Resist the temptation to add more flour to the dough. You’ll be working on a generously floured surface with floured hands. If you have time and are worried about dealing with it, you can chill it in the fridge for about 1 hour before proceeding to the next step. This will make the dough slightly less sticky and therefore easier to handle. However, I’ve tried it both ways and don’t see a reason to chill it.
Shaping and rise:
- It’s very important to work on a quite generously floured surface and with floured hands.
- Turn out the dough onto a generously floured surface, and dust the top of the dough with flour as well. With floured hands, shape it into a smooth ball/oval as best you can. Yes, it’s sticky.
- Use the palms of your hands to gently press the dough into a log shape that fits snugly into the loaf pan.
- Carefully transfer it into a 9×5-inch (23x13cm) loaf pan. You don’t need to grease or butter the pan.
- Use a bread lame or a sharp knife to score the bread with 3 diagonal slashes. It’s easier to do this now vs when it’s risen, and you’ll get a smoother top crust.
- Lightly cover the loaf pan with a sheet of plastic wrap (I actually use a shower cap) to prevent the bread from drying out and let it rise in a warm (non-drafty) spot until doubled in size, about 1 hour 15 minutes to 1 hour 30 minutes.
Bake your sandwich bread:
- After your bread has been proofing for about 45 minutes, preheat your oven to 400ºF (200ºC). Place a baking steel, baking stone, or heavy-duty baking sheet on the bottom (lowest) oven rack.
- Once the dough has doubled in size, brush it gently with the whisked egg white.
- Place the loaf pan directly onto the preheated baking stone and bake at 400ºF for between 50 minutes and up to 1 hour 10 minutes, or until the bread is deep golden brown on top, the bottom and side crust is crisp, and the bread weighs about 960-970g without the pan (meaning it’s lost enough moisture during baking). If the top of your loaf starts browning too much, you can cover it with foil (shiny side up) and continue baking until done. I’ve found mine is definitely done before 55 minutes so start checking early!
- Immediately out of the oven, transfer the sandwich bread onto a wire rack to cool (don’t leave it in the loaf pan). I like to give it a little spritz with olive oil (or even water) to slightly soften the crust. Cool it completely to room temperature (or at least until lukewarm) before you slice into it.
Storage:
- You have a few options for storing, depending on what works best. I left my loaf on the counter for a couple days and lightly covered the cut end with foil, slicing what I needed.
- This bread keeps very well in a closed container in a cool, dry place (or at room temperature) for 3-4 days. It’ll stay soft for days.
- I don’t eat tons of bread on my own, so I slice it and put it in a freezer-safe ziploc with parchment paper and then just pull out a slice or two as needed, refreshing it in the air fryer. It keeps in the freezer for a few months.
Notes
- I STRONGLY recommend using a digital scale to weigh your ingredients rather than measuring, but if you absolutely can’t, I’ve provided the cup/teaspoon measurements in the blog post just above the pin image.
- Pro tip, weigh your loaf pan when it’s empty so you can weigh the loaf when it comes out–and make sure enough moisture has evaporated.
- The recipe calls for whole psyllium husk, but if you’re using psyllium husk powder, use only 17g.
- You can sub equal weights of cornstarch, potato starch, or arrowroot starch for the tapioca starch.
- You can sub equal weight of light buckwheat flour or oat flour instead of the sorghum flour.


Best soft GF sandwich bread is no exaggeration. I’m a bake-your-own wheat bread girl whose doc said to go GF. I couldn’t find a single decent bread out there. This. Is. Perfection.
THANK YOU SO MUCH