How to Make Traditional Cauliflower Crust Pizza
If you’d told me a few months ago that cauliflower crust pizza would be making up like…25% of my diet, I’d have asked what you were smoking. And yet here we are.
...this cauliflower crust pizza only takes a few ingredients and is full of fiber & vitamins. Grain free, gluten-free, low carb and keto recipe option. #cauliflower #keto #grainfree #cauliflowercrust #gf #glutenfree #pizza")
This cauliflower crust only takes a few ingredients (most of which you have on hand). It’s is high in vitamins K and C, low-cal, high in fiber and antioxidants, and (like all cruciferous vegetables) good for detoxing the liver.
Your topping options are also really versatile, though I stay away from super wet/soggy ingredients. Here are a few things I typically throw on:
- I often keep cooked hamburger on hand to throw on any dish
- I use both shredded (parmesan, cheddar, mozzarella), and a soft cheese (there’s a sheep/goat one that’s AMAZING)
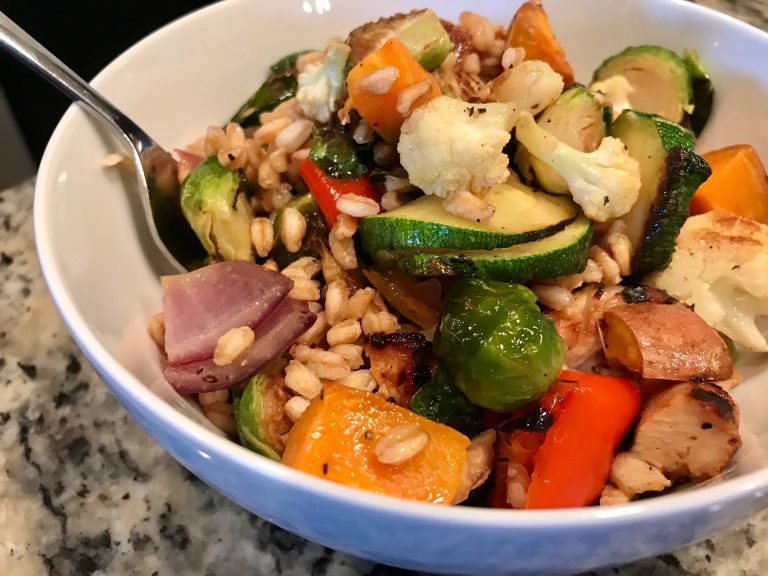
- I usually will throw a pan of roasted vegetables in the oven along with the cauliflower crust (brussels sprouts, peppers, and onions are my fave)
- You can use sauce, but I’m not a fan and it does make things soggy. Sometimes I will spread a bit of dijon mustard on though for extra flavor.

You might also like: 10 Tips For Surviving a Super Low-Carb Diet (e.g. Keto)
Why do I call this “traditional”? It’s because it involves manually squeezing all the liquid out before mixing and baking. I’ve recently found an alternative recipe that doesn’t require squeezing (due to a secret ingredient), which I’ve been loving as well.
The thing about making a traditional cauliflower crust is that it’s not super fast. Now, it’s not HARD, it just has a few different steps and ALL THAT SQUEEZING. What I’ve found helpful in how to make cauliflower crust is to break up into a few key phases or steps so I can plan my timing around it.
- Rice/food processor your cauliflower (if necessary) and cook it
- Squeeeeeeeze your cauliflower to get all the liquid out, then mix together the dough
- Bake the dough mixture by itself, then top and bake just long enough to melt the cheese
So I’ll often do the first step earlier in the day so it can cool, then just throw the cooked cauliflower in my nut milk bag and come back to it later. Then when I’m ready to actually make dinner, I turn my oven on and start the squeezing.
I’ll squeeze once, let it rest a couple minutes, come back and squeeze some more…you want to get as much liquid out as possible.

So, first we prep the rice. Preheat your oven to 375 degrees F and line baking sheet with unbleached parchment paper. I always cook the rice in the oven initially, but you also could throw it in the microwave in a pie plate for about 8 minutes.
I typically use riced cauliflower or cauliflower pearls from the store, but you can also easily use a whole cauliflower head and your food processor. In that case, remove the outer leaves of the cauliflower, separate into florets, and process in a food processor until it’s a “rice” texture.
Transfer your cauliflower rice to the prepared baking sheet and bake for about 15 minutes. Remove from the oven, and transfer either directly to your squeezing bag/towel (I use this nut milk bag), or let it cool on the pan for a bit and then transfer.

Let it cool at least 10-15 minutes until you can safely touch it. Also, bump up your oven to 450 F.
And now it’s time to squeeeeeeeeze. And squeeze. And squeeze some more. Try and get all that liquid out of the cauliflower, whether over a bowl or just the sink.
Be patient and do this a few times until barely any liquid comes out (let it rest a couple minutes, then try again).
In a medium bowl, add the egg, dried herbs, salt, and pepper. Add the shredded cheese and squeezed-out cauliflower ball. Mix very well with a spatula (or I honestly prefer my hands) until well combined.


Now line the same baking sheet with new parchment paper or a silicone mat and spray with cooking spray (honestly I often skip the spray).
Plop your cauliflower dough in the middle and shape and flatten with your hands into a uniformly-thin pizza crust. You do want it fairly thin so it’s not soggy.

Bake for 10-15 minutes, then carefully flip with a spatula and bake for a few more minutes.

Pull the crust out of the oven and top as desired (don’t overload it!). Really you can do whatever you want, though I would stay away from soggy toppings. I’ve provided some thought starters at the top of this post.


Bake again for about 5 minutes, until the cheese just melts.
Serve fresh and enjoy! Personally I really think this should be eaten fresh. You can refrigerate it though and eat within a couple days. I haven’t tried freezing the crust and cooking later but you could give that a try.
...this cauliflower crust pizza only takes a few ingredients and is full of fiber & vitamins. Grain free, gluten-free, low carb and keto recipe option. #cauliflower #keto #grainfree #cauliflowercrust #gf #glutenfree #pizza")
So as you can see, it’s not that hard to make cauliflower crust pizza as long as you know the steps and plan your timings right!
It’s such a delicious and satisfying meal that doesn’t feel like you’re giving anything up…it’s obviously not regular pizza, but it’s great in its own right. And you should give my “no-squeeze” version a try!
Other healthy dinner recipes you’ll love:
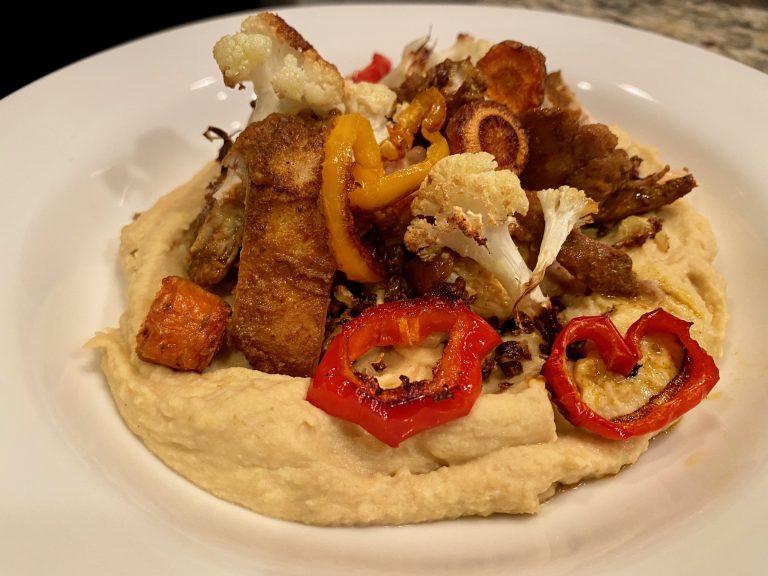
- Socca (Chickpea Flatbread) with Roasted Veggies & Goat Cheese
- Amazing, Flavorful (& Easy) Chicken Shawarma
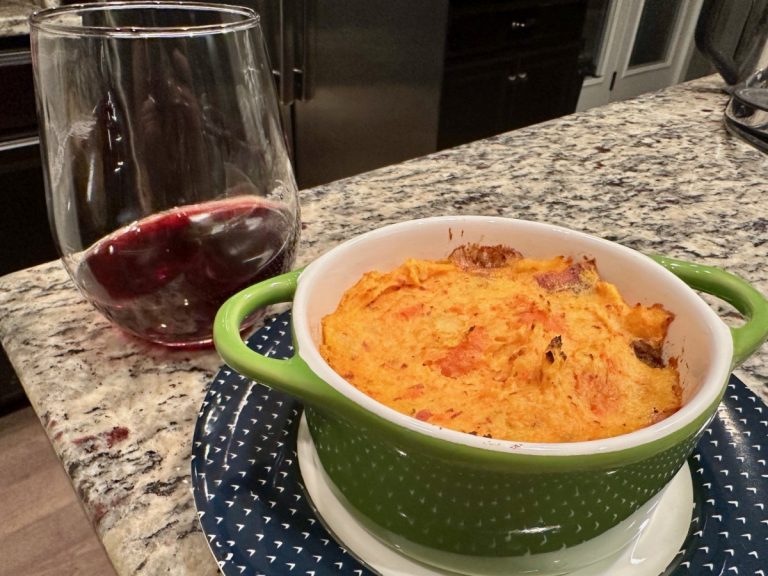
- Maple-Glazed Chicken With Sweet Potato Hash
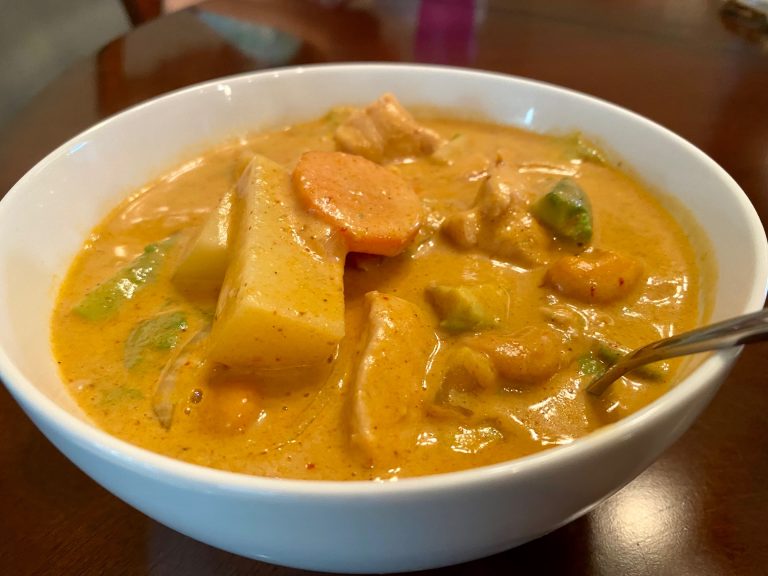
- Quick Healthy Thai Chicken Cauliflower Rice Bowl
- Though if you want *real* pizza, my Grilled Pizza is to die for!
Adapted from iFoodReal and Gimme Delicious
You’ll need something to squeeze the liquid out of your cauliflower. You can use cheesecloth or a clean linen towel. I prefer to use a nut milk bag.

(Fairly) Easy Homemade Cauliflower Crust Pizza
Ingredients
- Medium head of cauliflower or 1-2 lbs of store-bought cauliflower rice
- 1 large egg
- 1 tsp Italian seasoning or dried oregano/basil
- 1/8 tsp salt
- 1/4 tsp ground black pepper
- Added garlic powder
- 1/2 cup Parmesan or Mozzarella cheese grated/shredded
- Toppings of your choice I often use cooked hamburger, roasted veggies, and multiple cheeses
Instructions
- <b>Prep the rice (see notes):</b> Preheat oven to 375 degrees F and line baking sheet with unbleached parchment paper. Remove the outer leaves of the cauliflower, separate into florets, and process in a food processor until it's a “rice” texture. If you're using store-bought cauliflower “rice”, you can skip that step.
- Transfer your cauliflower rice to your prepared baking sheet and bake for about 15 minutes. Remove from the oven, and transfer either directly to your squeezing bag/towel, or let it cool on the pan for a bit and then transfer. Let it cool at least 10-15 minutes until you can safely touch it.
- <b>Squeeze and make the dough:</b> Squeeze the liquid out of the cauliflower as hard as you can, whether over a bowl or just over the sink. Be patient and do this a few times until barely any liquid comes out (let it rest a couple minutes, then try again).
- Increase the oven temperature to 450 F. In a medium bowl, add the egg, dried herbs, salt, and pepper. Add the shredded cheese and squeezed-out cauliflower ball. Mix very well with a spatula (or I honestly prefer my hands) until well combined.
- <b>Form and bake the cauliflower crust:</b> Line same baking sheet with new parchment paper or a silicone mat and spray with cooking spray. Plop your cauliflower dough in the middle and flatten with your hands until a thin pizza crust forms. You want it fairly thin, but if it's too thin it will burn on the edges.
- Bake for 15 minutes, carefully flip with a spatula and bake for a few more minutes.
- <b>Top and finish:</b> Pull it out of the oven and top as desired. Bake again for about 5 minutes, until the cheese melts. Serve fresh and enjoy!
Notes
- I always cook the rice in the oven initially, but you also could throw it in the microwave in a pie plate for about 8 minutes.
- Personally I really think this should be eaten fresh. You can refrigerate it though and eat within a couple days. I haven't tried freezing the crust and cooking later.
...this cauliflower crust pizza only takes a few ingredients and is full of fiber & vitamins. Grain free, gluten-free, low carb and keto recipe option. #cauliflower #keto #grainfree #cauliflowercrust #gf #glutenfree #pizza")