The Easiest, Best Focaccia Bread Ever
Here’s the thing. A lot of you think bread is difficult. And it can be sometimes. But *this* bread is basically foolproof. And it is legitimately the best focaccia bread recipe EVER.
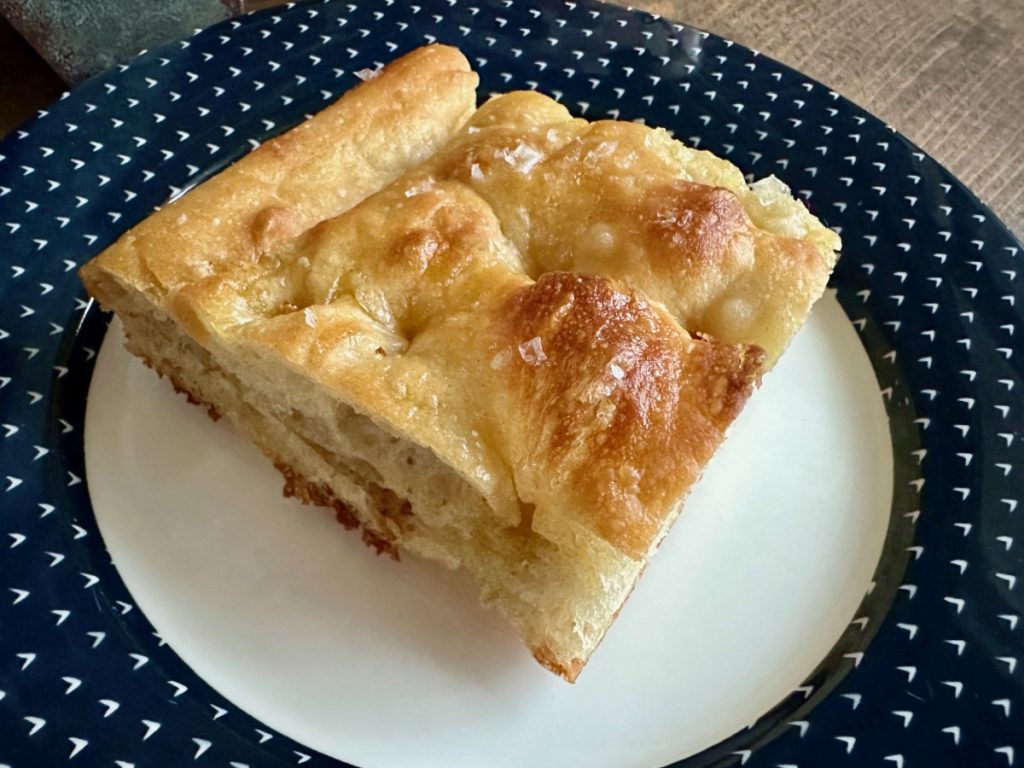
Something like five minutes of actual hands-on time yields a golden, crunchy, salty, chewy, airy bread that is the only focaccia recipe you need!

You might also like: Bread Recipe Options Based On How Long You Have
One of my favorite things about this recipe is that it’s super easy and very forgiving, particularly on timings. There’s an option to make it with an overnight fridge rise, or a same-day rise, and both are equally delicious.
Both rise options are longer than regular bread because focaccia requires a slow ferment, giving the dough more time to develop great flavor and get its signature big air bubbles.
This is also why it has to be a wet dough, in order to get super bubble-icious. I’ve tried to include detailed notes in the recipe on the dough…the exact amount of flour you need to use will vary based on the humidity and also the exact flour you’re using, but don’t stress about that too much.
The main thing is that you definitely should expect a wet and sticky dough. This is good and normal, and it’s critical that you don’t add too much flour to make it more manageable. You’ll be almost entirely hands-off, so the stickiness won’t be an issue.

If you’re looking for a delicious no-knead focaccia bread, this is also your new friend. You don’t need a mixer with a dough hook, or any special equipment. All you do is stir the dough together, and later use a couple forks to fold the dough. It is seriously a great recipe for bread beginners and pros alike.
There are a couple ingredients that make a huge difference in the final product, beyond the flour you use (I use Sunrise Mills heritage bread flour usually)…flaky sea salt and a quality olive oil.
Please do not just sprinkle table salt on top!! You will not get the same results. And for olive oil, you can use whatever you want for most of the recipe, but if possible I recommend the final drizzle/”finishing” with a really high-quality olive oil (I’m obsessed with Brightland’s).

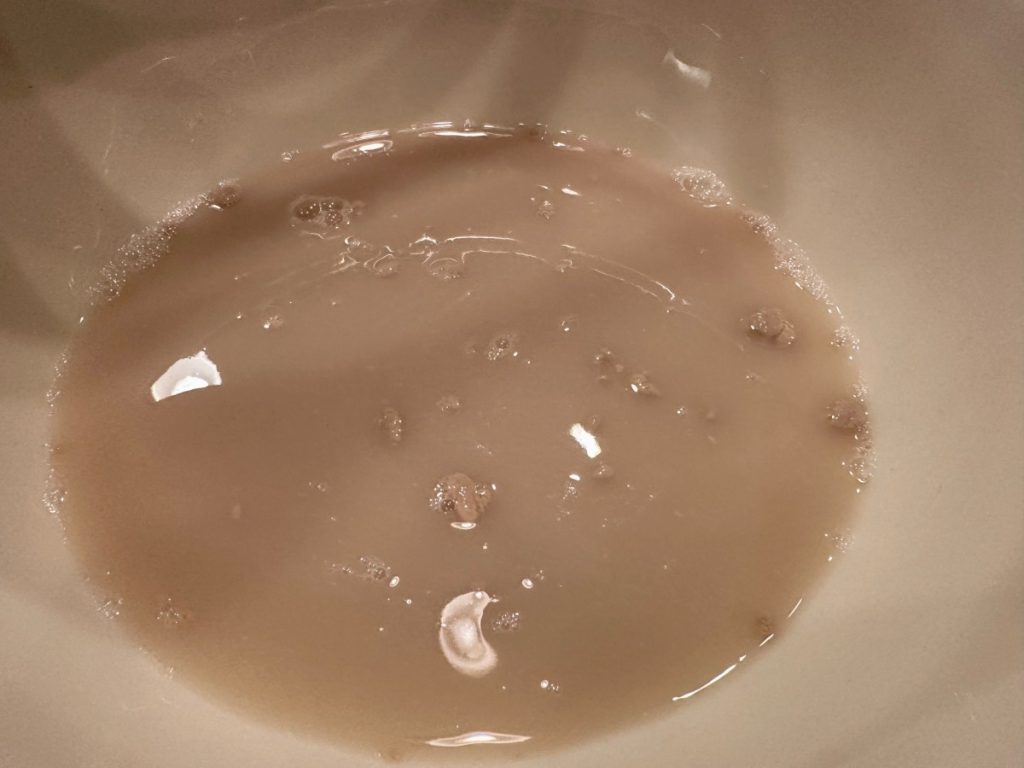
Whisk the yeast, honey, and water together in a large mixing bowl and let sit for 5 minutes. It should foam or at least get kind of creamy on top (if it doesn’t do anything, your yeast is likely dead and you should get new stuff and start again).
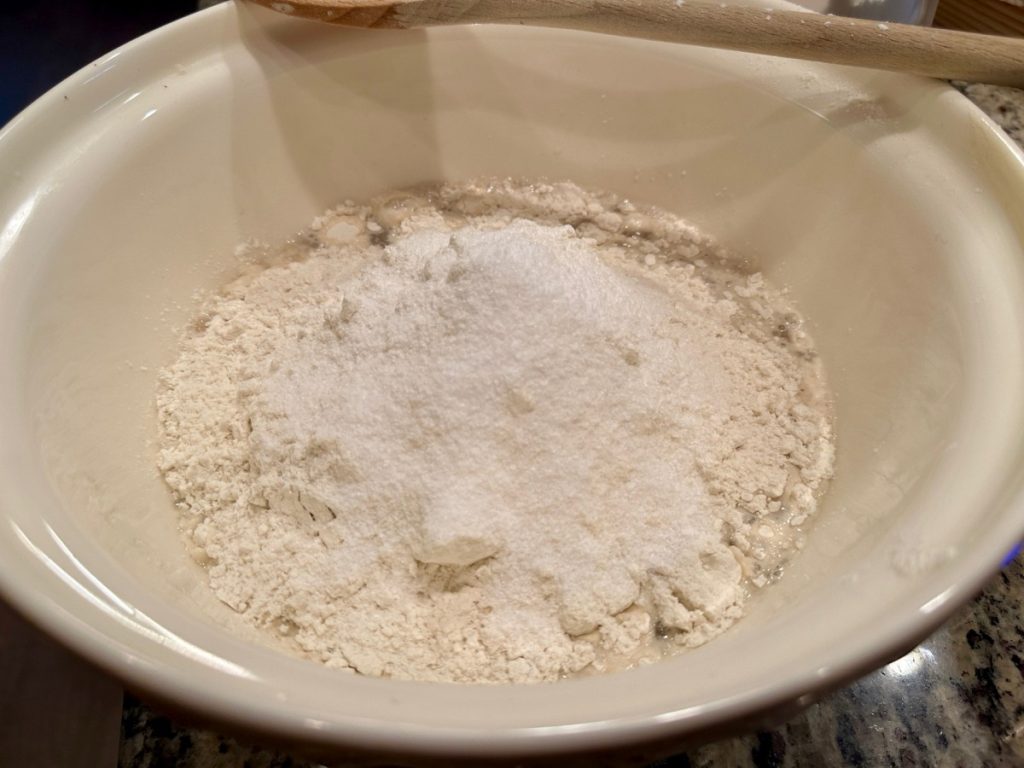
Add around 550 g of flour and the regular sea salt to the bowl and mix with a rubber spatula or wooden spoon until a fairly wet shaggy dough forms and no dry streaks remain. Decide if the rest of the flour is needed, or if you actually need more, which has happened for me (see notes).
You have two options, rising at room temp for 3-4 hours or all day/overnight in the fridge. I’ve done both and haven’t seen a significant difference in the end results—both are awesome options, so just base it on the time you have and when you want to serve it.
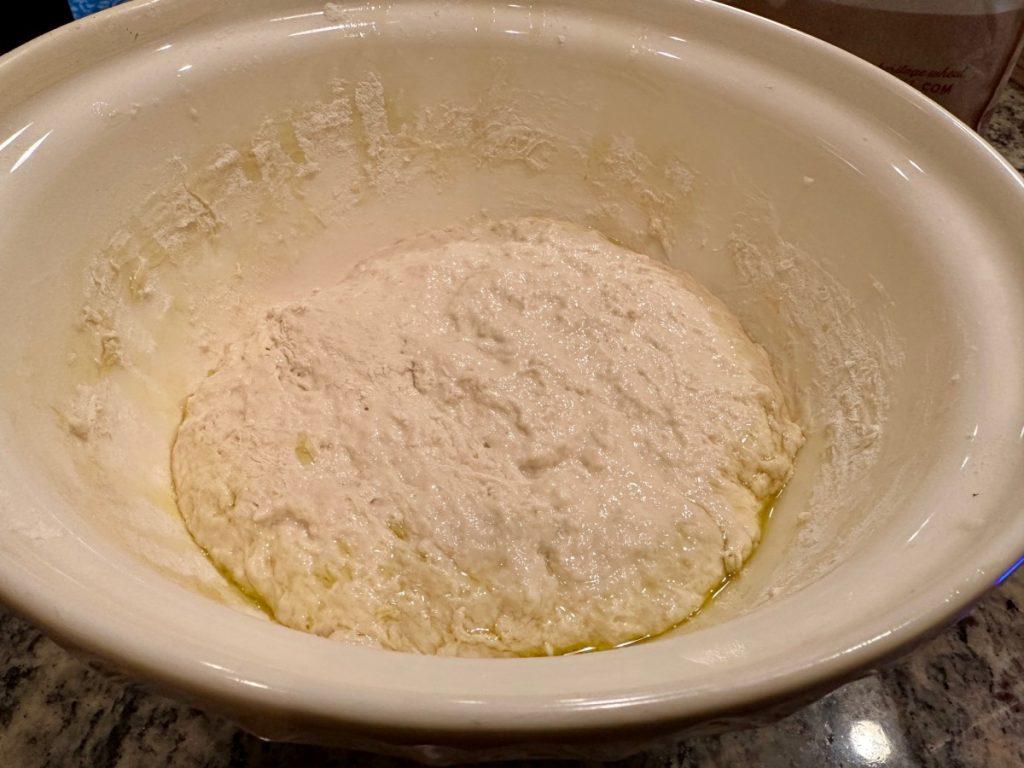
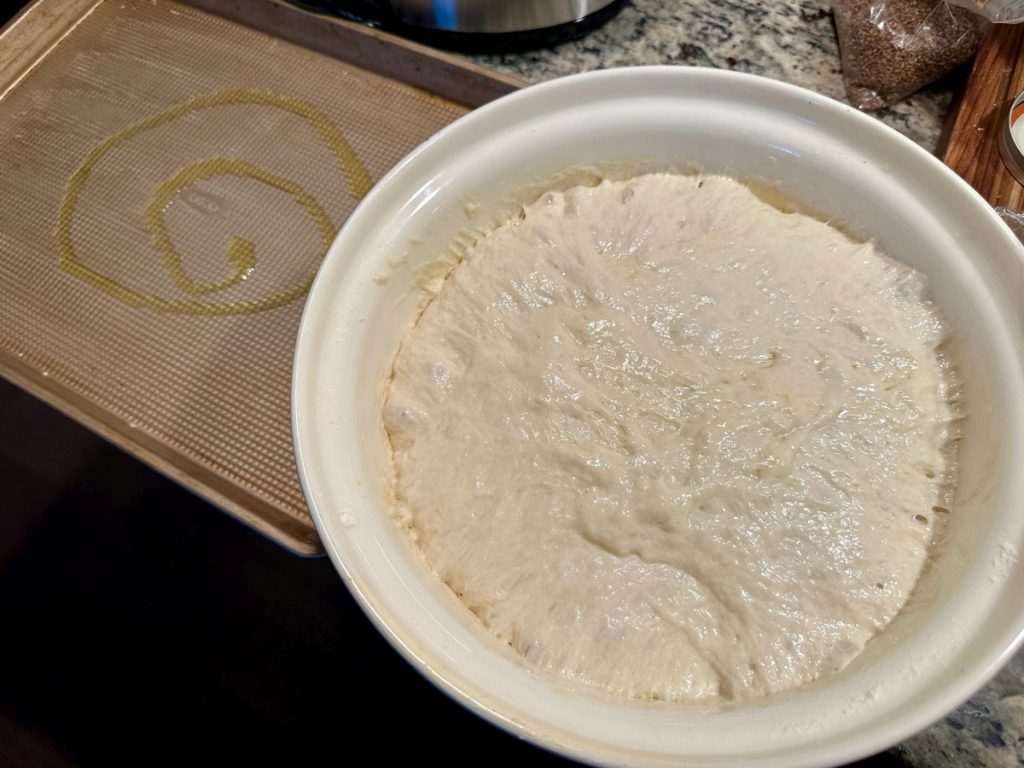
Pour 4 tablespoons of olive oil into into a big bowl (this is going to rise a lot!) that will fit in your refrigerator (if going that route). Transfer the dough to the oiled bowl. Pro tip: I just move the dough around in my existing bowl and drizzle it around the sides (you can see that below).
Cover with a silicone lid or plastic wrap and let it rise in the fridge until the dough is doubled in size (it should look very bubbly and alive)—at least 8 hours and up to 24 hours. If you’re in a rush, you can also let it rise at room temperature or a slightly warm place for 3-4 hours, until doubled in size (this is typically what I do).
Once the dough has risen, generously butter a large rimmed baking sheet (or a 9×13 pan, for thicker focaccia for sandwiches). Pour 2 tablespoons of olive oil into the center of the pan.
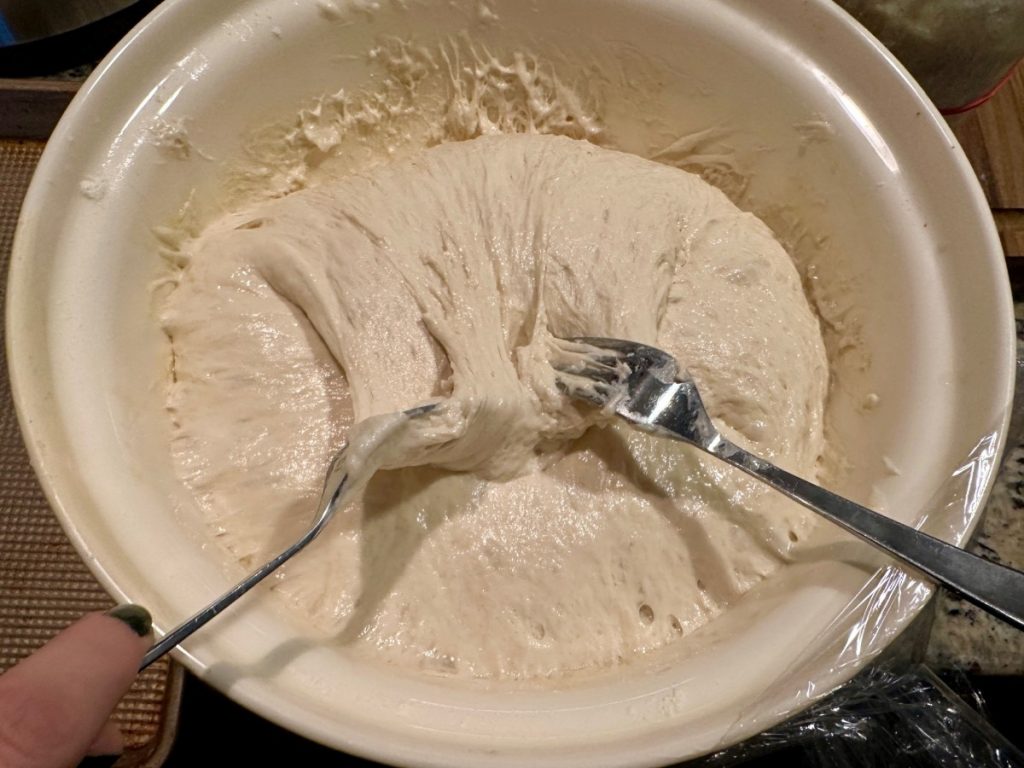
Keeping the dough in the bowl and using a fork in each hand, gather up edges of dough farthest from you (12 o’clock) and lift up and over toward the center of bowl (like a fold). Give the bowl a quarter turn and repeat the process, til you’ve gone all the way around. Do this 2 more times. You’re gently deflating the dough while you form it into a rough ball.
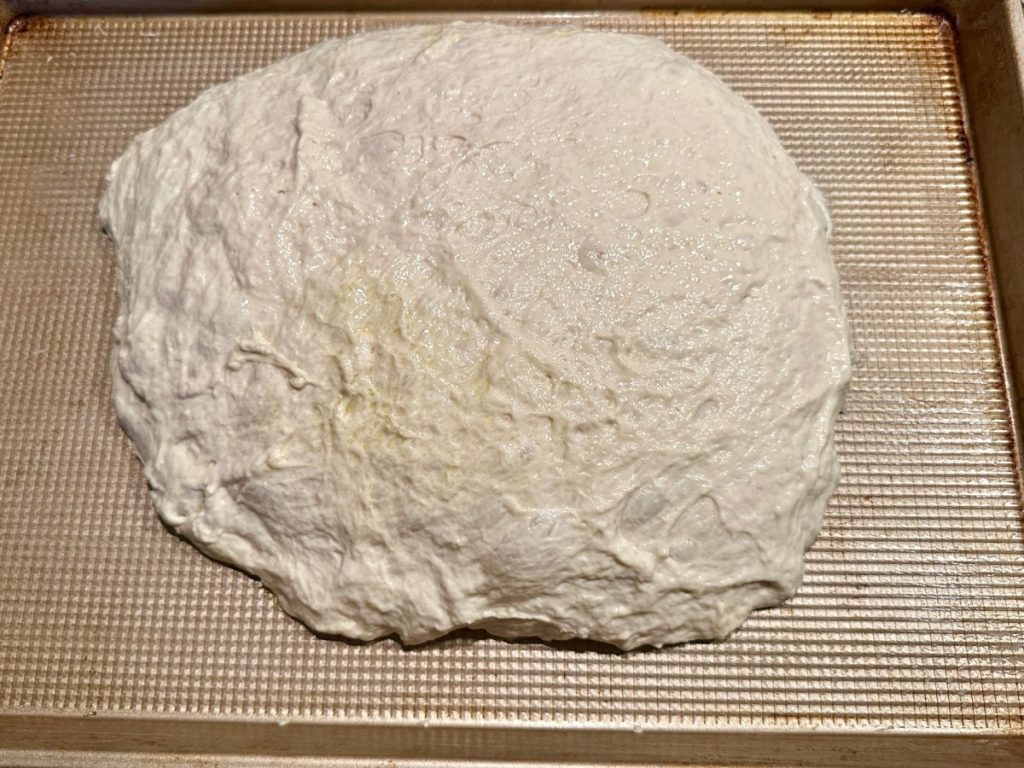
Gently pour the dough into the center of your baking sheet (pour any oil left in bowl as well) and turn the dough to coat it in oil.
If the dough is super squishy and spreads out itself, let it be (it doesn’t need to reach the sides yet). If it’s more of a ball, VERY gently stretch it out some, to start to get it flatter and wider. It definitely doesn’t need to reach the sides of the pan yet.
Let it rise uncovered in a dry, warm spot (such as on the clothes dryer or near a preheating oven) until doubled in size, at least 1 1/2 hours and up to 4 hours (again, very forgiving based on your timing needs).

Place a rack in the middle of the oven and preheat to 450 F.
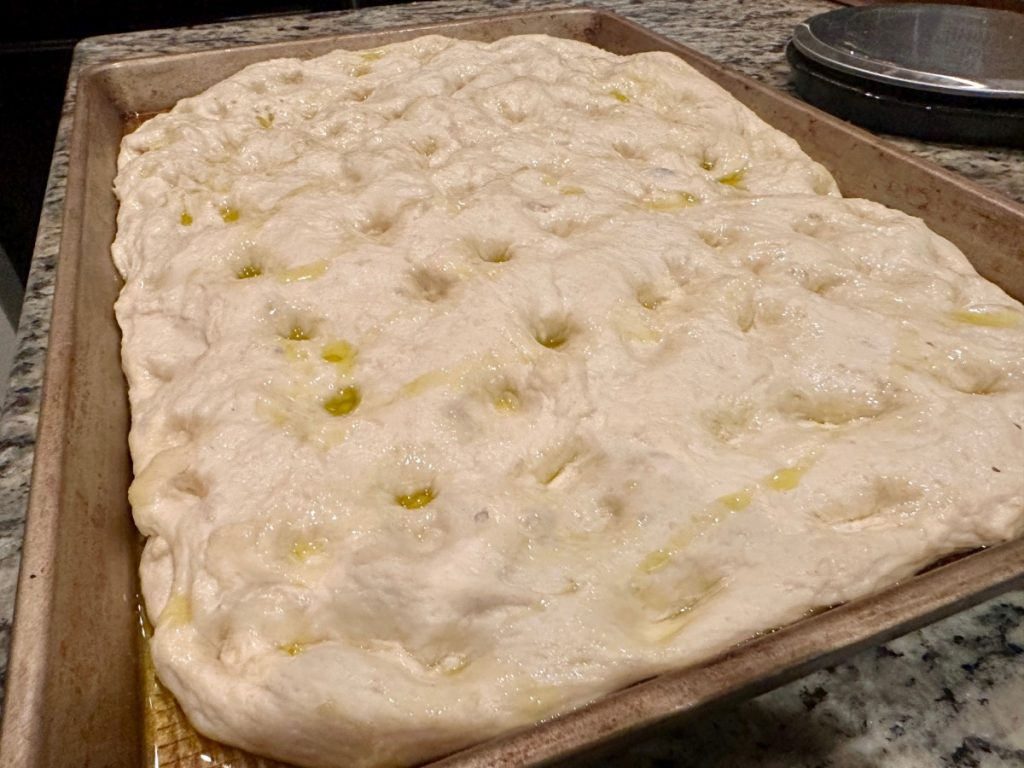
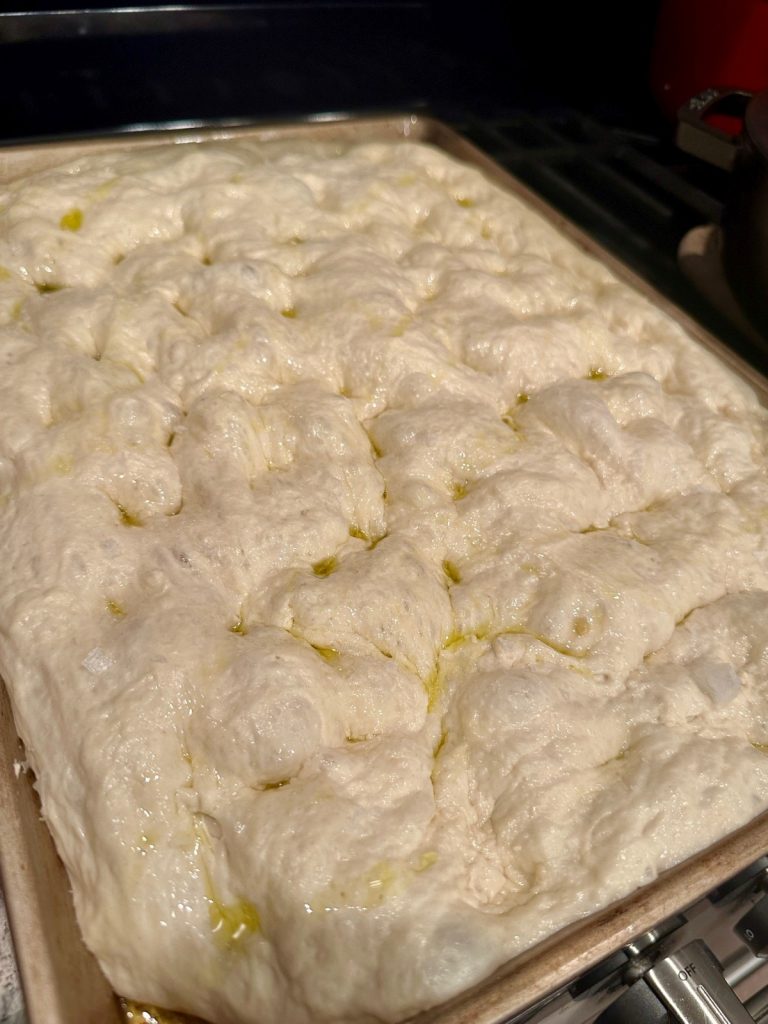
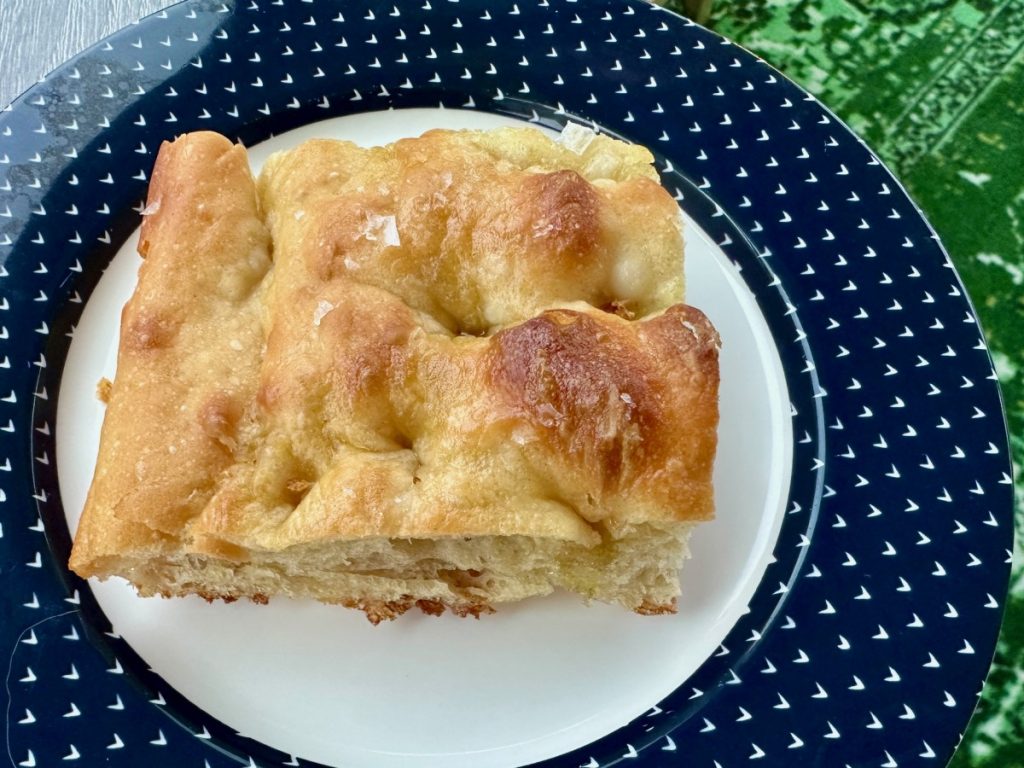
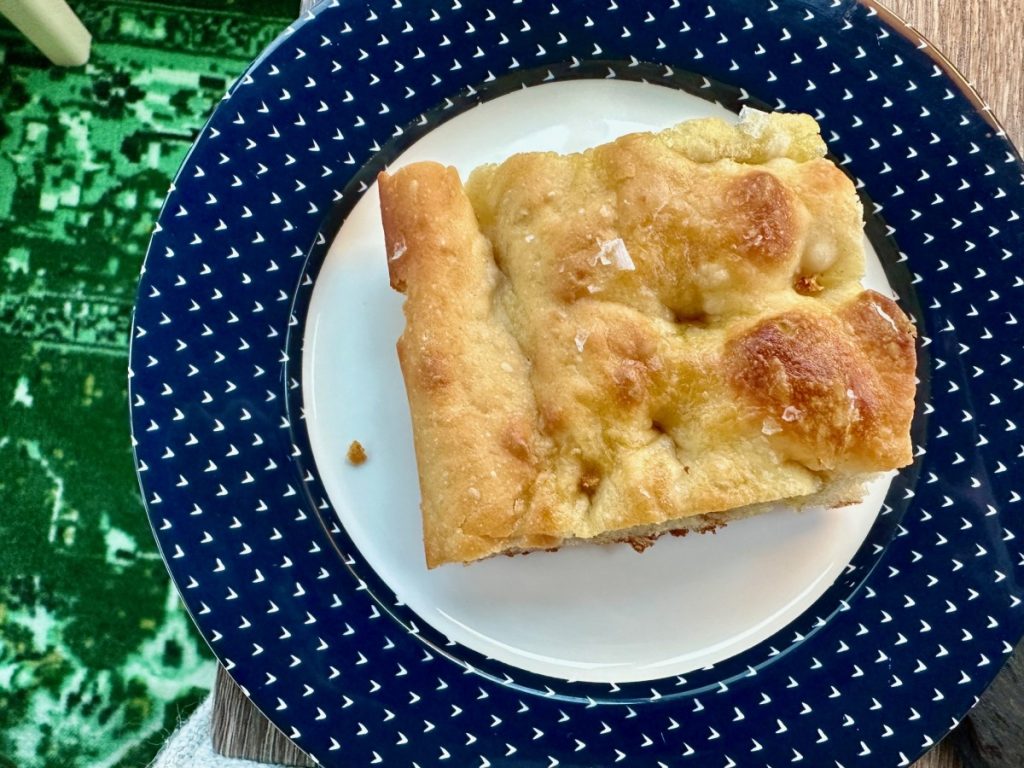
Lightly oil your hands and drizzle a tablespoon or two of oil on the dough. Using the first 3 fingers on each hand, dimple the focaccia all over with your fingers, like you’re slowly but aggressively playing the piano, creating very deep depressions in the dough (reach your fingers all the way to the bottom of the pan). Slowly pull your fingers out and repeat until the dough is evenly dimpled.
Drizzle with a bit more olive oil and sprinkle liberally with flaky sea salt.
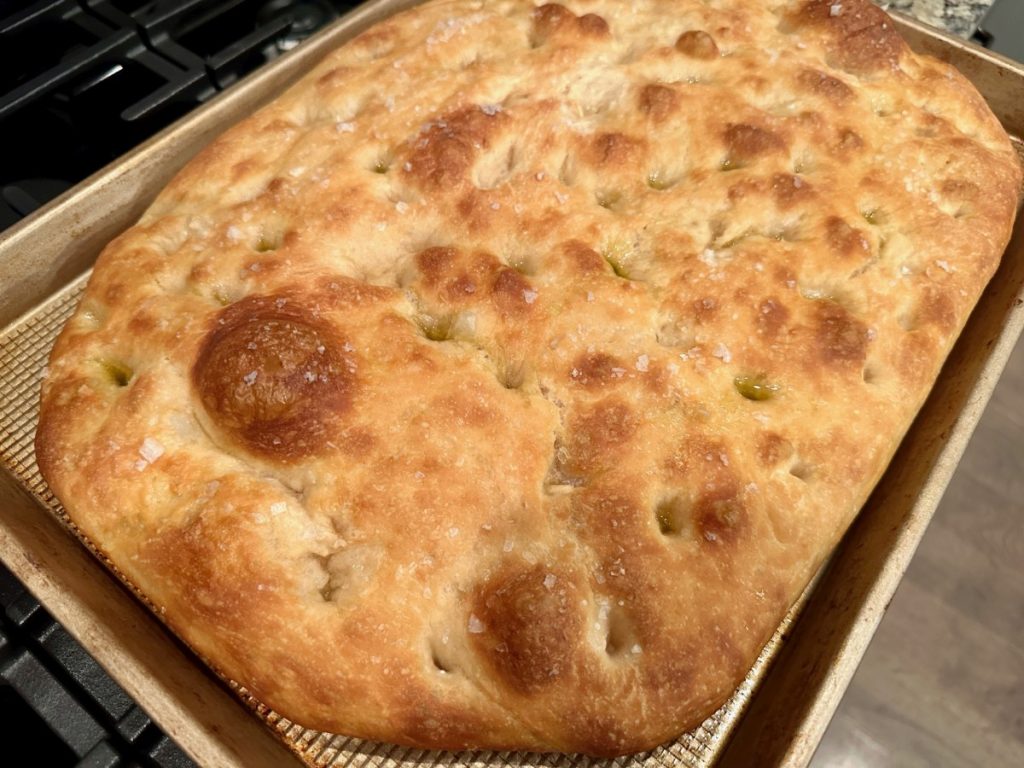
Bake until puffed and golden brown all over, 20–30 minutes. It should reach about 210 F in the middle when done and sound hollow when you tap on it.
If your oven is running a little hot and it’s looking like it’s browning too quickly but isn’t quite done, you can decrease the heat to around 415 F for the last 5 or so minutes.
Remove from the oven and drizzle another 1-2 tablespoons of olive oil on it. Let it cool for at least 10 minutes before cutting and serving. You can use a regular little wheel pizza cutter, but I love this big pizza slicer, which cleanly cuts without mangling it.
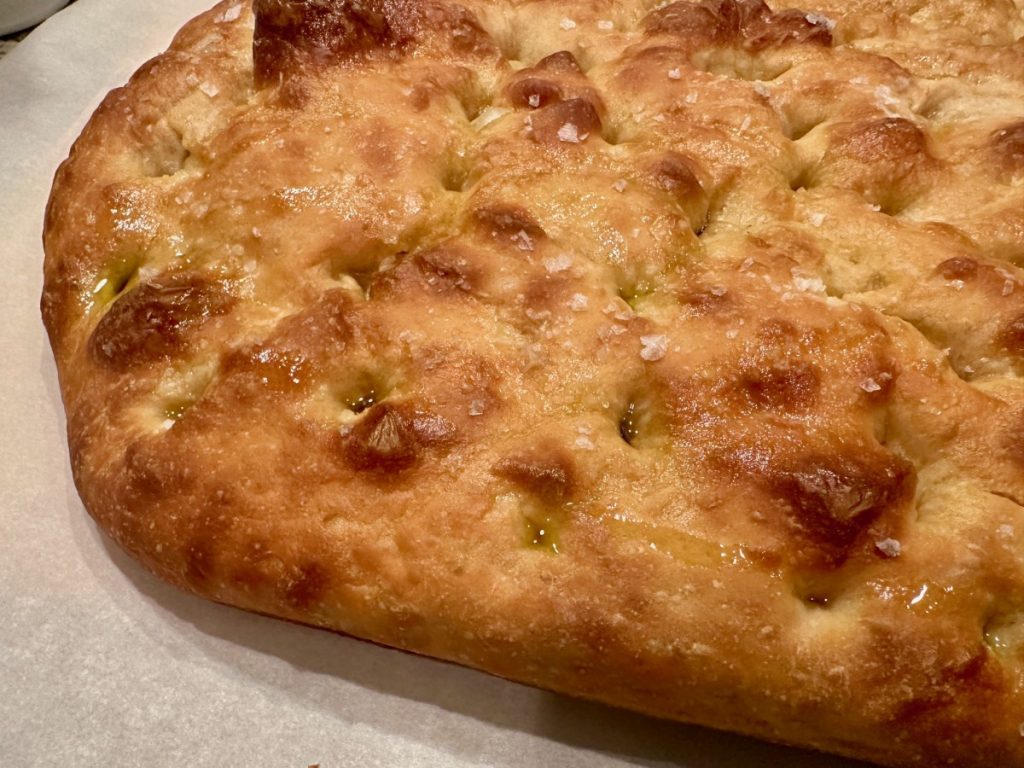
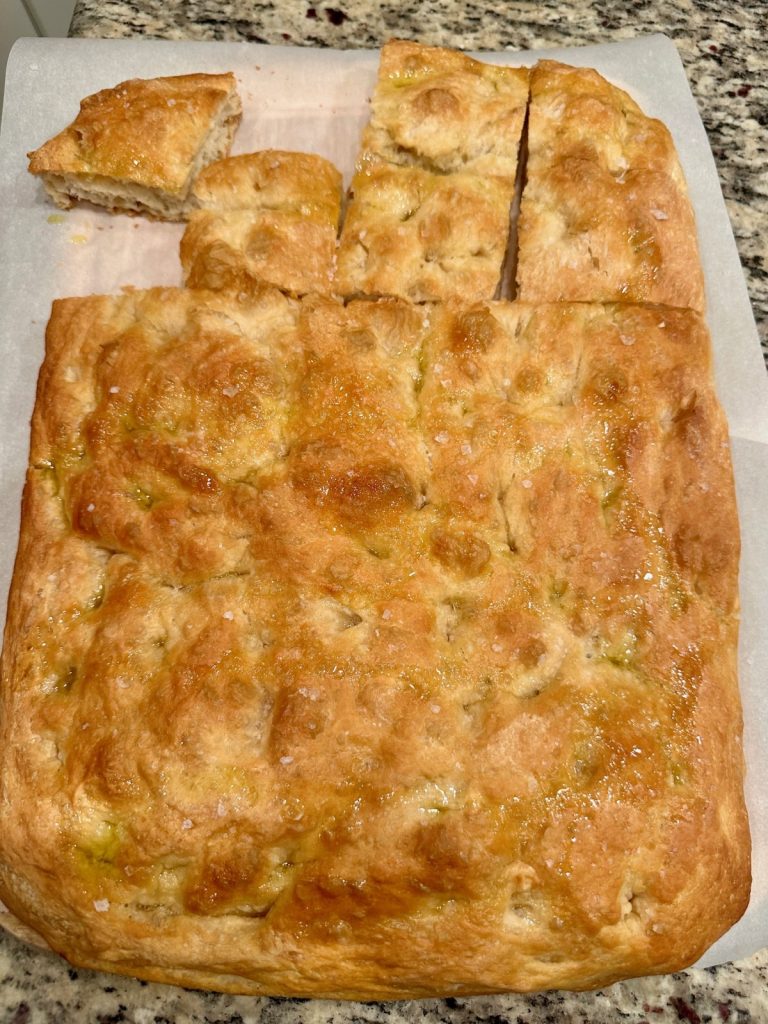
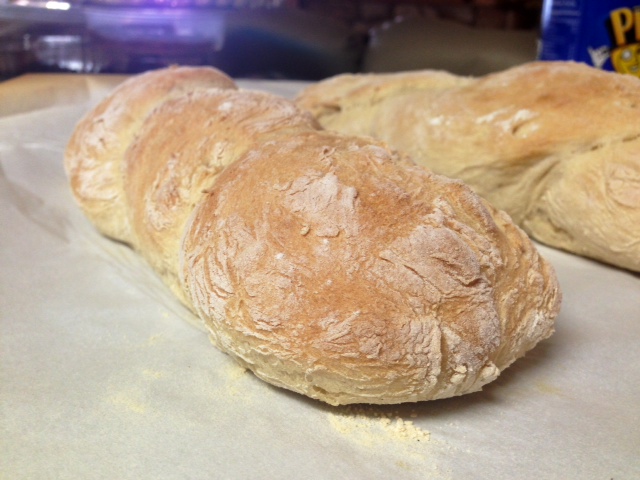
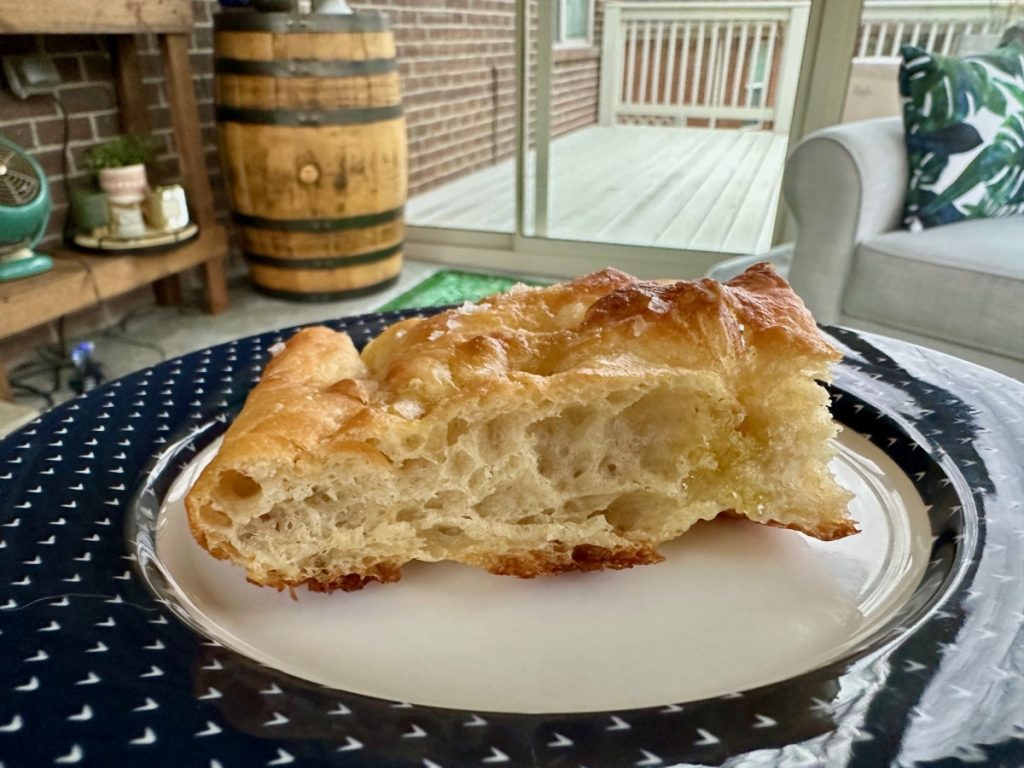
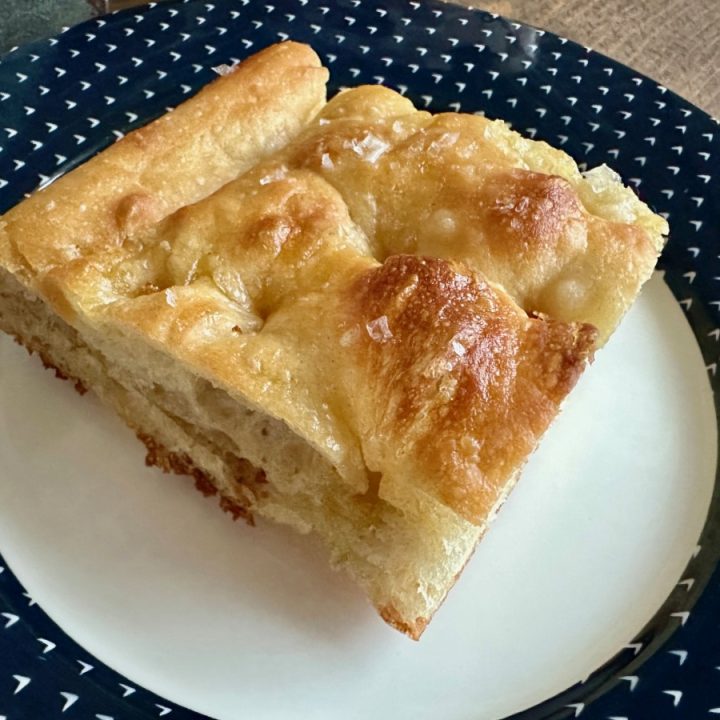
Look at that crunchy, air bubbly, golden perfection! You can really see the big, irregular air bubbles from the side, and that golden bottom. (No soggy bottoms here!)

If at all possible, eat it the day it’s baked. It’s still great the next day, but definitely best fresh. You could probably try to re-toast in an oven or air fryer for a very short amount of time to recapture the crunch.
I am convinced that this is the best recipe for focaccia that’s out there, whether you’re new to bread or just looking for your new favorite recipe!
I do have a few other focaccia recipes on the site (like Samin Nosrat’s famous one, delicious but more complex) and a quick rosemary and caramelized onion one (ready in 3-4 hours), as well as an EVEN quicker “one hour” skillet focaccia.
Adapted slightly from Bon Appetit
Other easy go-to bread recipes you’ll love:
- The Best Easy Pizza Dough (for Grilling & More)
- Rosemary Olive Oil Bread with Sea Salt
- Easy, Awesome Challah Bread
- Traditional Irish Brown Bread
- Easy Drop Biscuits from Outlander Kitchen
- Crusty French Baguettes in 30 Minutes
- Delicious Homemade Bread in the Air Fryer
Pin for later!

The Best Foolproof No-Knead Focaccia Bread
This is legitimately the best focaccia recipe ever! It's super easy and forgiving, particularly on timings. If you're looking for a delicious no-knead focaccia bread, one that can be made either overnight or same-day, and that yields a golden, crunchy, salty, chewy, airy bread, then this recipe is the only one you'll ever need!
Ingredients
- Scant tablespoon of instant yeast (almost 3 teaspoons)
- 2 1/2 cups of lukewarm water
- 2 teaspoons of honey
- 5 cups (625 g) or more of all-purpose flour (see notes)
- 1 tablespoon of sea salt (or 5 teaspoons of Diamond Crystal kosher salt)
- Good extra-virgin olive oil, divided (plus more for hands)
- A bit of butter to grease the baking sheet
- Flaky sea salt for sprinkling
Instructions
- MAKE THE DOUGH: Whisk the yeast, honey, and water together in a large mixing bowl and let sit for 5 minutes. It should foam or at least get kind of creamy on top (if it doesn’t do anything, your yeast is likely dead and you should get new stuff and start again).
- Add around 550 g of flour and the regular sea salt to the bowl and mix with a rubber spatula or wooden spoon until a fairly wet shaggy dough forms and no dry streaks remain. Decide if the rest of the flour is needed, or if you actually need more, which has happened for me (see notes).
- FIRST RISE: You have two options, rising at room temp for 3-4 hours or all day/overnight in the fridge. I've done both and haven't seen a significant difference in the end results---both are awesome options, so just base it on the time you have and when you want to serve it.
- Pour 4 tablespoons of olive oil into into a big bowl (this is going to rise a lot!) that will fit in your refrigerator (if going that route). Transfer the dough to the oiled bowl. Pro tip: I just move the dough around in my existing bowl and drizzle it around the sides.
- Cover with a silicone lid or plastic wrap and let it rise in the fridge until the dough is doubled in size (it should look very bubbly and alive)---at least 8 hours and up to 24 hours. If you're in a rush, you can also let it rise at room temperature or a slightly warm place for 3-4 hours, until doubled in size (this is typically what I do).
- SECOND RISE IN THE PAN: Once the dough has risen, generously butter a large rimmed baking sheet (or a 9x13 pan, for thicker focaccia for sandwiches). Pour 2 tablespoons of olive oil into the center of the pan.
- Keeping the dough in the bowl and using a fork in each hand, gather up edges of dough farthest from you (12 o'clock) and lift up and over toward the center of bowl (like a fold). Give the bowl a quarter turn and repeat the process, til you've gone all the way around. Do this 2 more times. You're gently deflating the dough while you form it into a rough ball.
- Gently pour the dough into the center of your baking sheet (pour any oil left in bowl as well) and turn the dough to coat it in oil. If the dough is super squishy and spreads out itself, let it be (it doesn't need to reach the sides yet). If it's more of a ball, VERY gently stretch it out some, to start to get it flatter and wider. It definitely doesn't need to reach the sides of the pan yet.
- Let it rise uncovered in a dry, warm spot (such as on the clothes dryer or near a preheating oven) until doubled in size, at least 1 1/2 hours and up to 4 hours (again, very forgiving based on your timing needs).
- Place a rack in the middle of the oven and preheat to 450 F.
- Lightly oil your hands and drizzle a tablespoon or two of oil on the dough. Using the first 3 fingers on each hand, dimple the focaccia all over with your fingers, like you’re slowly but aggressively playing the piano, creating very deep depressions in the dough (reach your fingers all the way to the bottom of the pan). Slowly pull your fingers out and repeat until the dough is evenly dimpled.
- Drizzle with a bit more olive oil and sprinkle liberally with flaky sea salt.
- BAKE: Bake until puffed and golden brown all over, 20–30 minutes. It should reach about 210 F in the middle when done and sound hollow when you tap on it. If your oven is running a little hot and it's looking like it's browning too quickly but isn't quite done, you can decrease the heat to around 415 F for the last 5 or so minutes.
- Remove from the oven and drizzle another 1-2 tablespoons of olive oil on it. Let it cool for at least 10 minutes before cutting and serving.
Notes
- I do sometimes use some bread flour along with the all-purpose, but often use only all-purpose flour. If you sub some white whole wheat flour, make sure you go easy on the flour at first and gauge the texture because whole wheat will soak up more water and make the dough drier---the opposite of what you want.
- The most important thing is not to add too much flour at first and see how the dough's turning out...too sticky/wet will work out okay, but tough/dense/dry will affect the rise and texture. Focaccia is supposed to be a wet dough. Usually at the beginning it's not *quite* as well, but after it does the long slow rise it's super wet and bubbly. Sometimes my initial mixture is too wet and I have to add up to 100g more of flour to get it to a good consistency, but the trade-off can be that it's a little less bubble-icious after the rise. Don't be scared of a wet dough, but if you need a bit more flour in the initial mix, that's normal.
Recommended Products
As an Amazon Associate and member of other affiliate programs, I earn from qualifying purchases.