Amazing DIY Face Oil: The Best Homemade Moisturizer for Glowing Skin
I’m taking a quick detour from food to share a different kind of recipe I use almost every day…my awesome homemade face oil.
I treat it as a combination of face oil and moisturizer, using it at night as a last step to seal in moisture and nutrients from my other skincare products. If you haven’t tested using face oil and have been looking for ways to swap in non-toxic beauty products, fall is a perfect time to switch up your skincare routine as the seasons change. And making this yourself is so easy!
Why does clean face moisturizer matter?
What drove me to switch up my skincare routine a few years ago?? Well, I was blessed to have absolutely perfect skin for 35+ years of my life, and then developed some issues the past few years (yay, autoimmune reactions!). I’ve become super picky about what I put on my face, as it’s a “canary in the coal mine” for what’s going on in my body. Beyond that, I’ve been on a longer natural health journey due to a number of health issues, and have slowly swapped out a ton of different products in my home for non- or low-tox options.
So many of today’s skincare products are packed with toxic, cancer-causing, and/or hormone-disrupting chemicals and fragrances. And the skin is the largest organ on our bodies, so it just laps up whatever we put on it! So skincare and beauty products, along with kitchen items, were first on my list to switch out.
I didn’t start with making my own DIY face oil. I tried a few different ones and initially fell in love with Toups & Co’s glow serum (this link gives 15% off), which is AMAZING. It feels and smells incredible, and I do still use it in my rotation, but it’s pretty expensive for me to use every day. So while I still use it (along with a few others from Araza Beauty and Dime Beauty), I decided to try whipping up my own face oil to use as moisturizer. And it’s so easy!
What ingredients go in homemade face oil?
Quality ingredients make all the difference here. Our goal is nourishing our skin, providing all sorts of the building blocks it needs—from healing to moisture to antioxidants and ingredients that address specific issues.
If you’ve already looked at my DIY body oil (WHICH YOU SHOULD, it’s awesome), you’ll notice a lot of crossover in the ingredient list, though the proportions are a bit different and I’ve added a few extras for my face to address specific needs. Skincare isn’t rocket science.
Here are the ingredients I use currently. I buy them in larger quantities to save money, and make sure to store them properly.
- Organic castor oil (cold-pressed, without hexane) – intense moisturizing, anti-inflammatory
- Organic sweet almond oil – intense hydrating, absorbs well, nourishing vitamins and minerals
- Organic Vitamin E oil – powerful anti-oxidant, anti-aging, helps heal wounds and scars
- Organic jojoba oil – closely mimics skin’s sebum, good for all skin types, hydrating without clogging pores
- Organic rose hip oil – boosts collagen with vitamin A, fatty acids, improves tone and texture
- Vitamin C serum – reduces redness, boosts collagen, and fights free radicals. This one is 20% concentration and includes hyaluronic acid.
- Organic black seed oil – optional but I’ve started including a bit, full of great omega fatty acids and anti-oxidants, soothing and healing for things like acne, redness, and eczema. Note, it does have a stronger medicinal scent.
- Sea buckthorn oil – optional, for rosacea, deep hydration, and skin barrier repair
- Some essential oil, mostly for scent but I do usually add frankincense (known for skin-enhancing effects including anti-aging, toning, and scar reduction) and right now I like adding bergamot
You don’t have to use all of these if you want to start simple. For instance, you could start with just some castor oil, either sweet almond or jojoba, and I’d recommend the rose hip if you can. The vitamin C serum is also really great for all skin types. Black seed oil and sea buckthorn are new for me, I’ve been testing them out due to the ongoing rosacea issues I’ve been fighting.
A few other ingredients that are popular for face oils but I haven’t tested out yet are blue tansy oil, saffron threads, and carrot oil.
How to use face oil
The key with oils is that you use them to lock in moisture—there’s no sense putting it on dry skin. My current routine is that after I wash my face, I lightly dab my face so it’s not sopping wet, then apply some kind of hydrating face milk or toner (Beekman 1802 and BYOMA are my faves right now).
I usually do a spritz of my homemade clove water on top of that (anti-bacterial, full of antioxidants), and then rub a small amount of the face oil between my fingers and apply to my face, rubbing it in all over. It will be shiny, that’s totally normal, and it’ll soak in over time. If my skin were really dry (like in the dead of winter in a cold climate), I’d maybe put a bit of moisturizing cream on BEFORE the face oil, as the oil locks everything in.
This face oil is more of a nighttime one, due to the thicker castor oil in it. If I were making a “daytime” one, I’d decrease the castor oil in the recipe and up the sweet almond.
Will face oil make me greasy?
When you first apply the oil, it will look shiny and greasy, as it takes time to soak in. But it will not *make* your skin greasy. All of these oils are low- or non-comedogenic, meaning they don’t clog your pores, and many of them mimic the skin’s natural sebum so it will help reduce if your skin is overproducing oil.
This homemade face oil is more of a nighttime blend, with the rich, nourishing castor oil (which is thicker) playing a key role. For a daytime face oil that you’ll want to put makeup on top of, reduce the castor oil or leave it out altogether, so the oil soaks in faster.
How to safely store homemade face oil
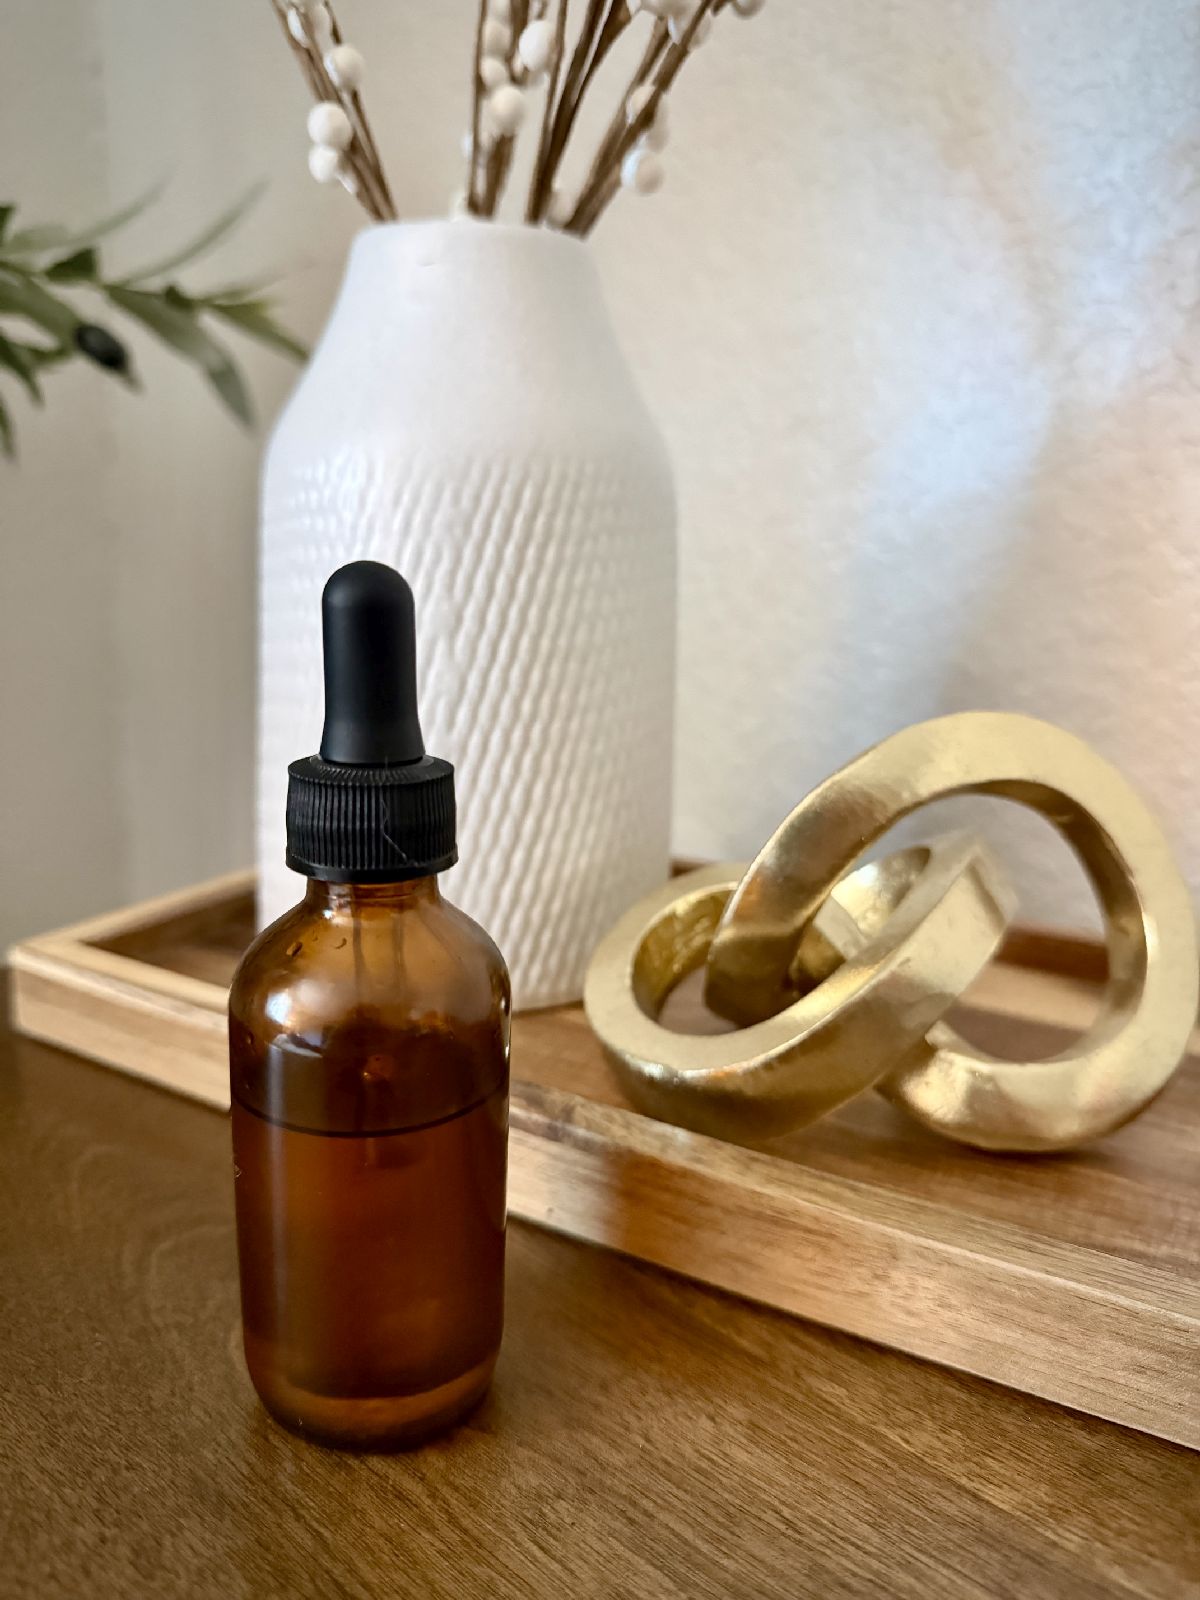
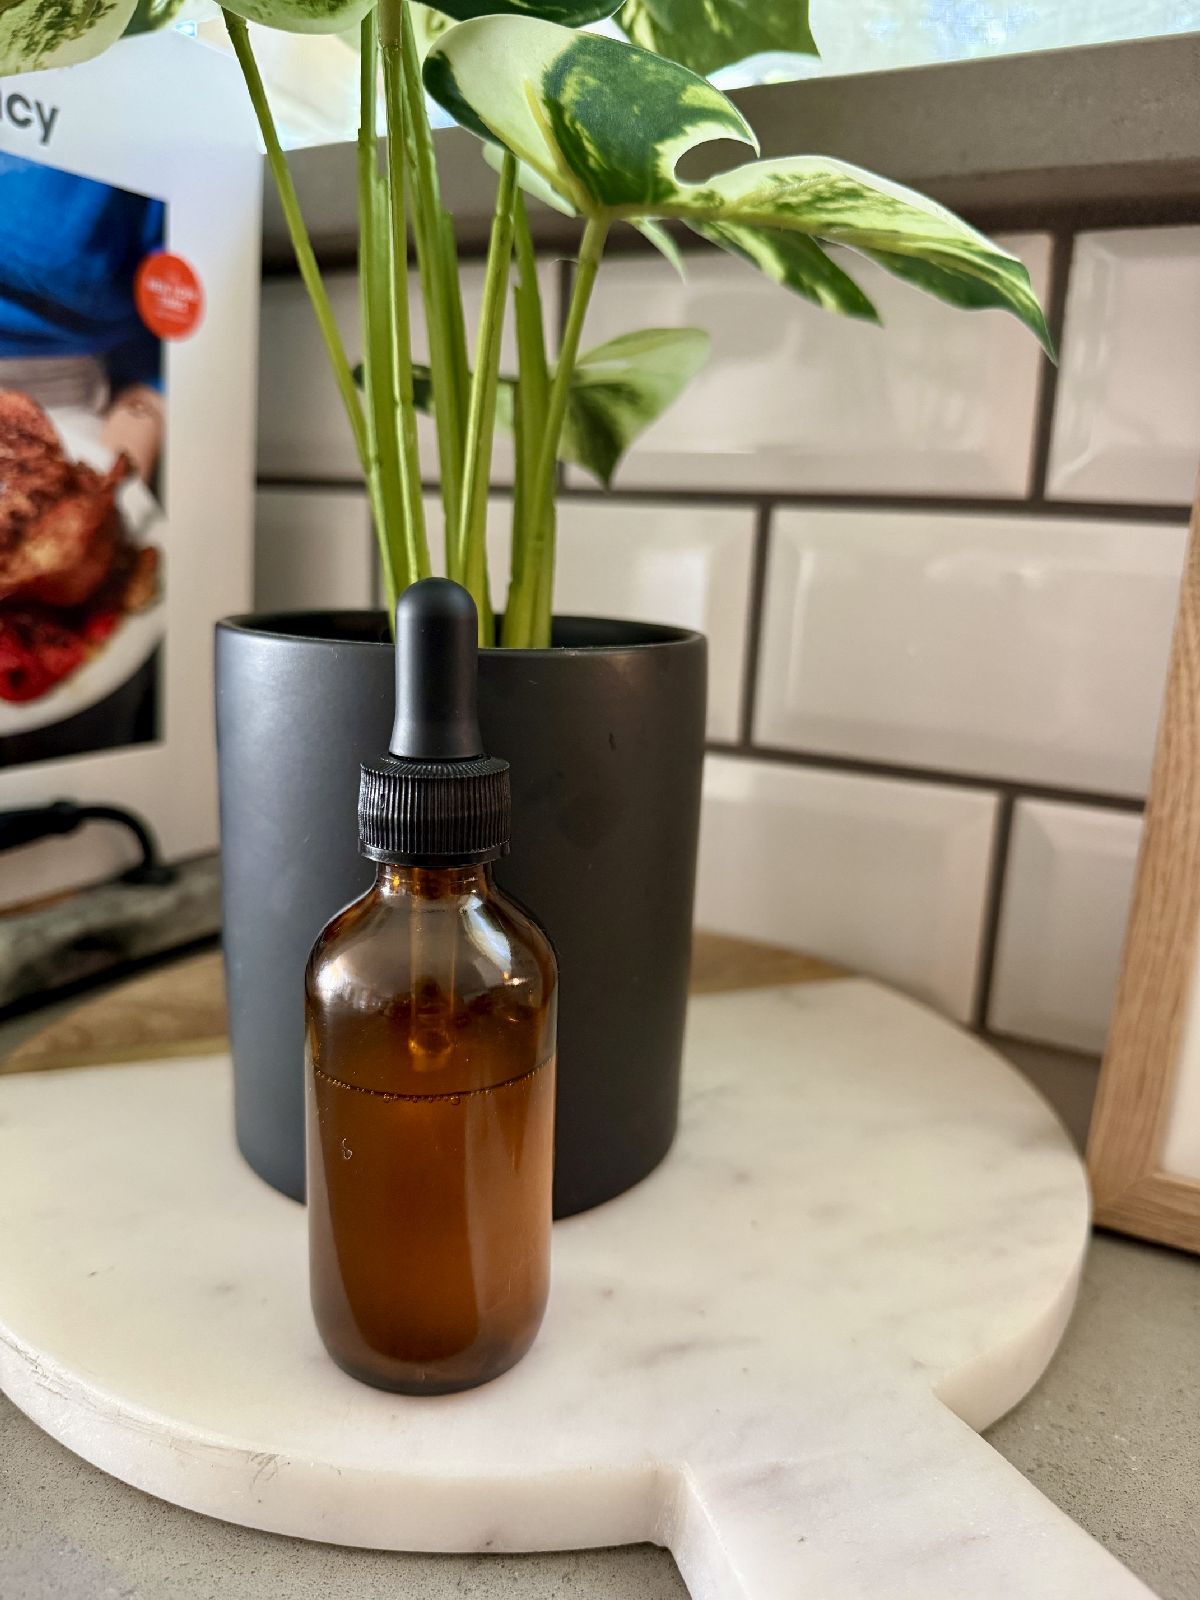
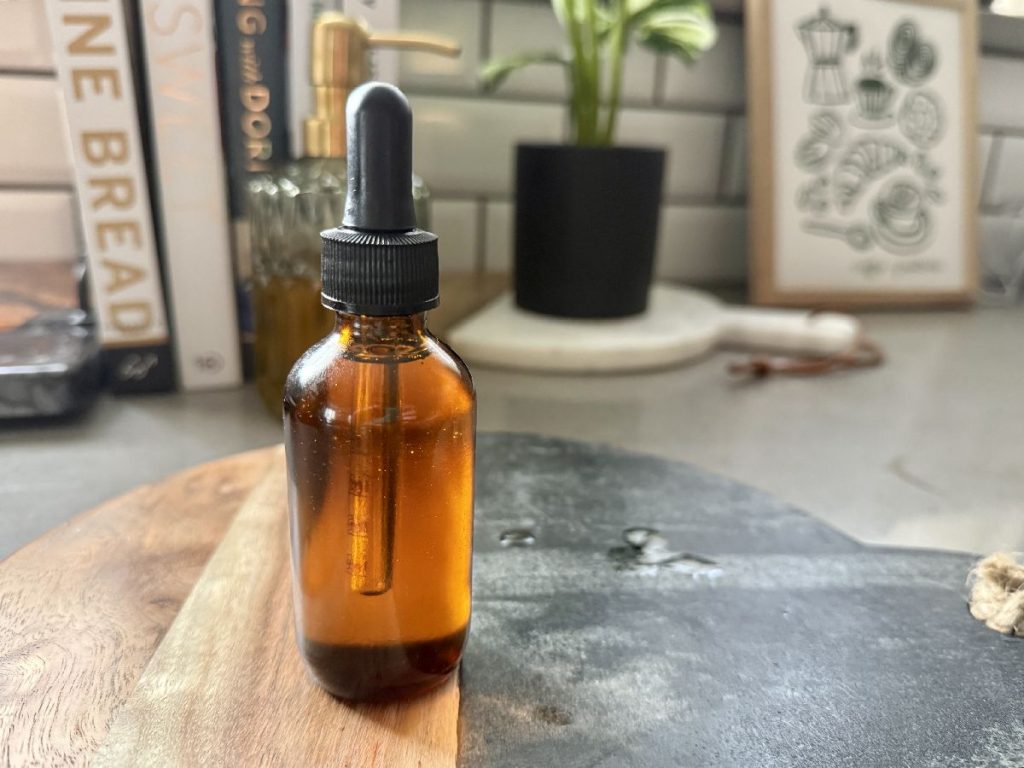
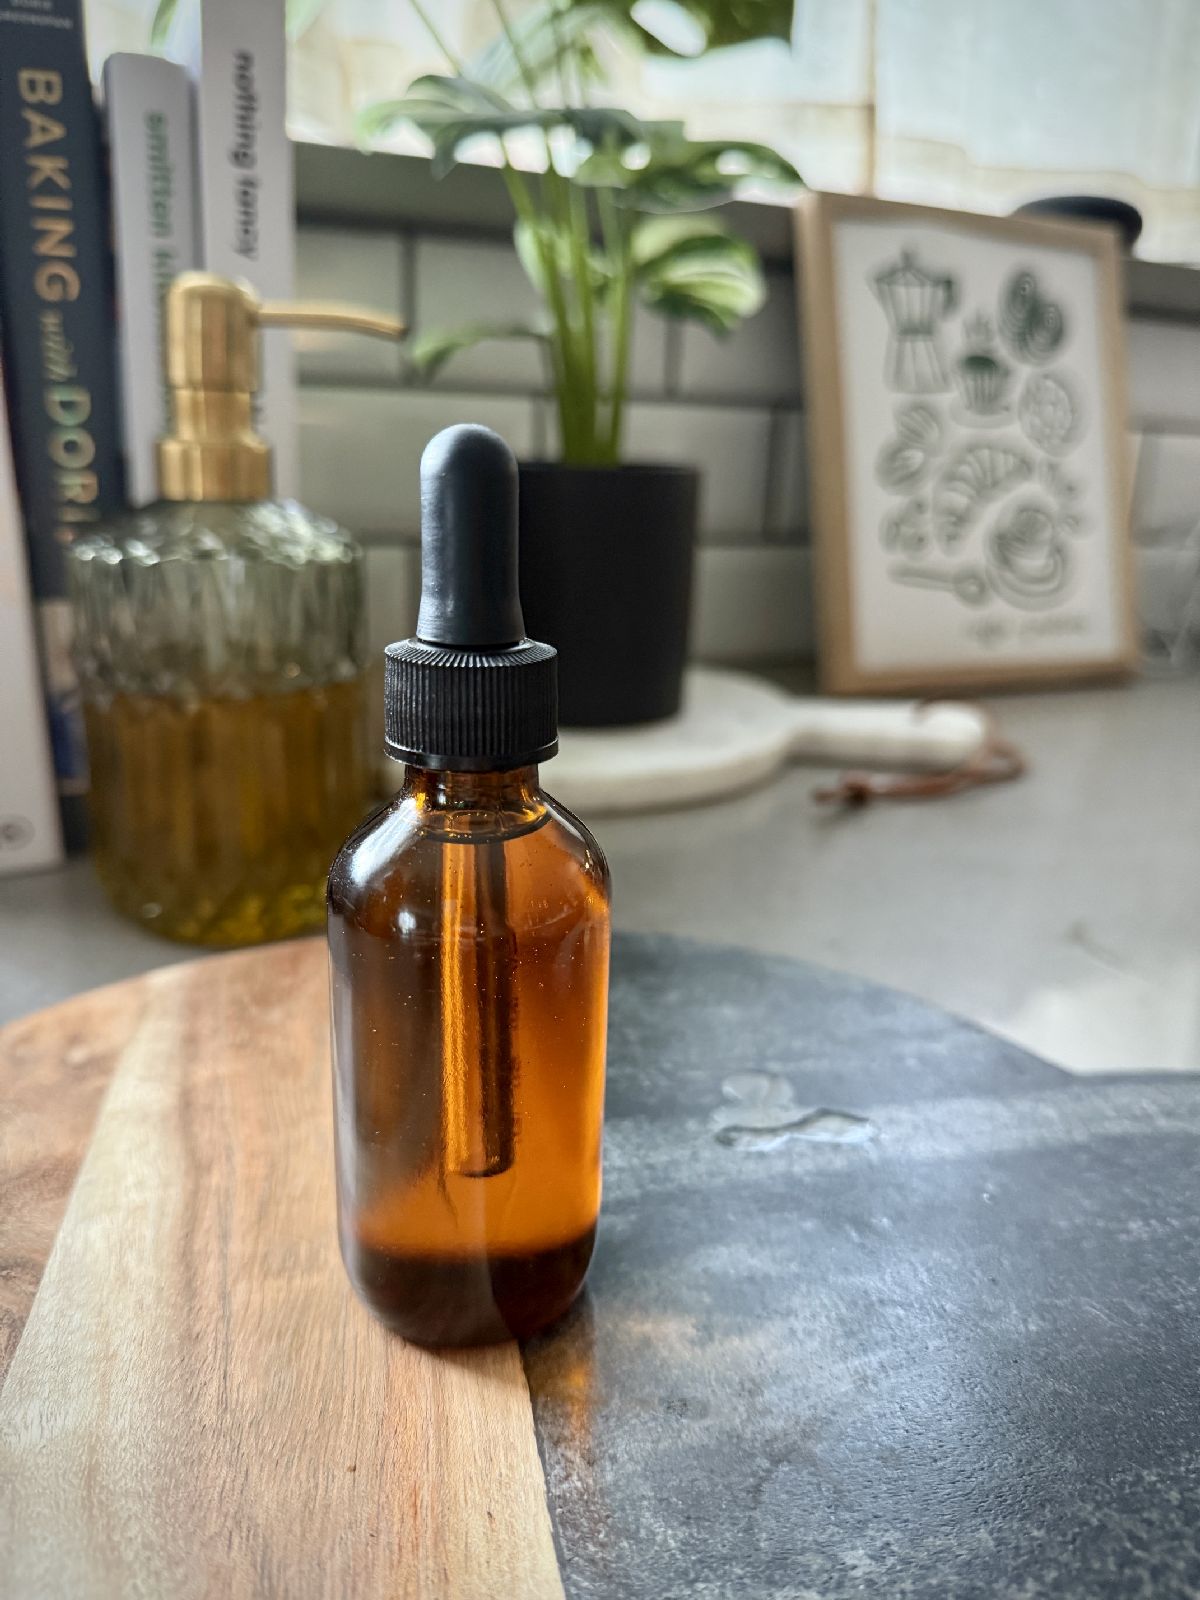
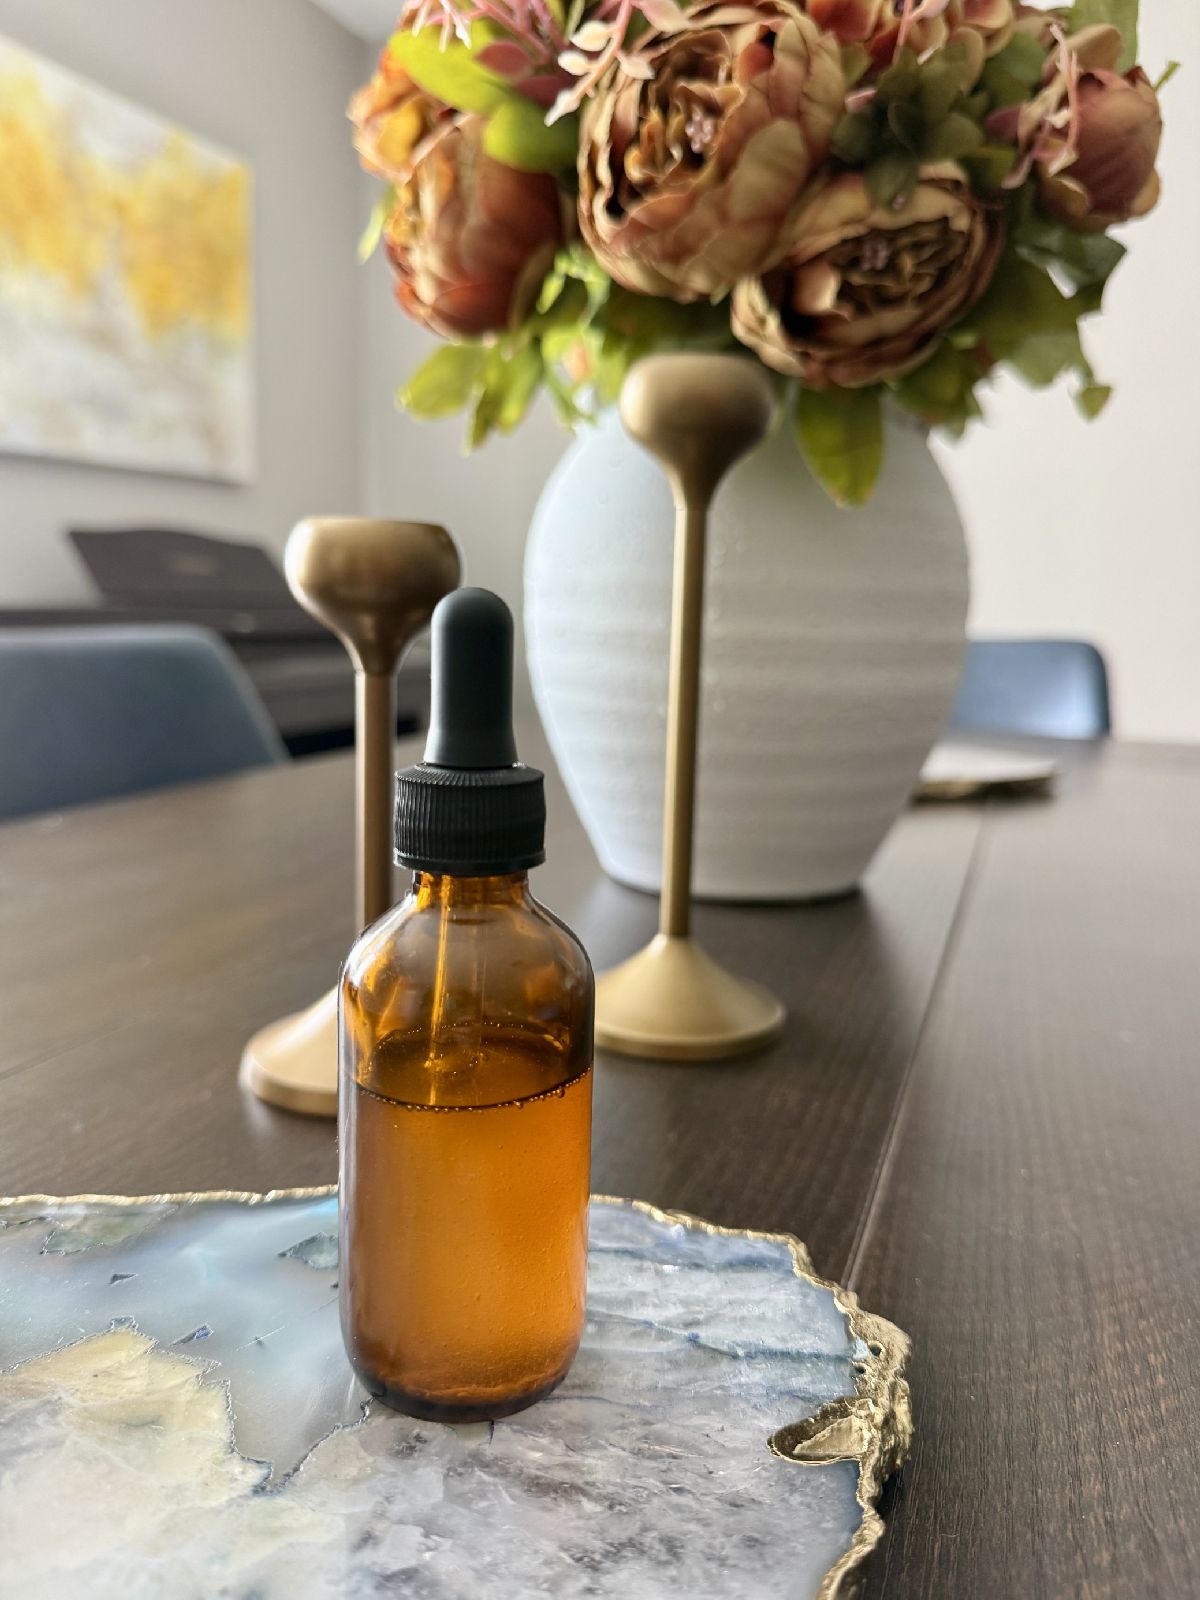
You can find a beautiful, functional, or unique GLASS bottle to store your body oil in. Glass is critical, do not use plastic. I recommend a small dropper bottle—2 ounces seems like a perfect size, lasts a long time but doesn’t let it get old or stale.
I’m currently using this more functional amber dropper bottle, but I’ve had my eye on these beautiful ones that look a bit like perfume bottles. Ideally you avoid clear glass, as having darker glass is preferable to protect the oils from light.
Store your face oil in a dark, climate-controlled place, such as a bathroom cabinet.
If you’re working to make other healthy non-toxic beauty swaps, here are other resources:
- The natural DIY body oil I use every day
- The clean, non-toxic makeup brand I’m obsessed with
- Why this non-toxic, natural sunscreen is my absolute go-to
- An overview of the natural, non-toxic beauty products I travel with
- Here’s a guide to being happy through deep gut protocols or liver detoxing
- An archive of my super healthy recipes
Pin for later!
Easy, Nourishing DIY Face Oil (Clean, Non-Toxic Face Moisturizer)
Equipment
Ingredients
- 15 mL organic castor oil cold-pressed, hexane- free
- 10 mL organic sweet almond oil
- 10 mL organic Vitamin E oil
- 20 mL organic jojoba oil
- 1 dropper-full organic rose hip oil
- 1 dropper-full Vitamin C serum
- 1 dropper-full organic black seed oil beware: strong smell
- 1 dropper-full sea buckthorn oil
- ~20 drops of essential oils of choice mostly for scent…I usually add frankincense, sweet orange, bergamot
Instructions
- Pour all the ingredients into a glass bottle. Stir or gently shake together.
- Store away from light and heat, such as in a bathroom cabinet. I typically give it a little shake before using, to make sure the oils get mixed up (castor oil is heavier and will settle).
Notes
- You don’t have to use this many ingredients, a simpler version is definitely possible and will still be amazing. I’d for sure include some castor oil, jojoba, and ideally some sweet almond oil but you could skip it if you have to. If you skip one, make up for it in the amount of the other. You could honestly leave it at that if you needed to. The other serums and oils add a lot of nourishment and are great for skin, and usually really affordable even at a high quality, so I recommend using one or two if possible.
- If you are pregnant then you may need to tweak this list slightly–I’m not an expert here, but I believe some of these oils are not recommended while pregnant so do your research!
- Scent-wise I’ve been focusing on frankincense (for skin benefits) and bergamot, sometimes with a bit of sweet orange. When I use black seed oil, I have to use more essential oils to balance the scent because it can be a bit overpowering otherwise.